First MOT Test since 2010 …
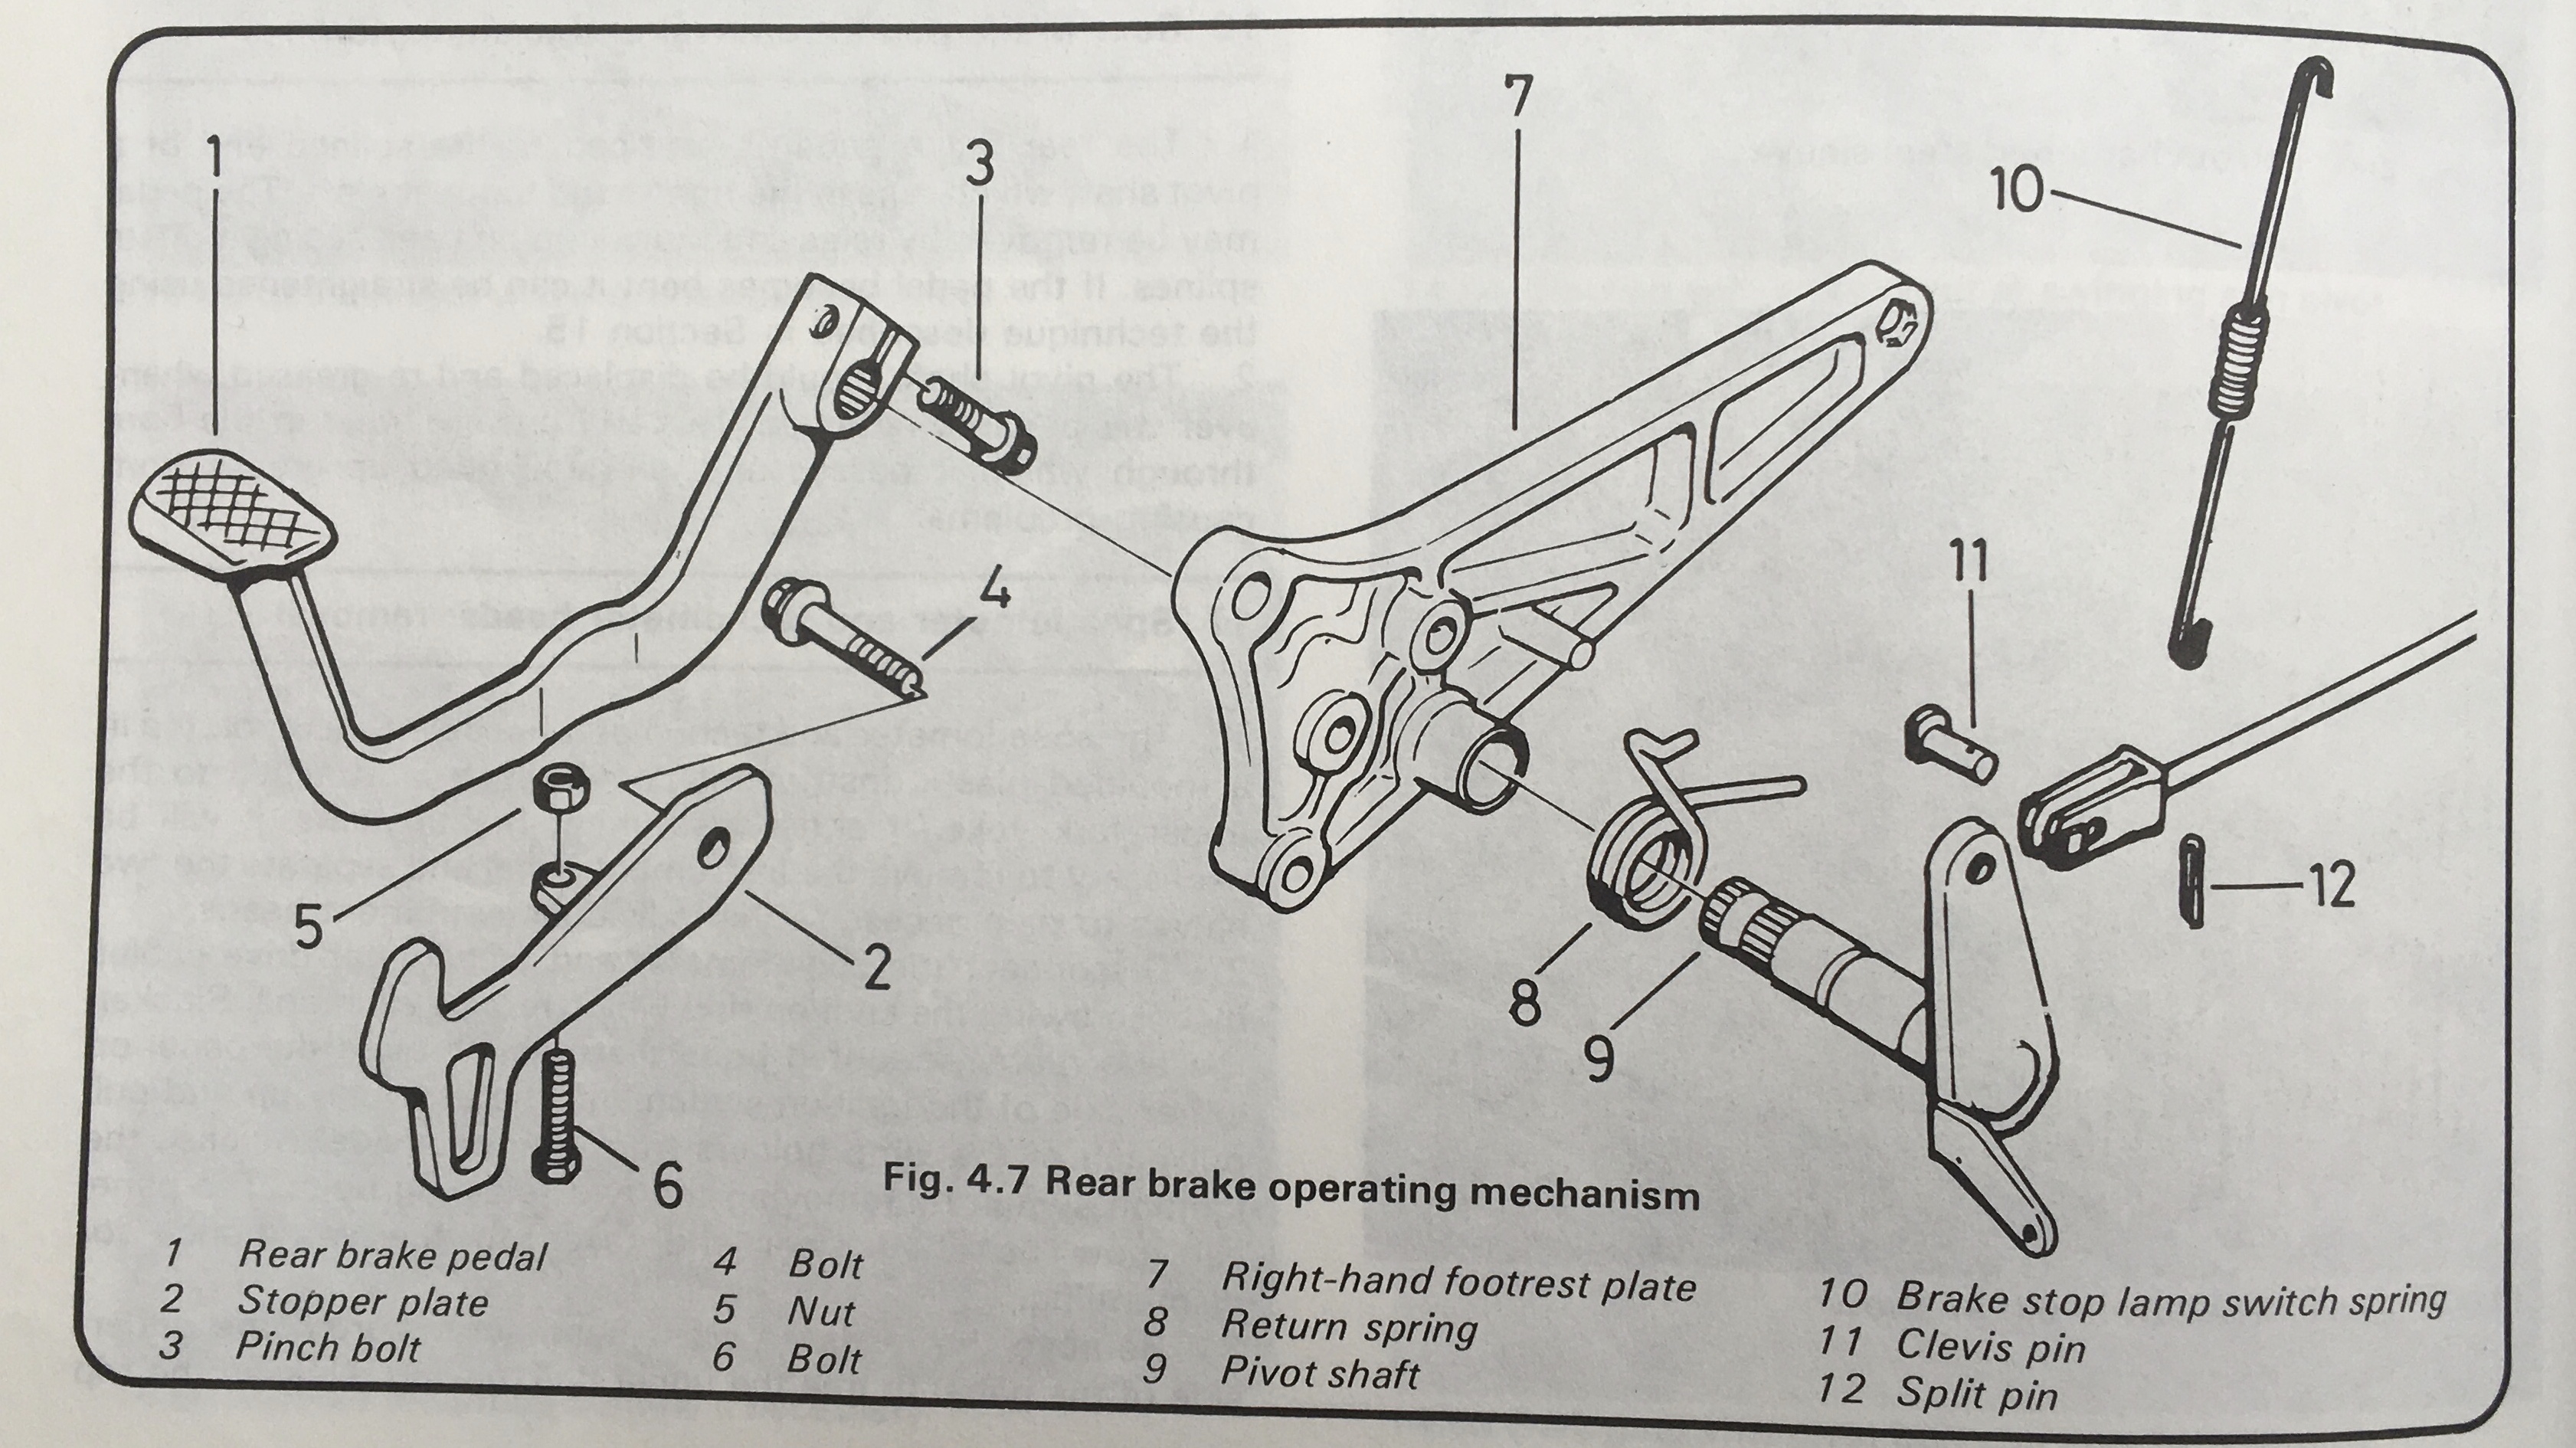
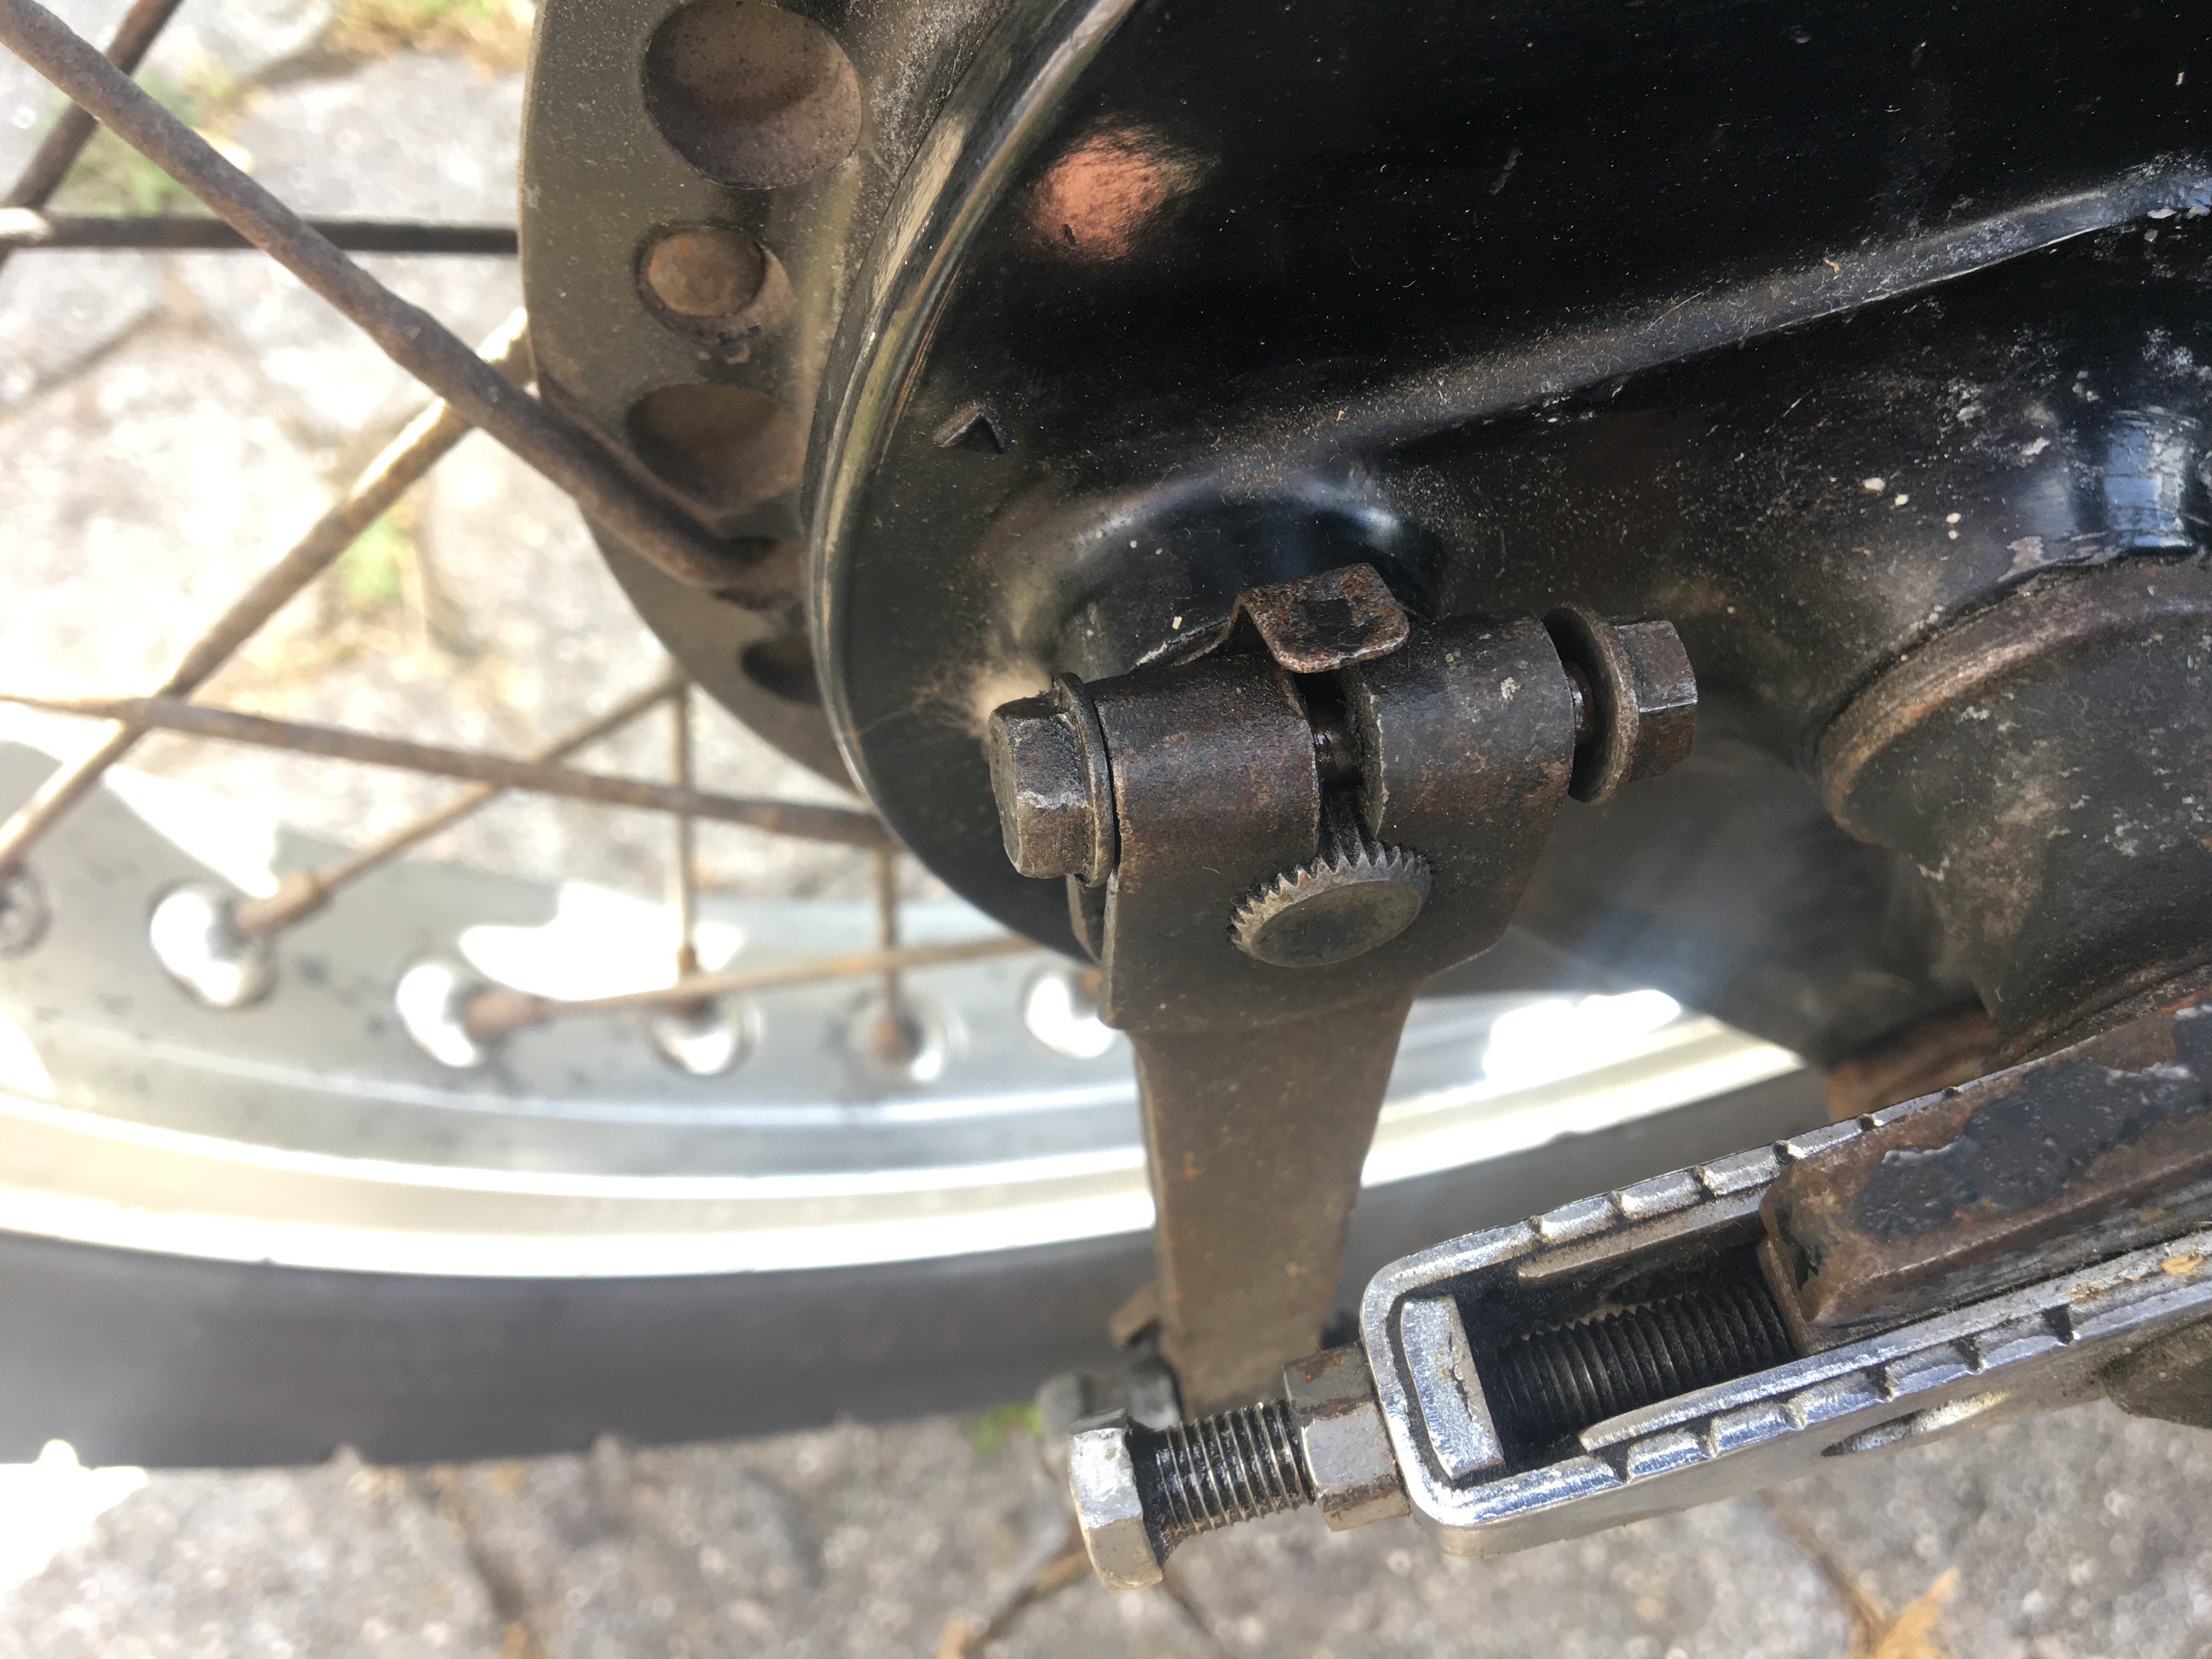
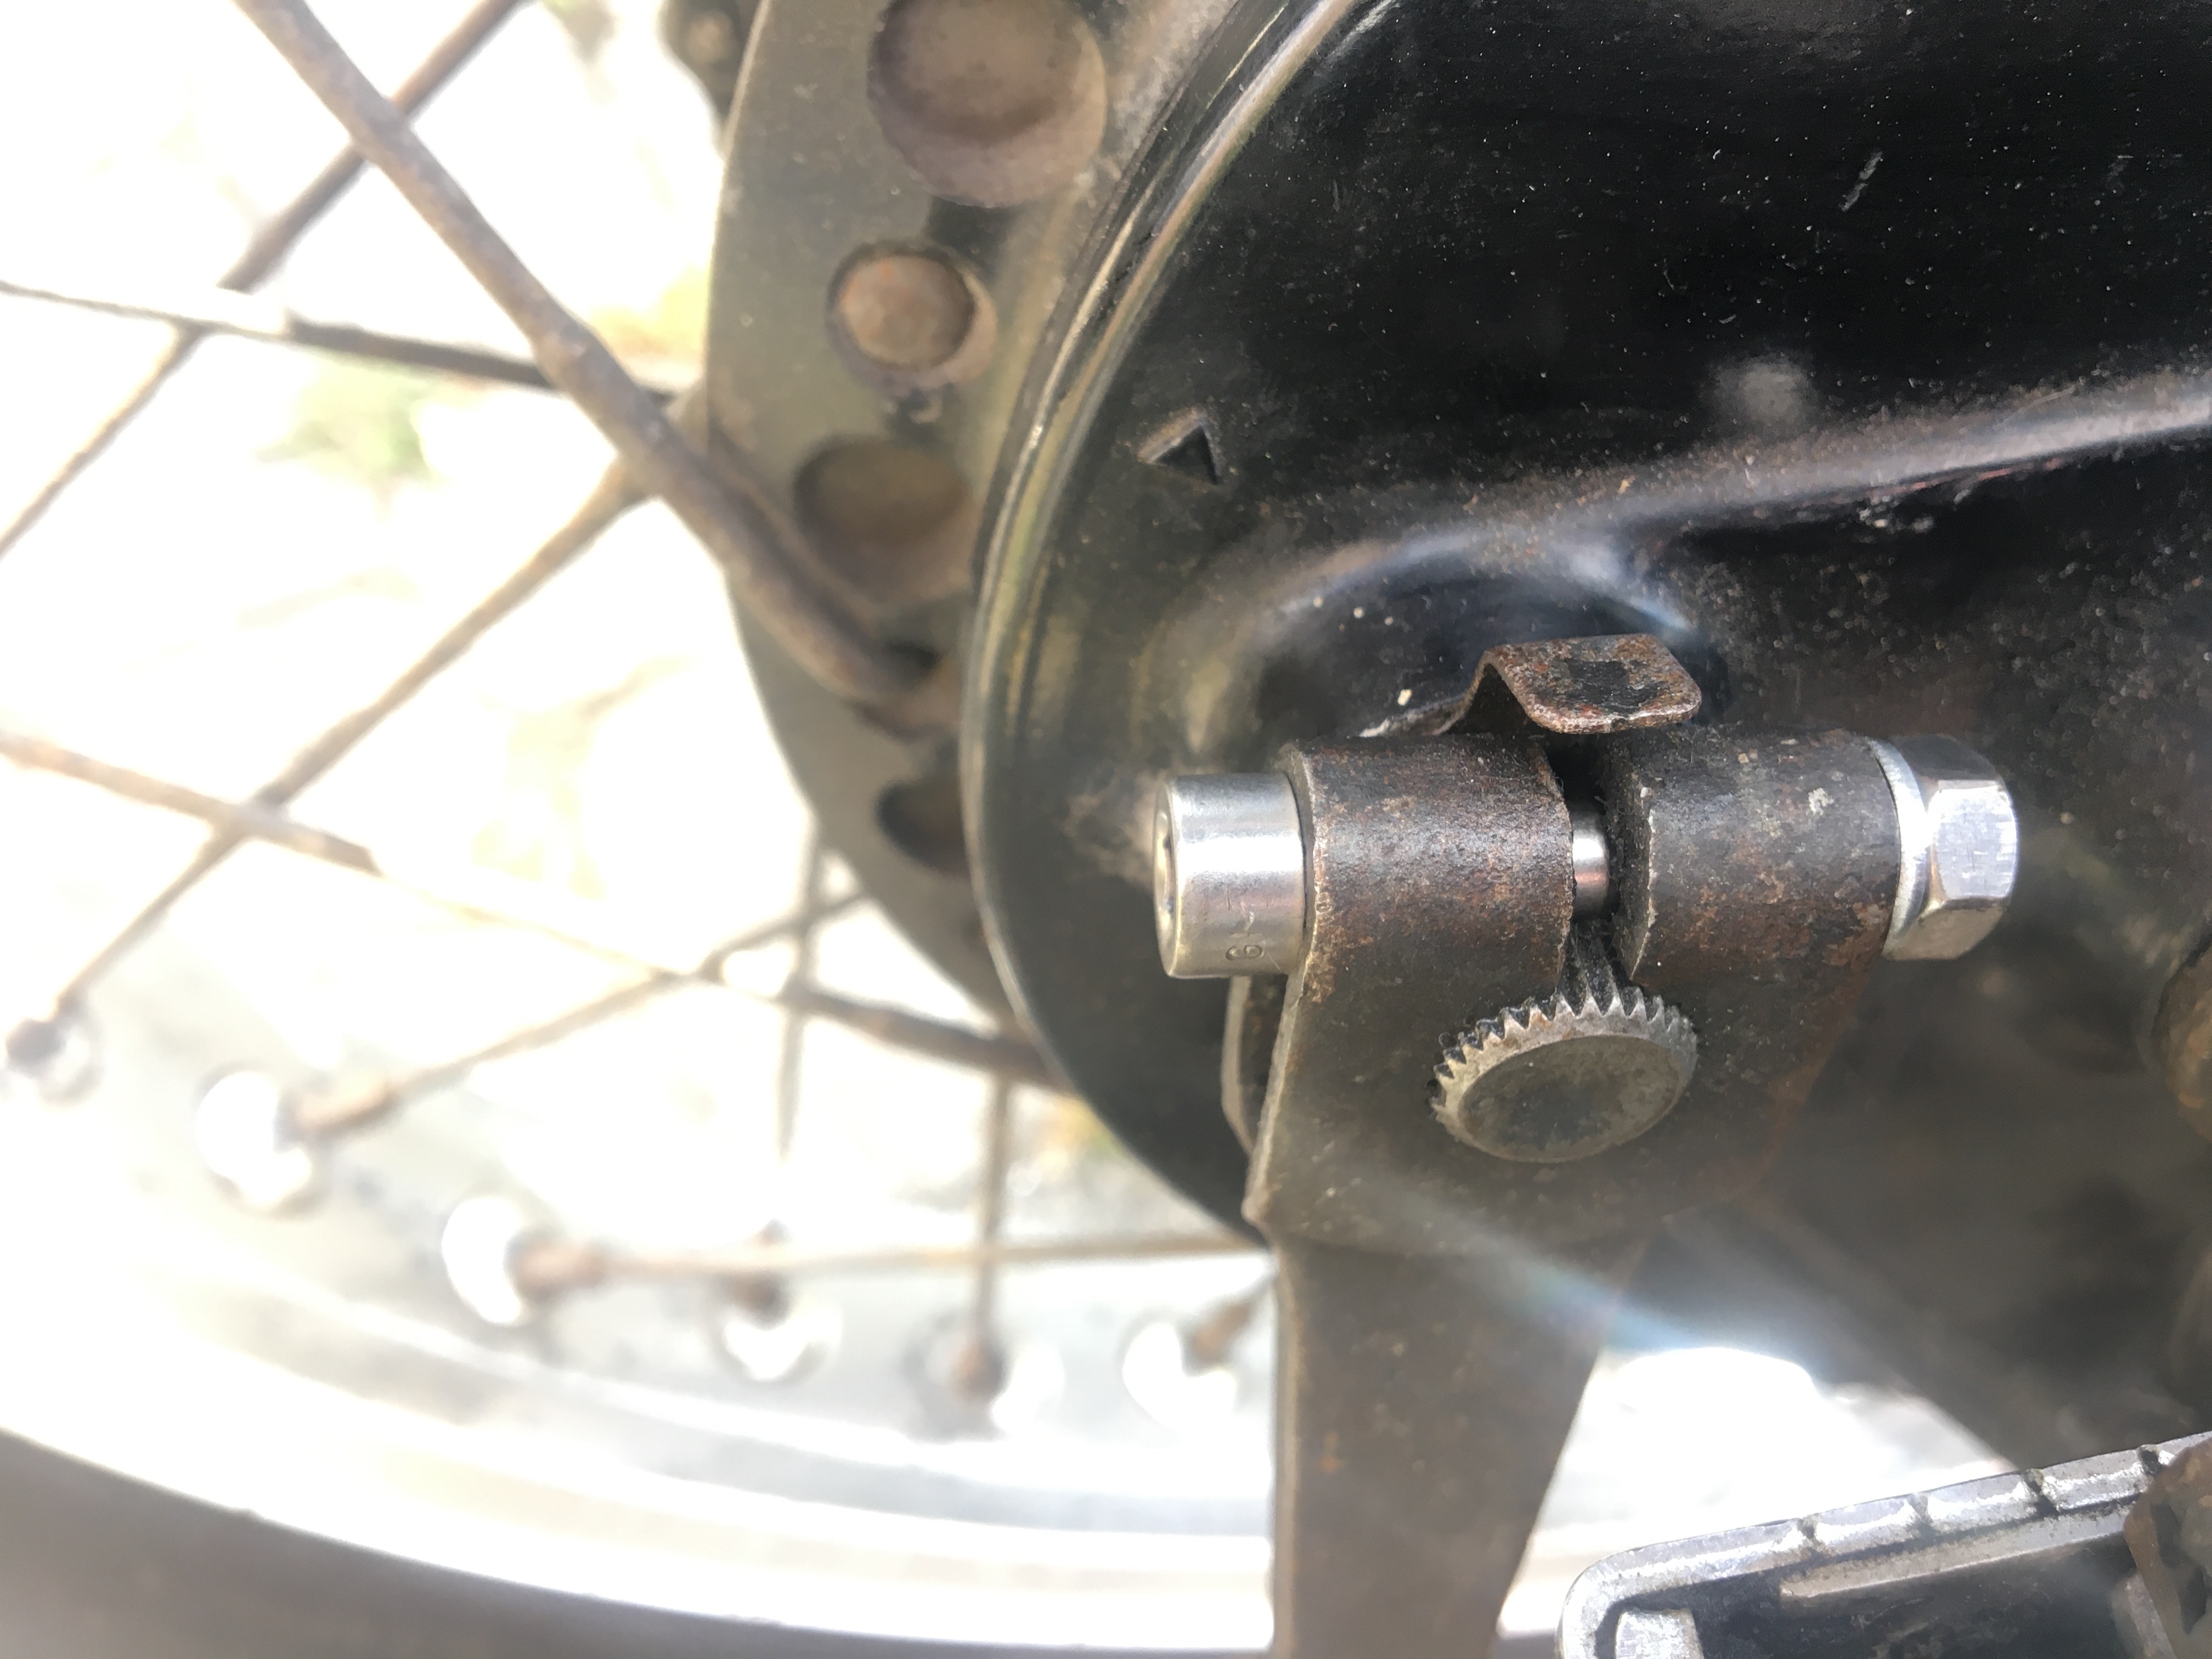
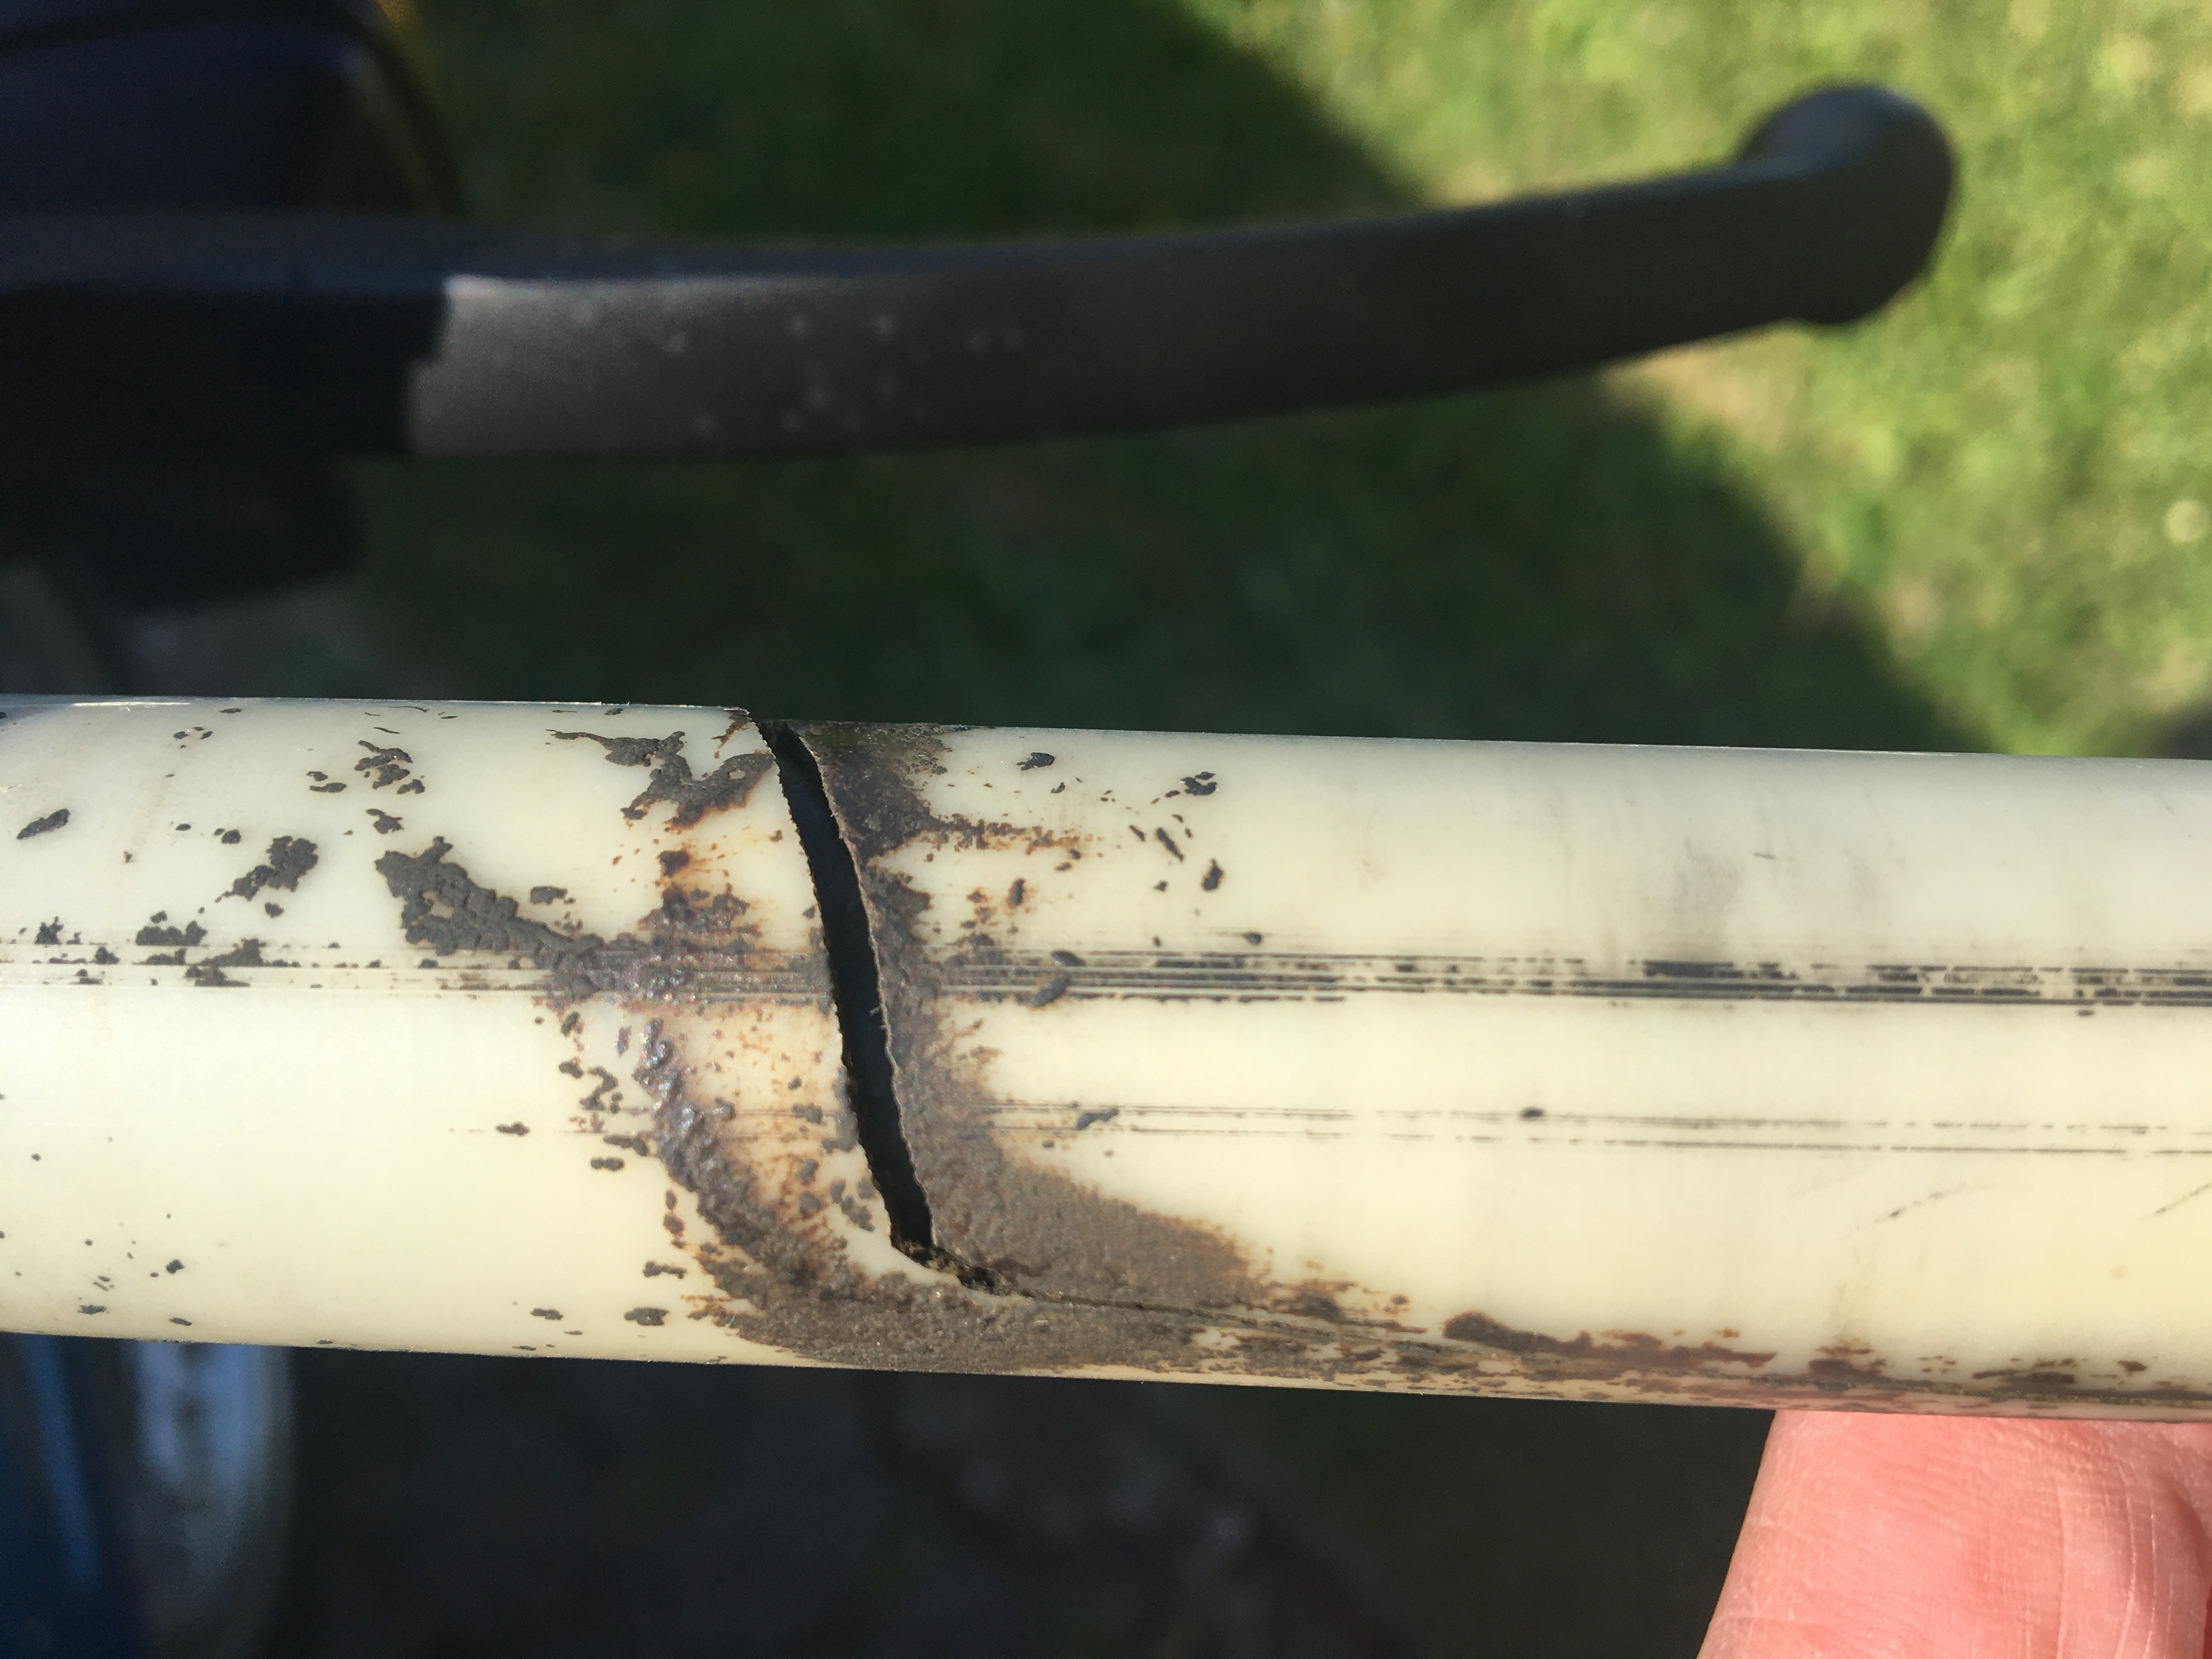
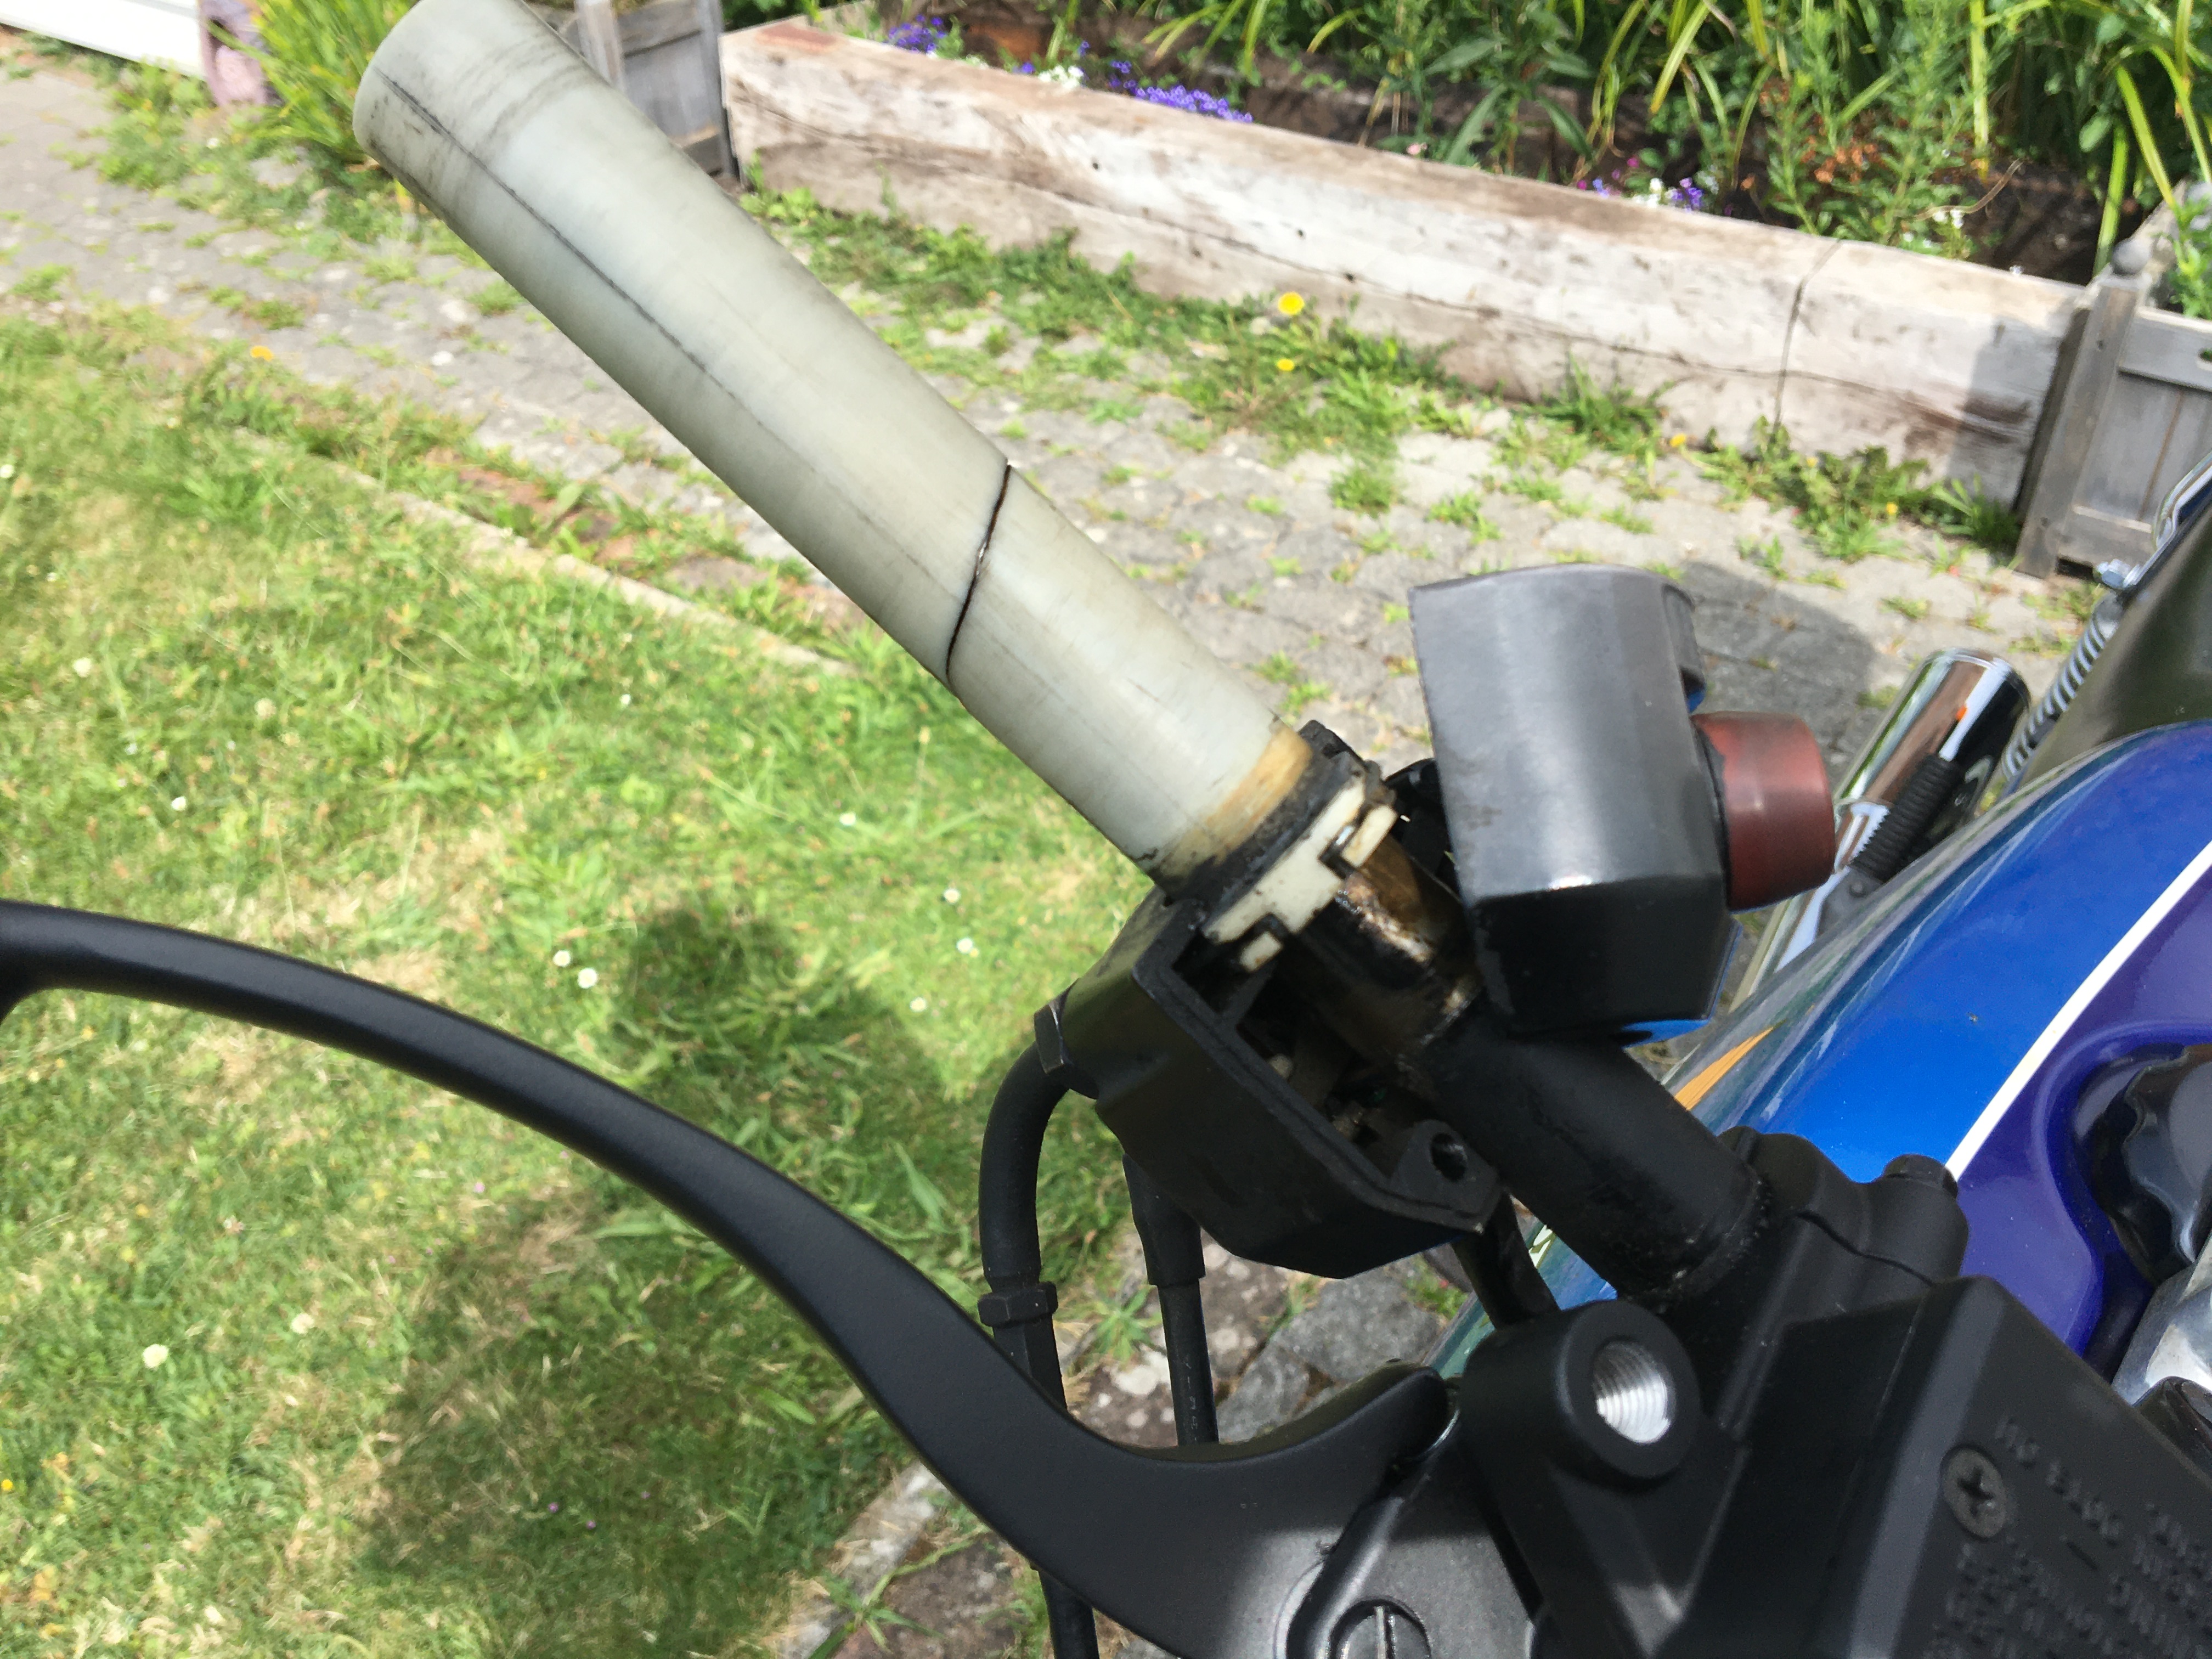
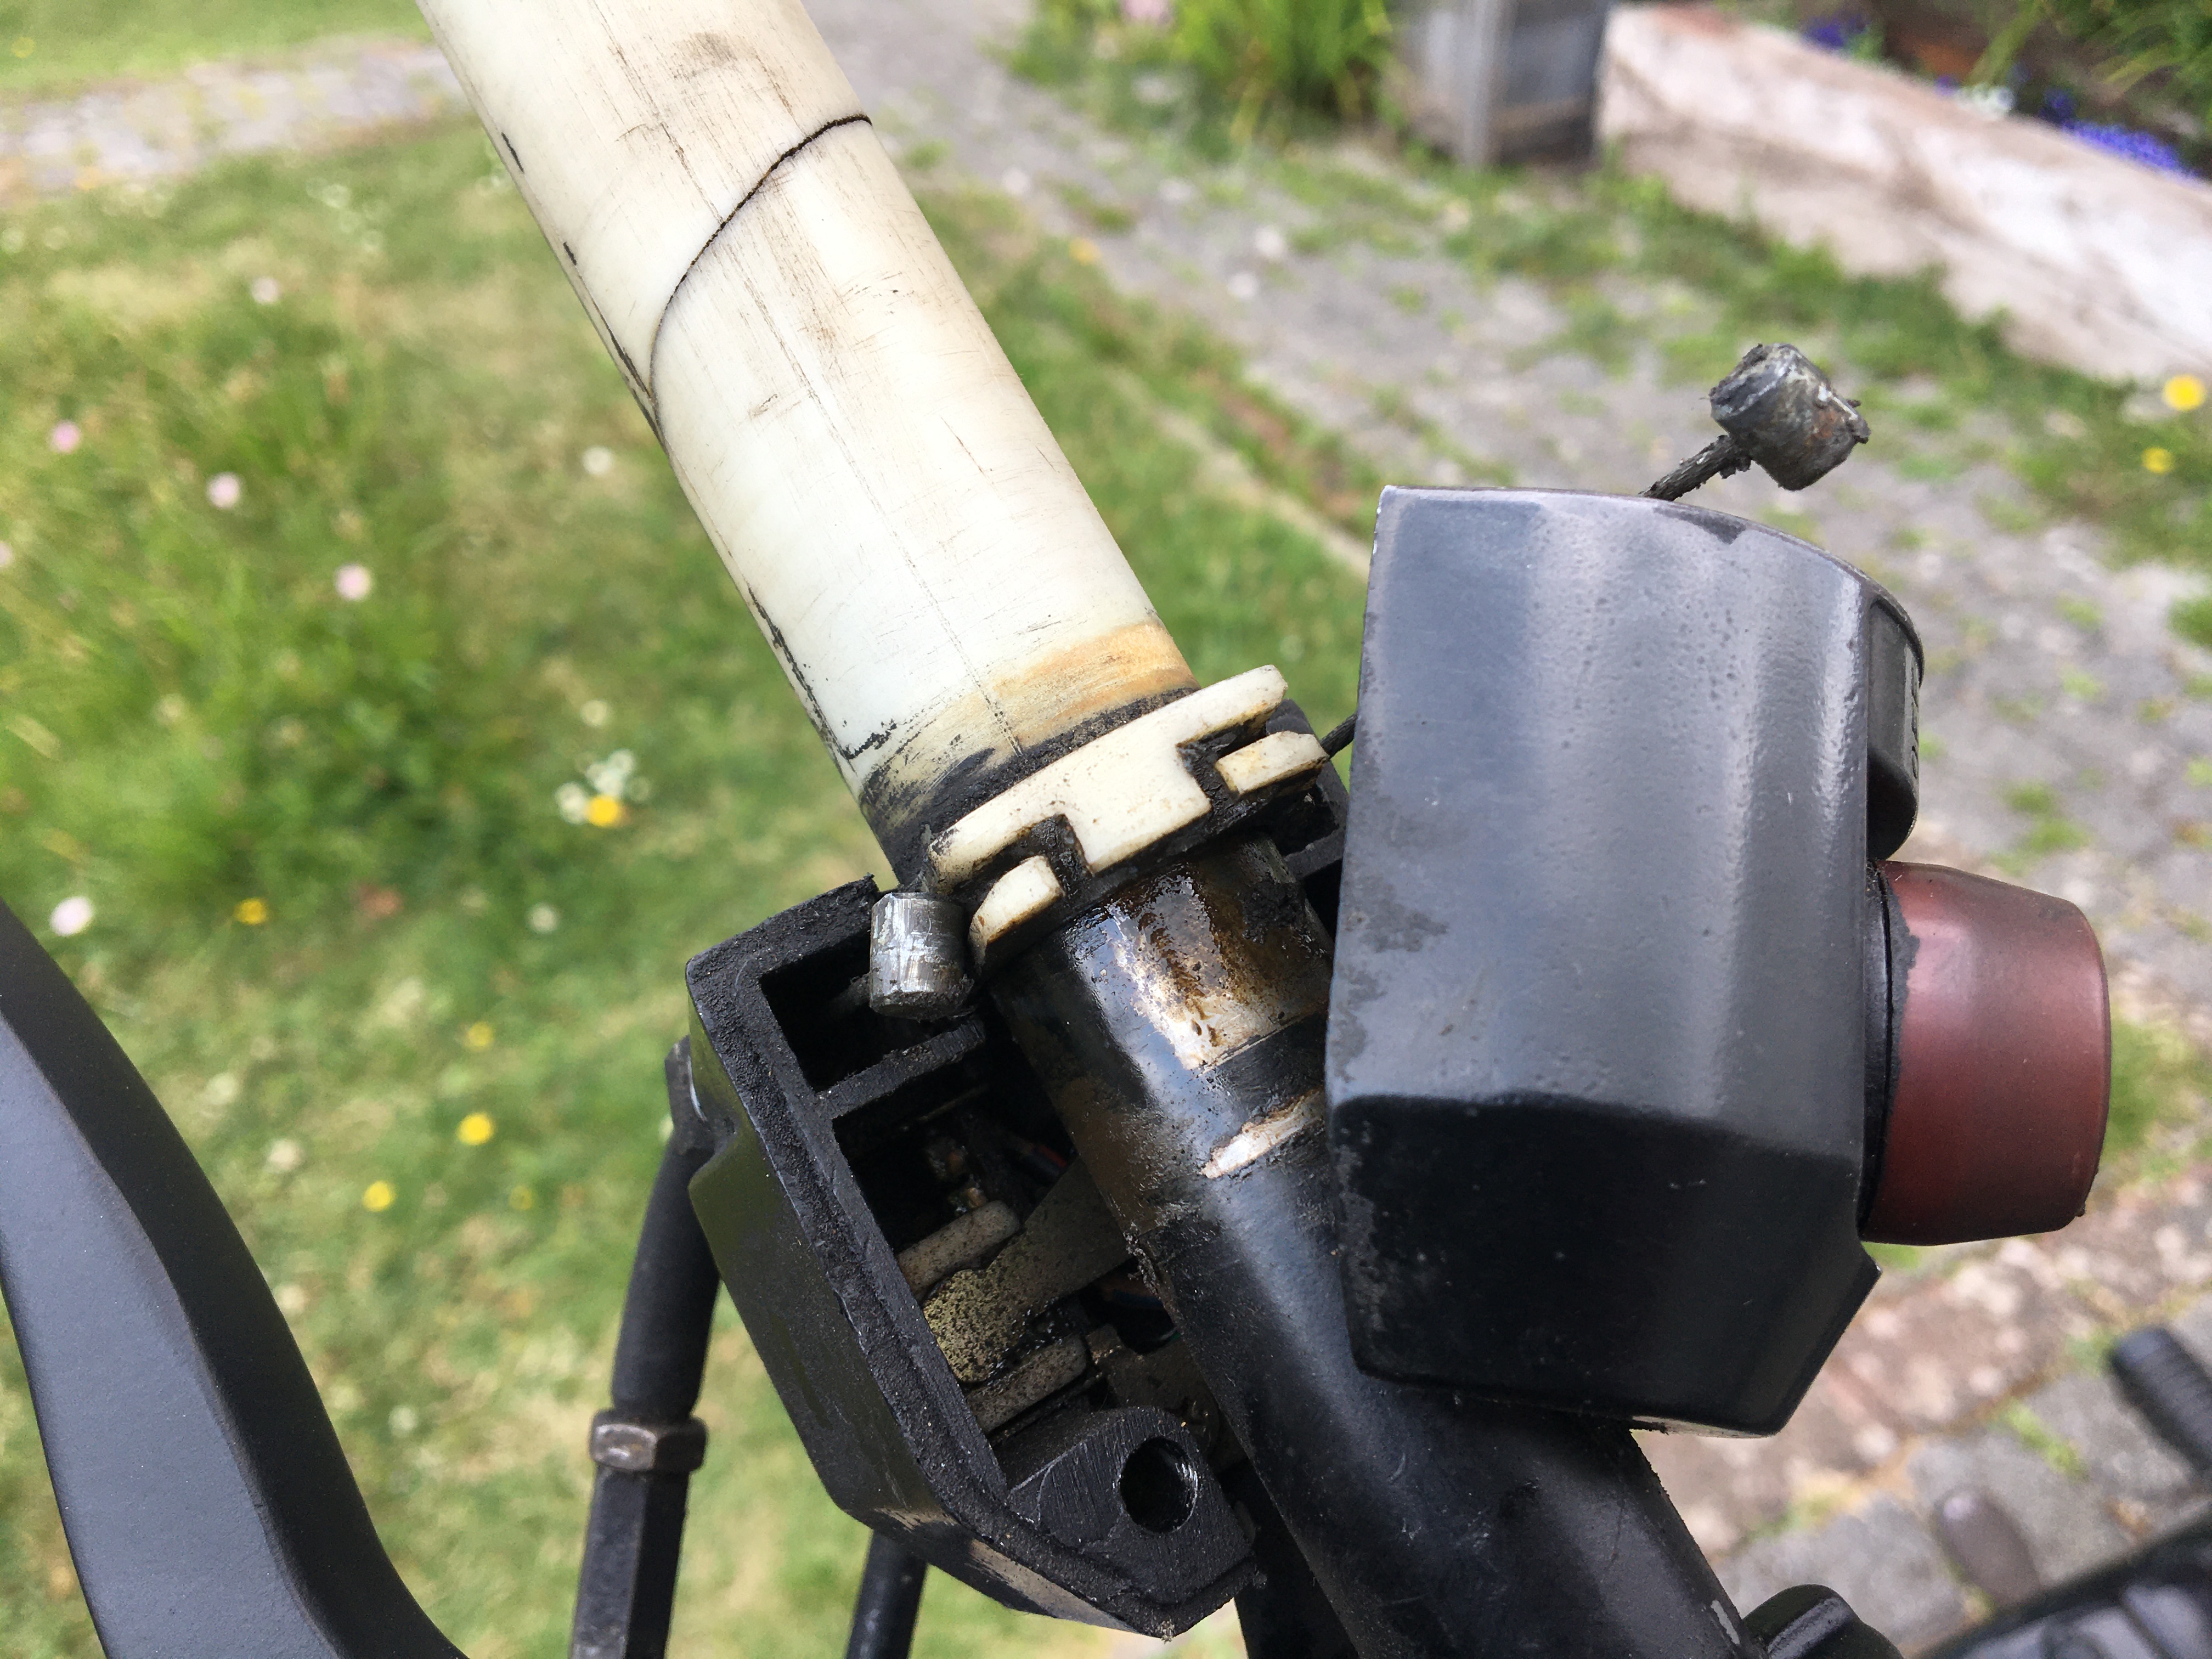
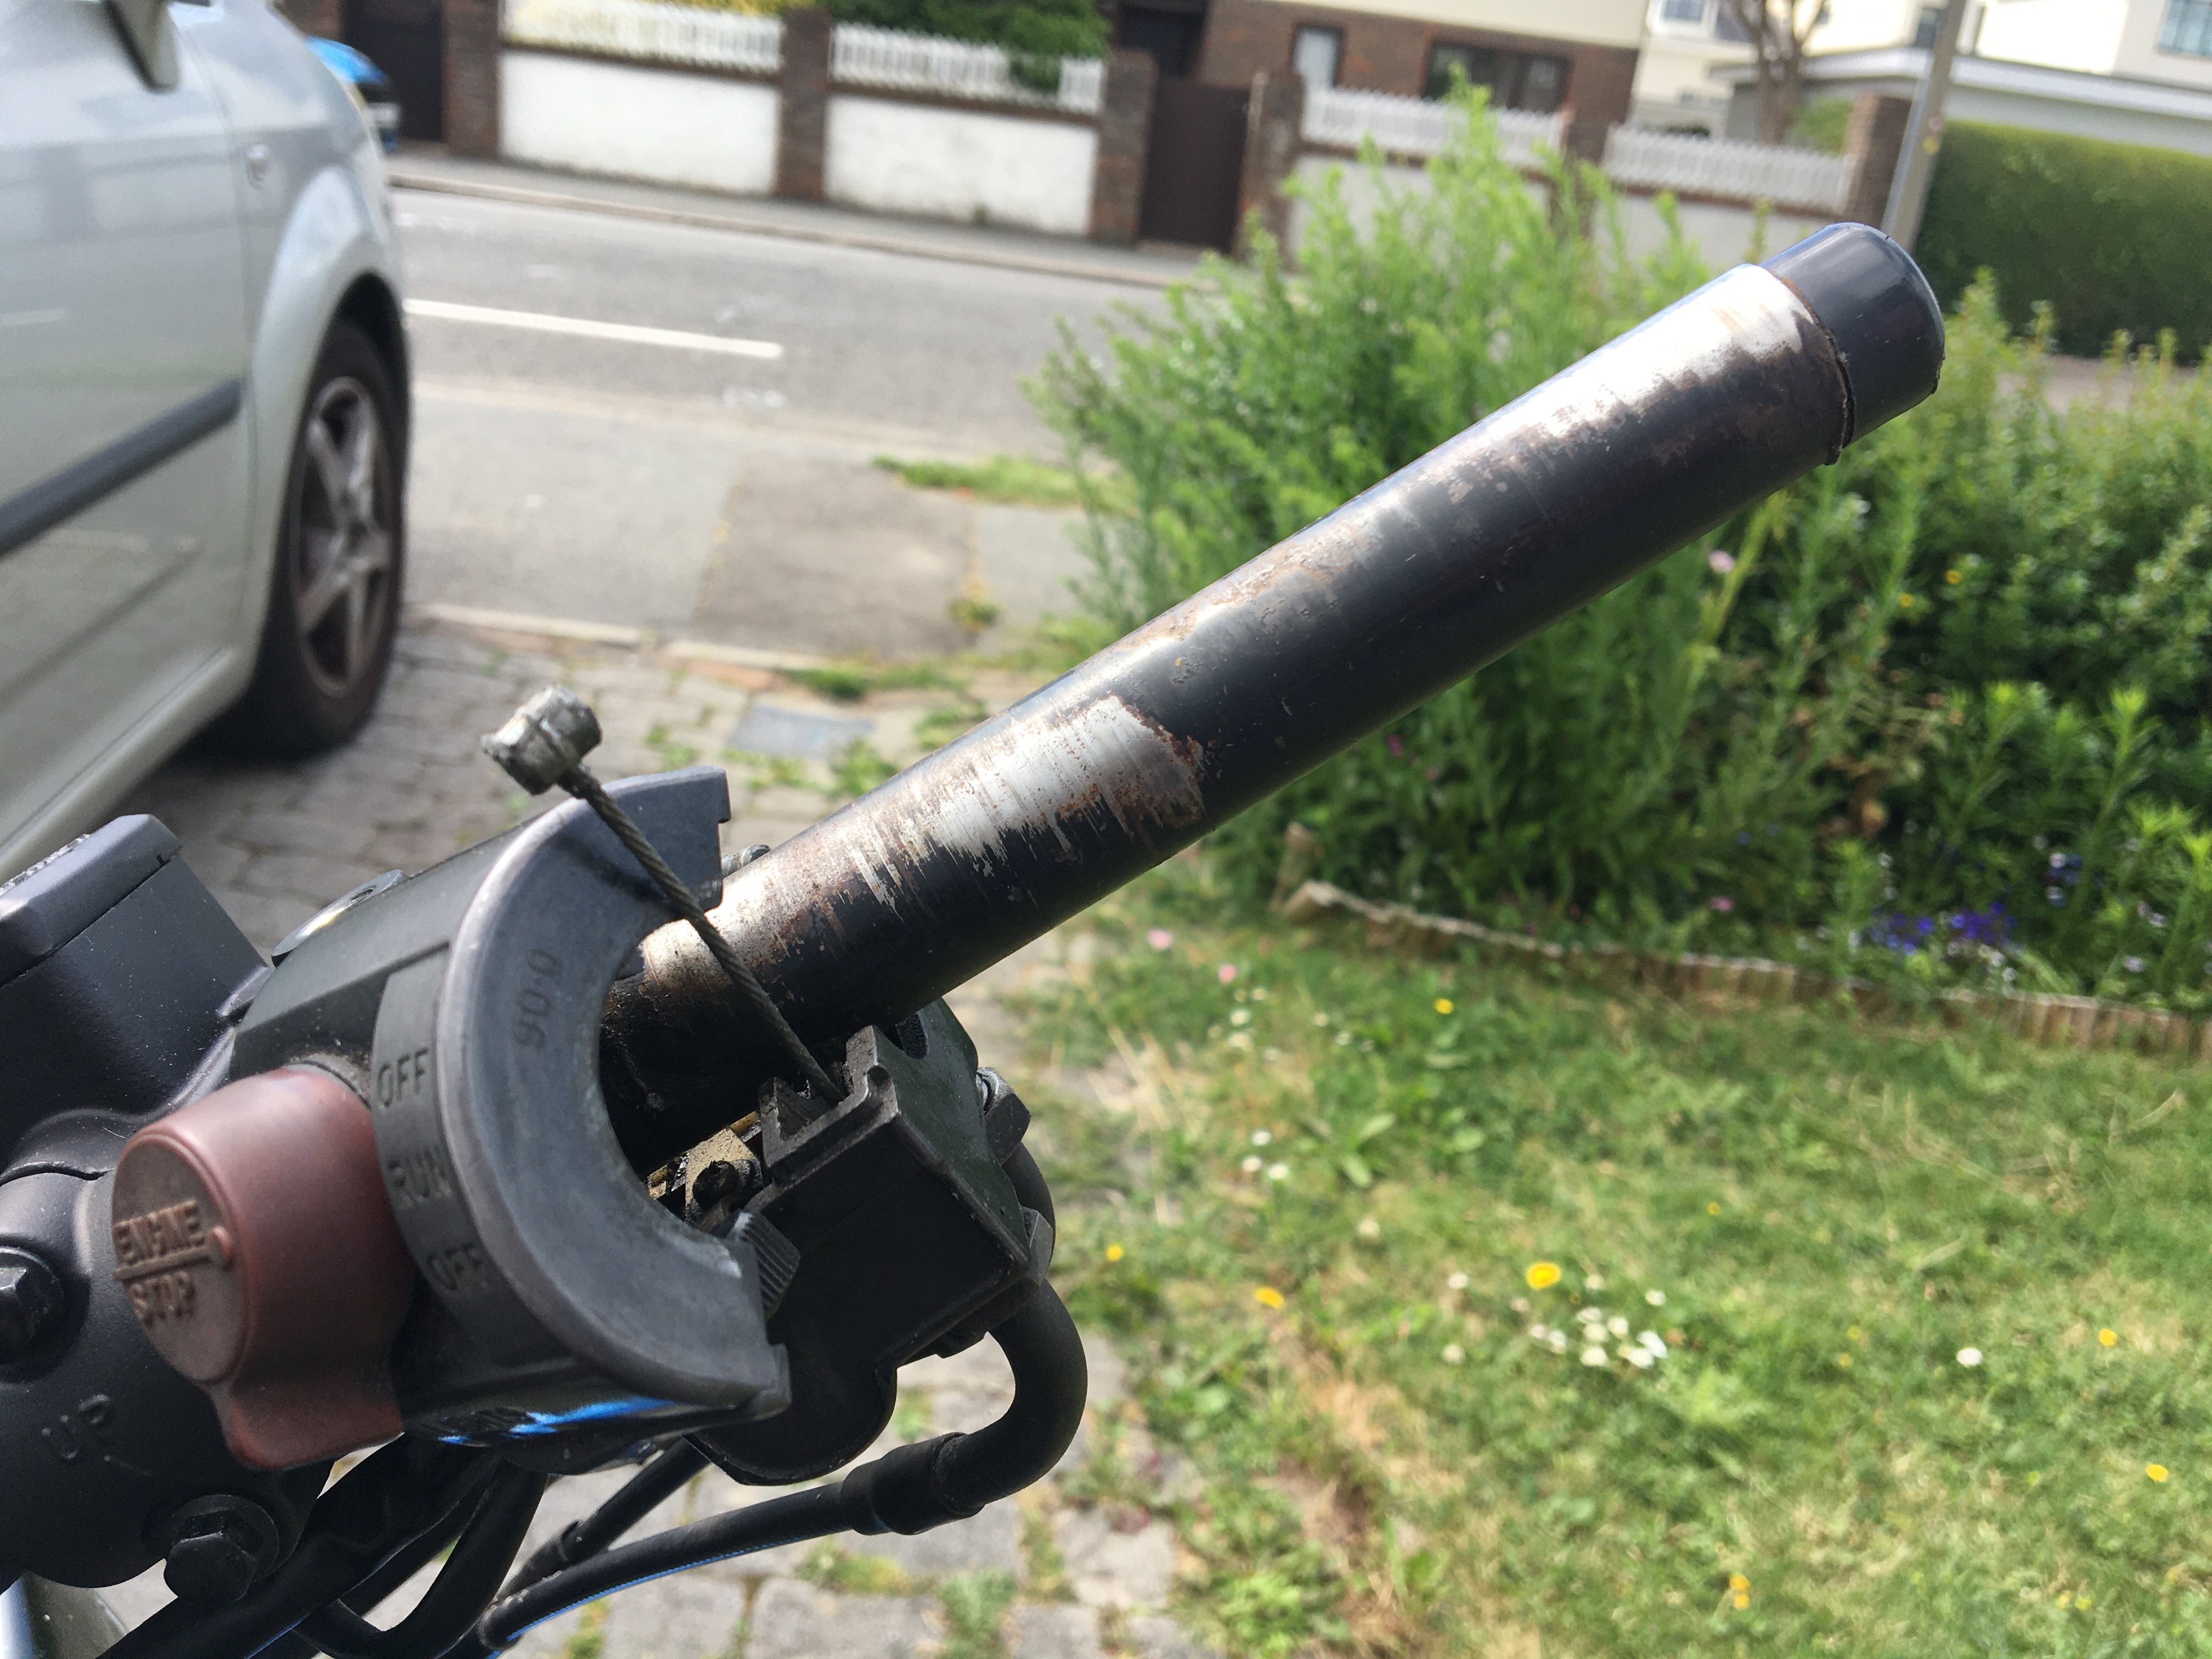
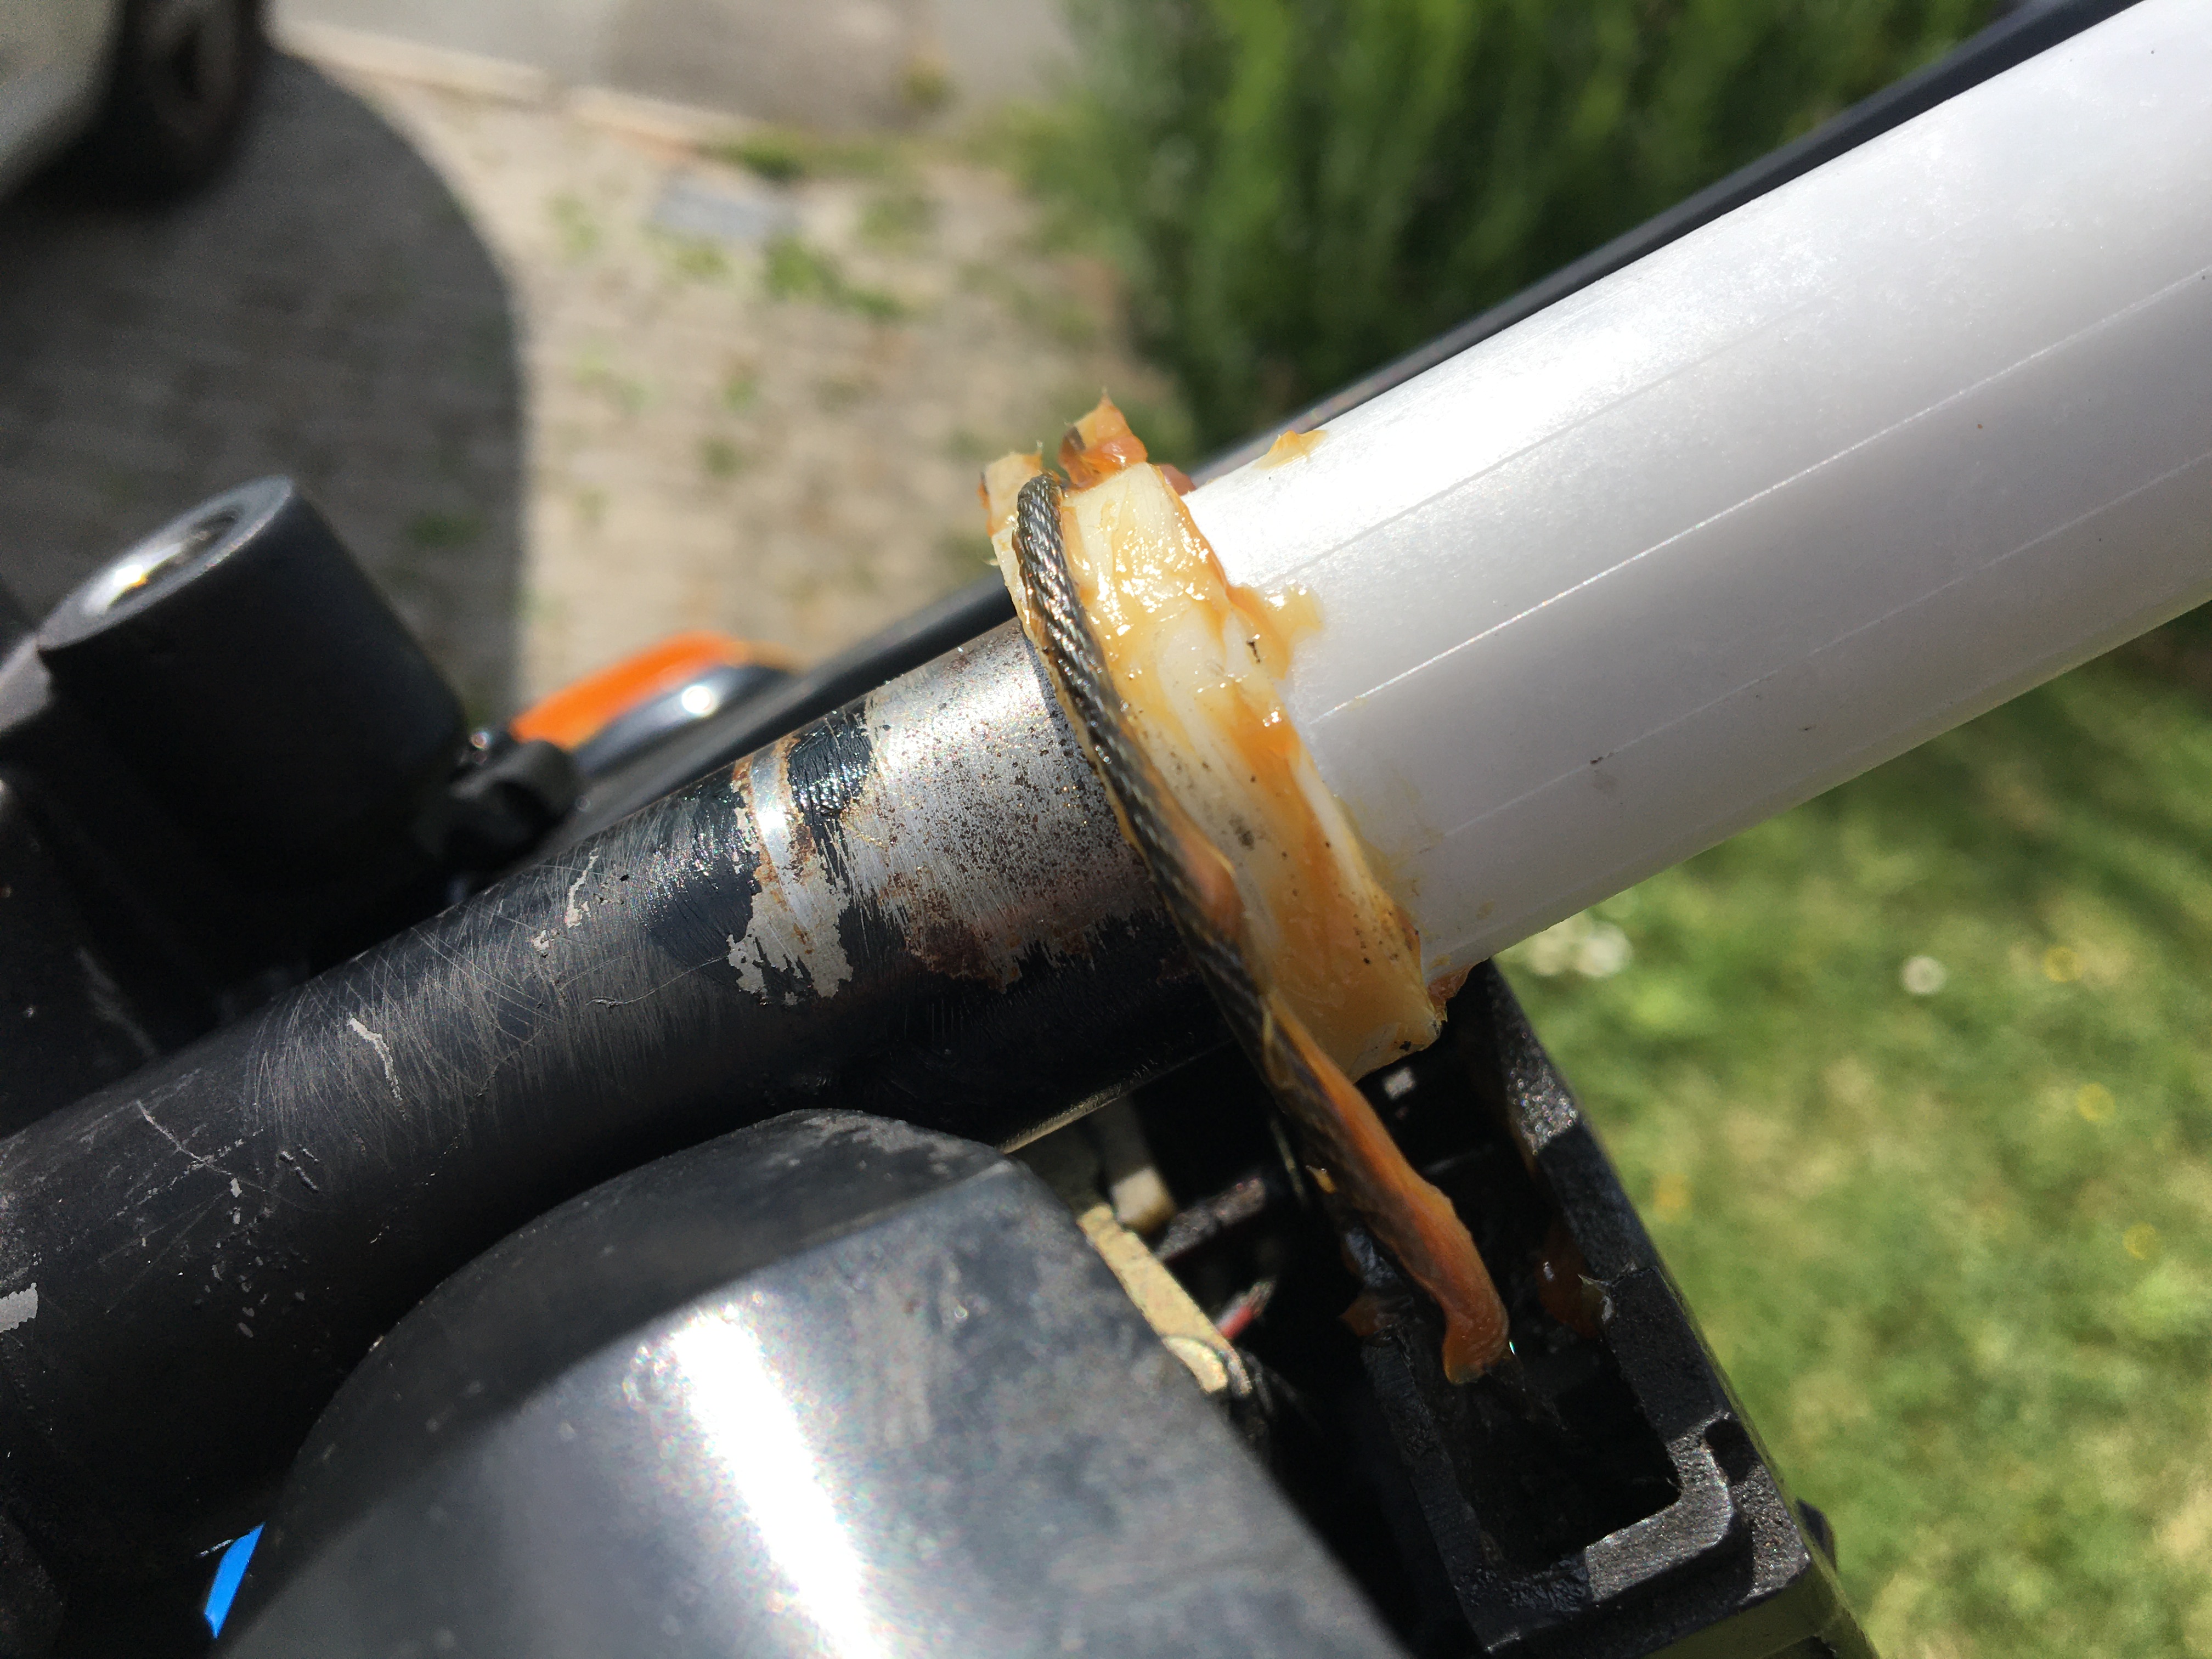
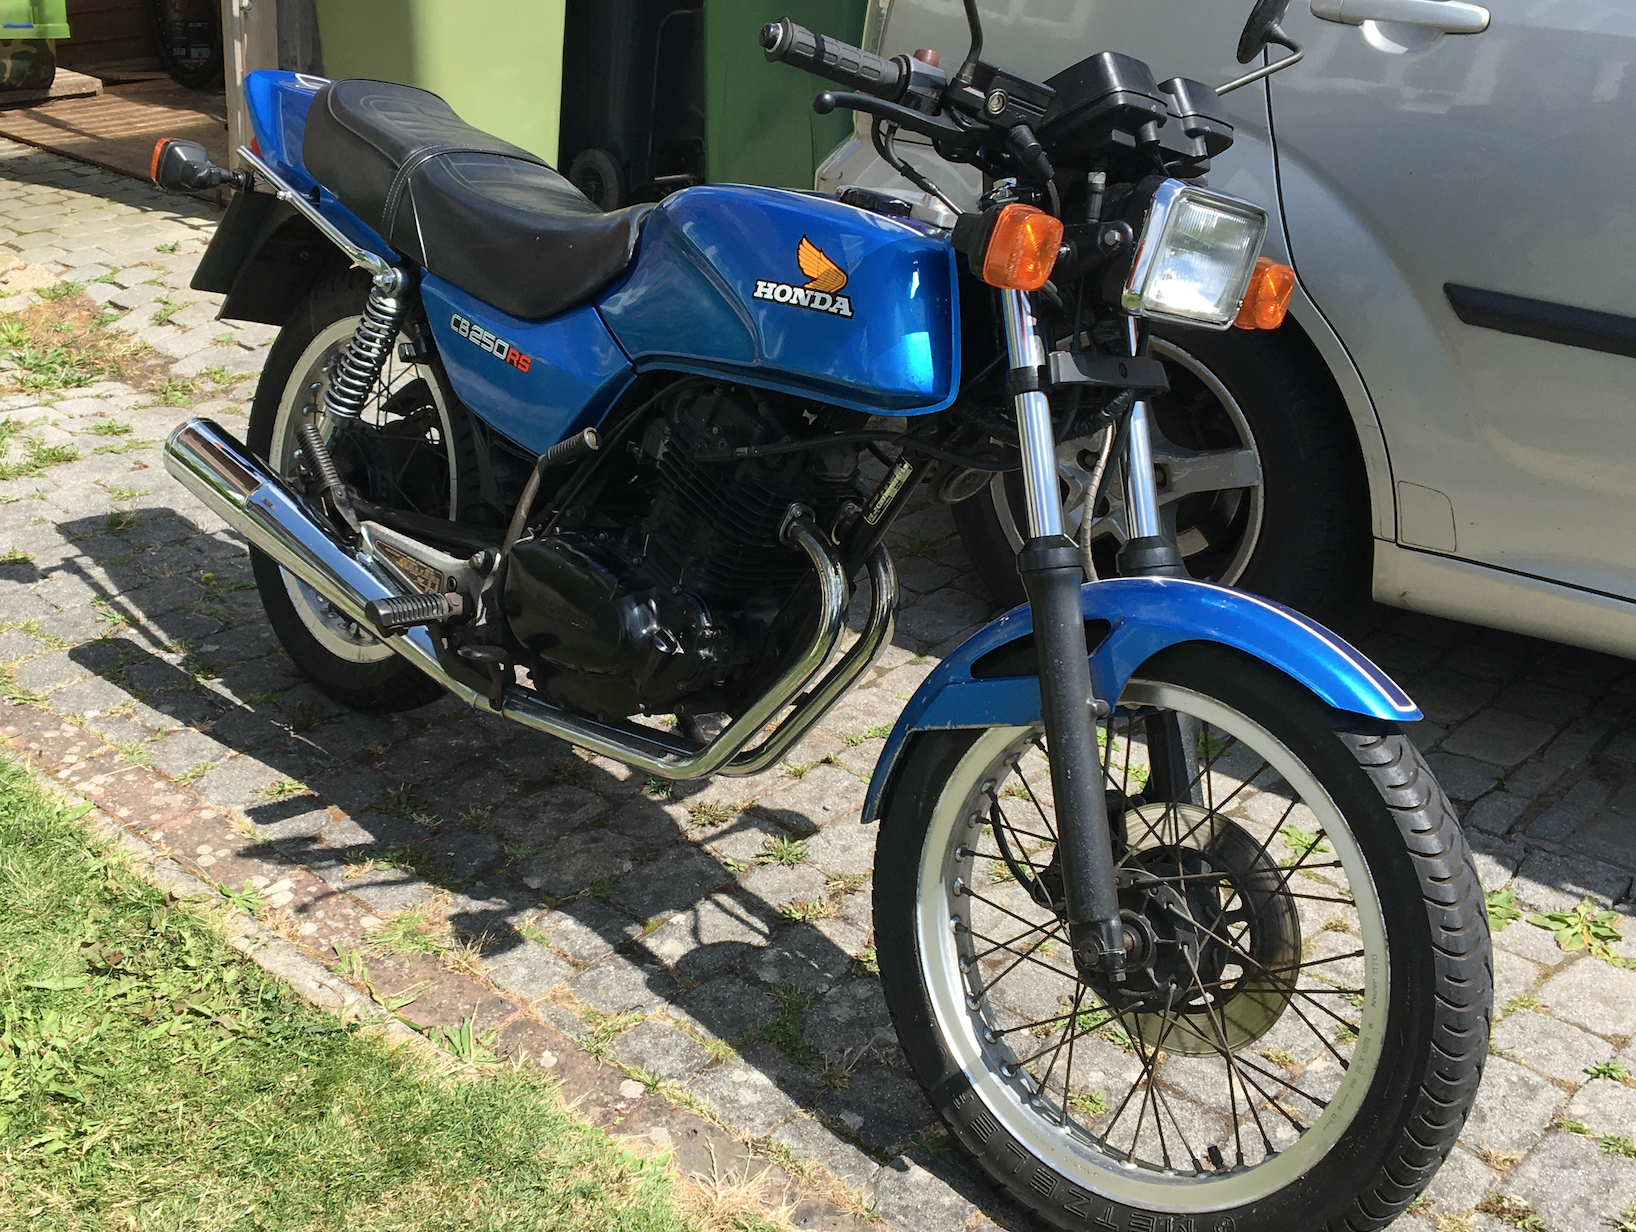
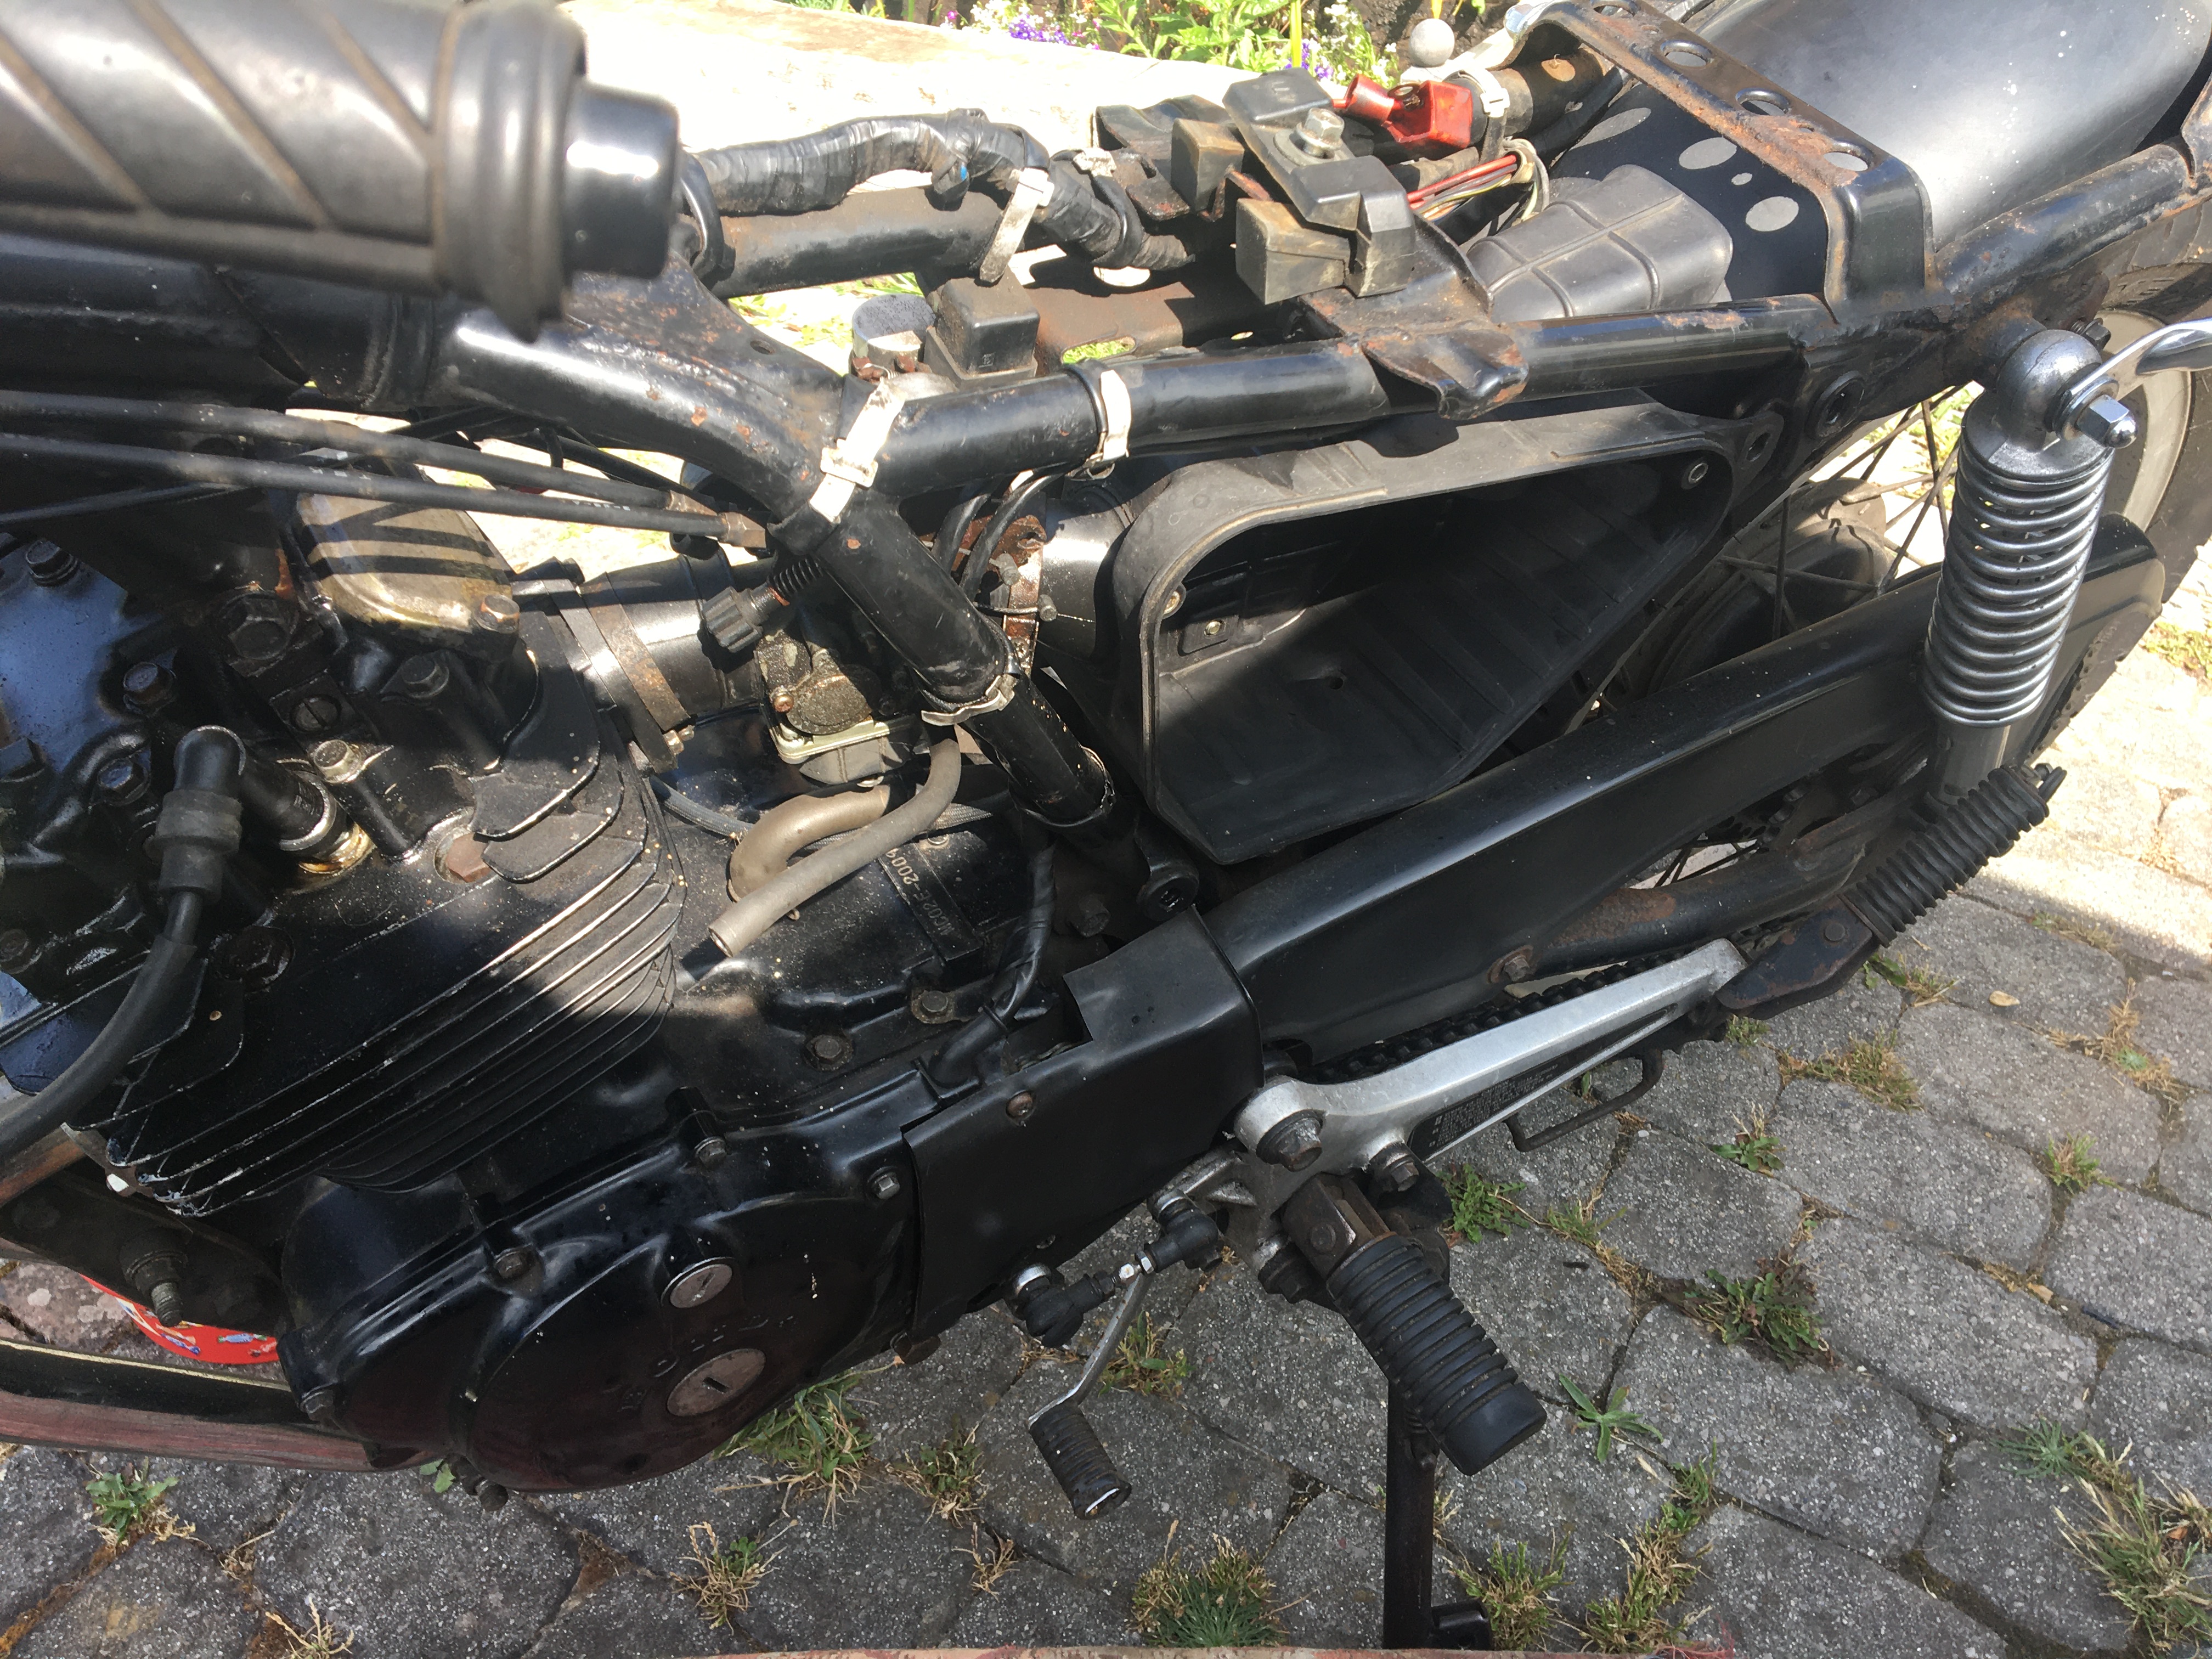
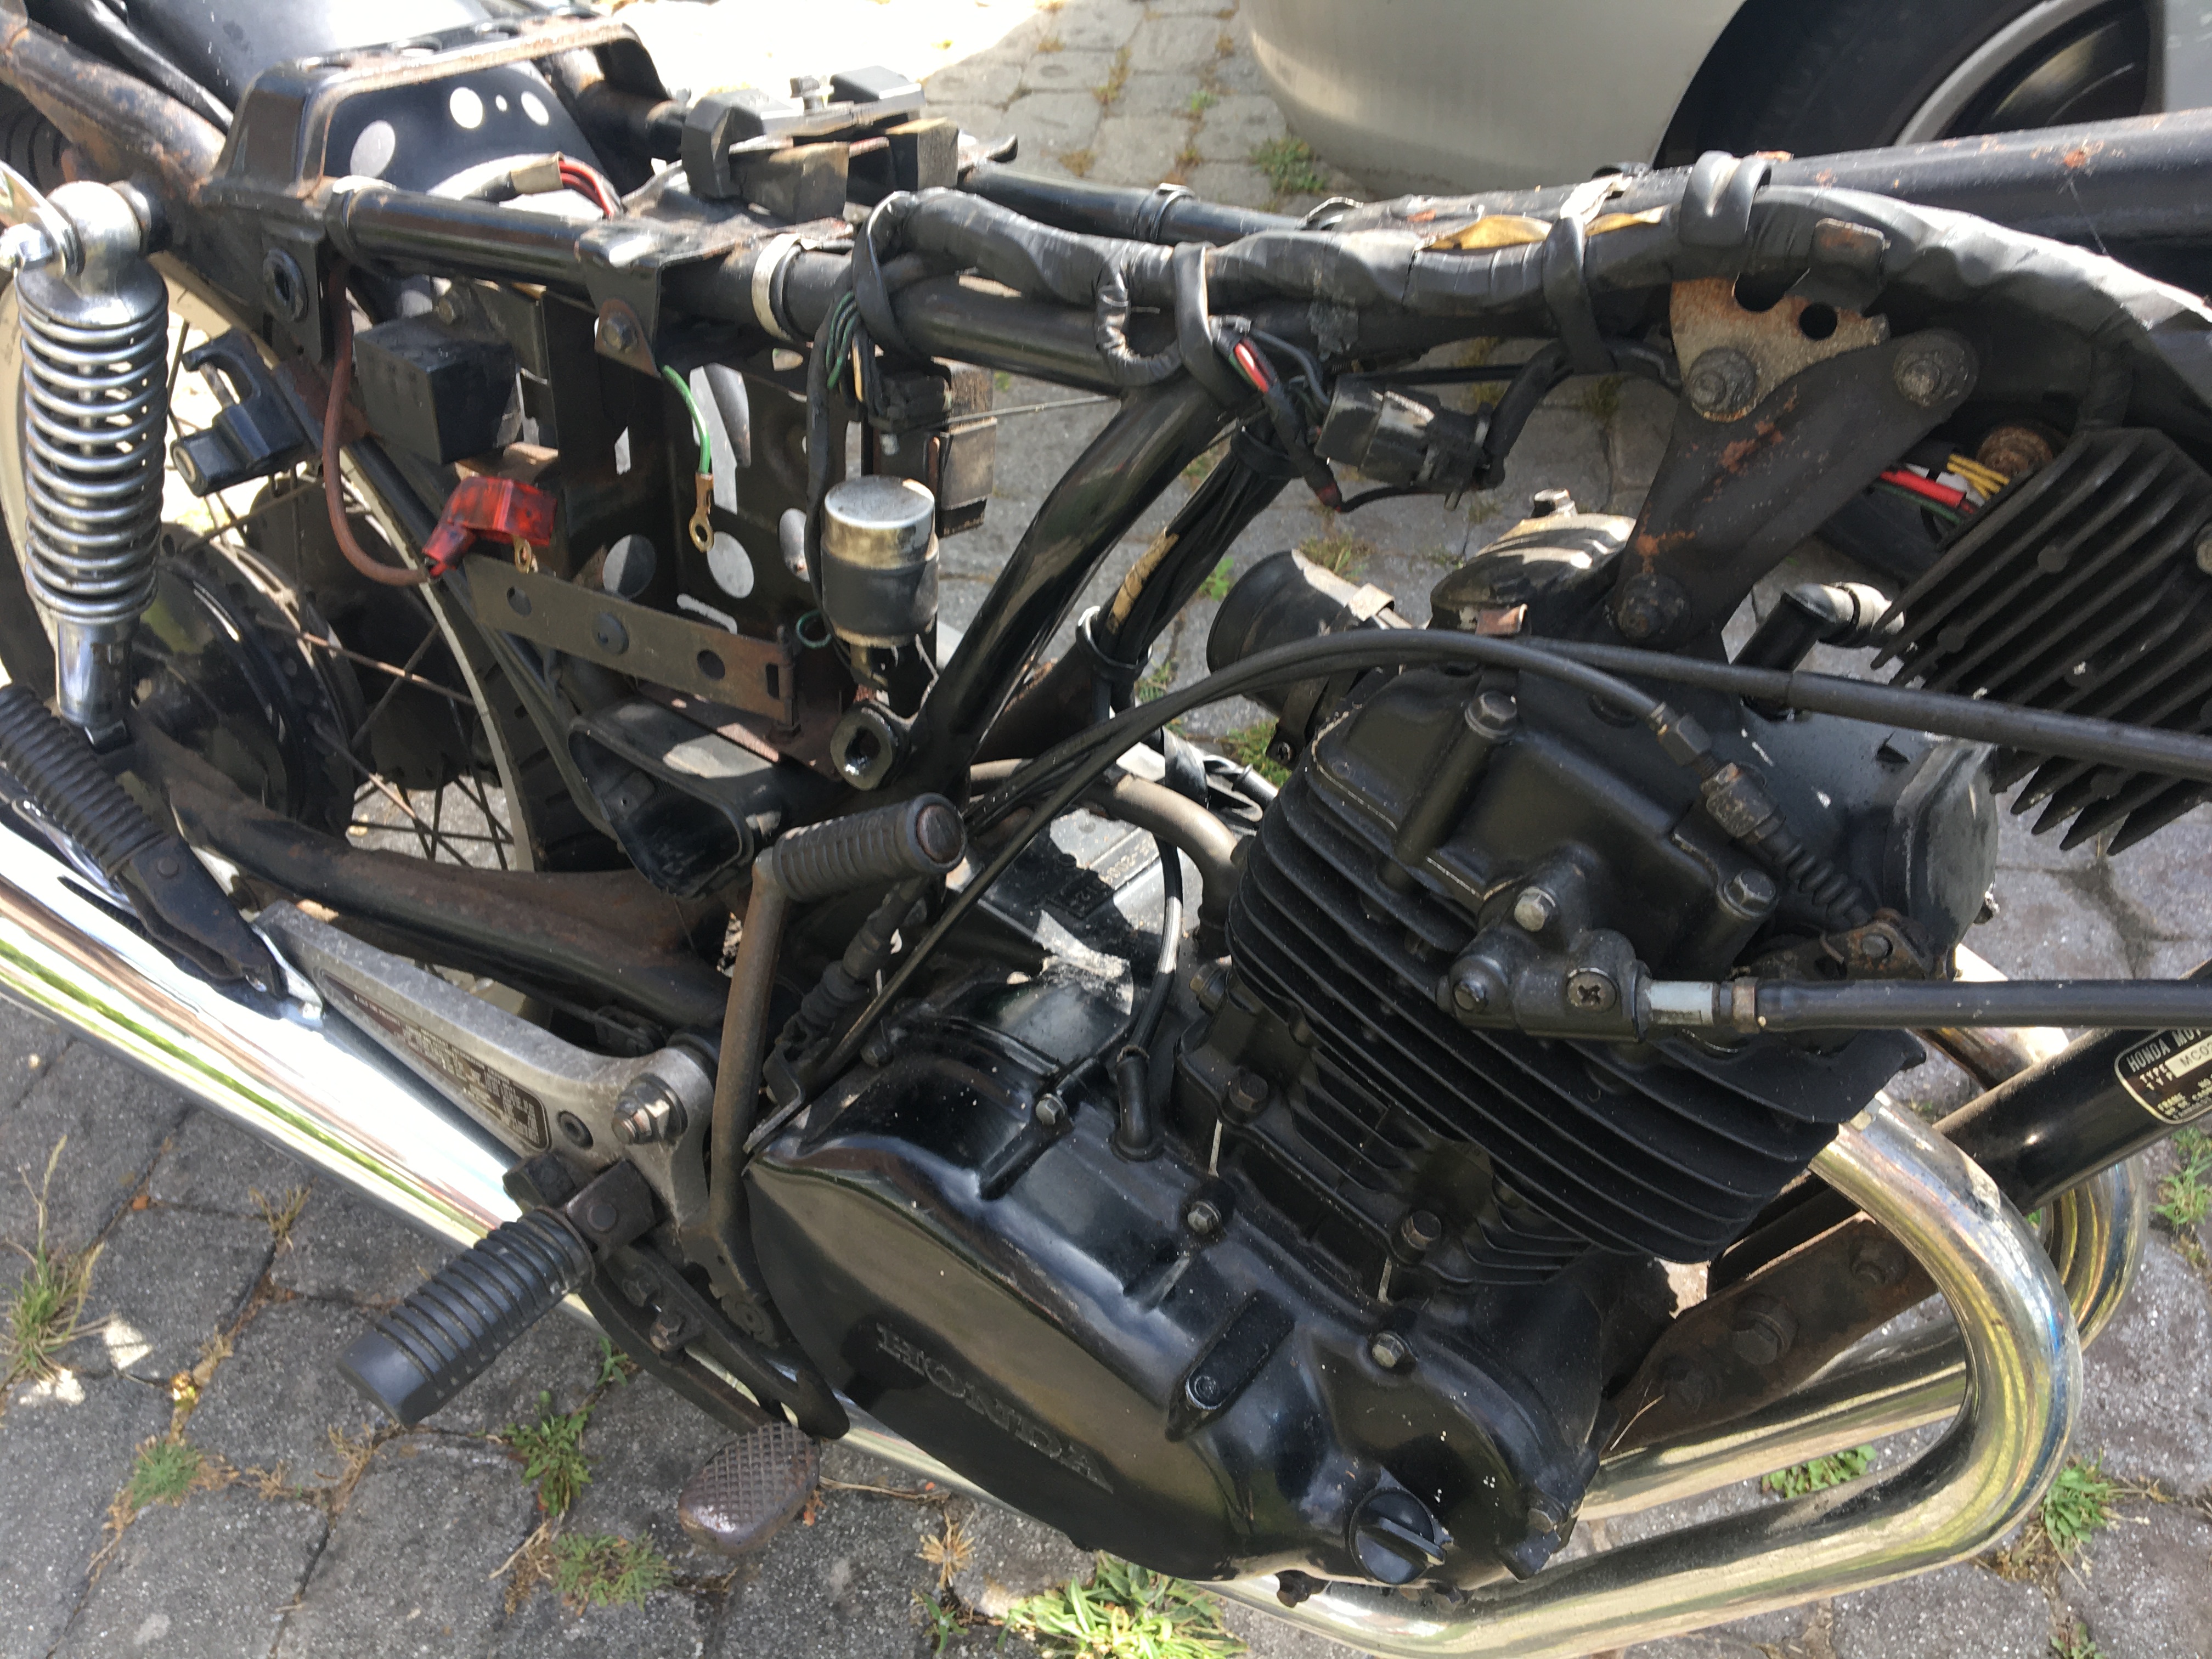
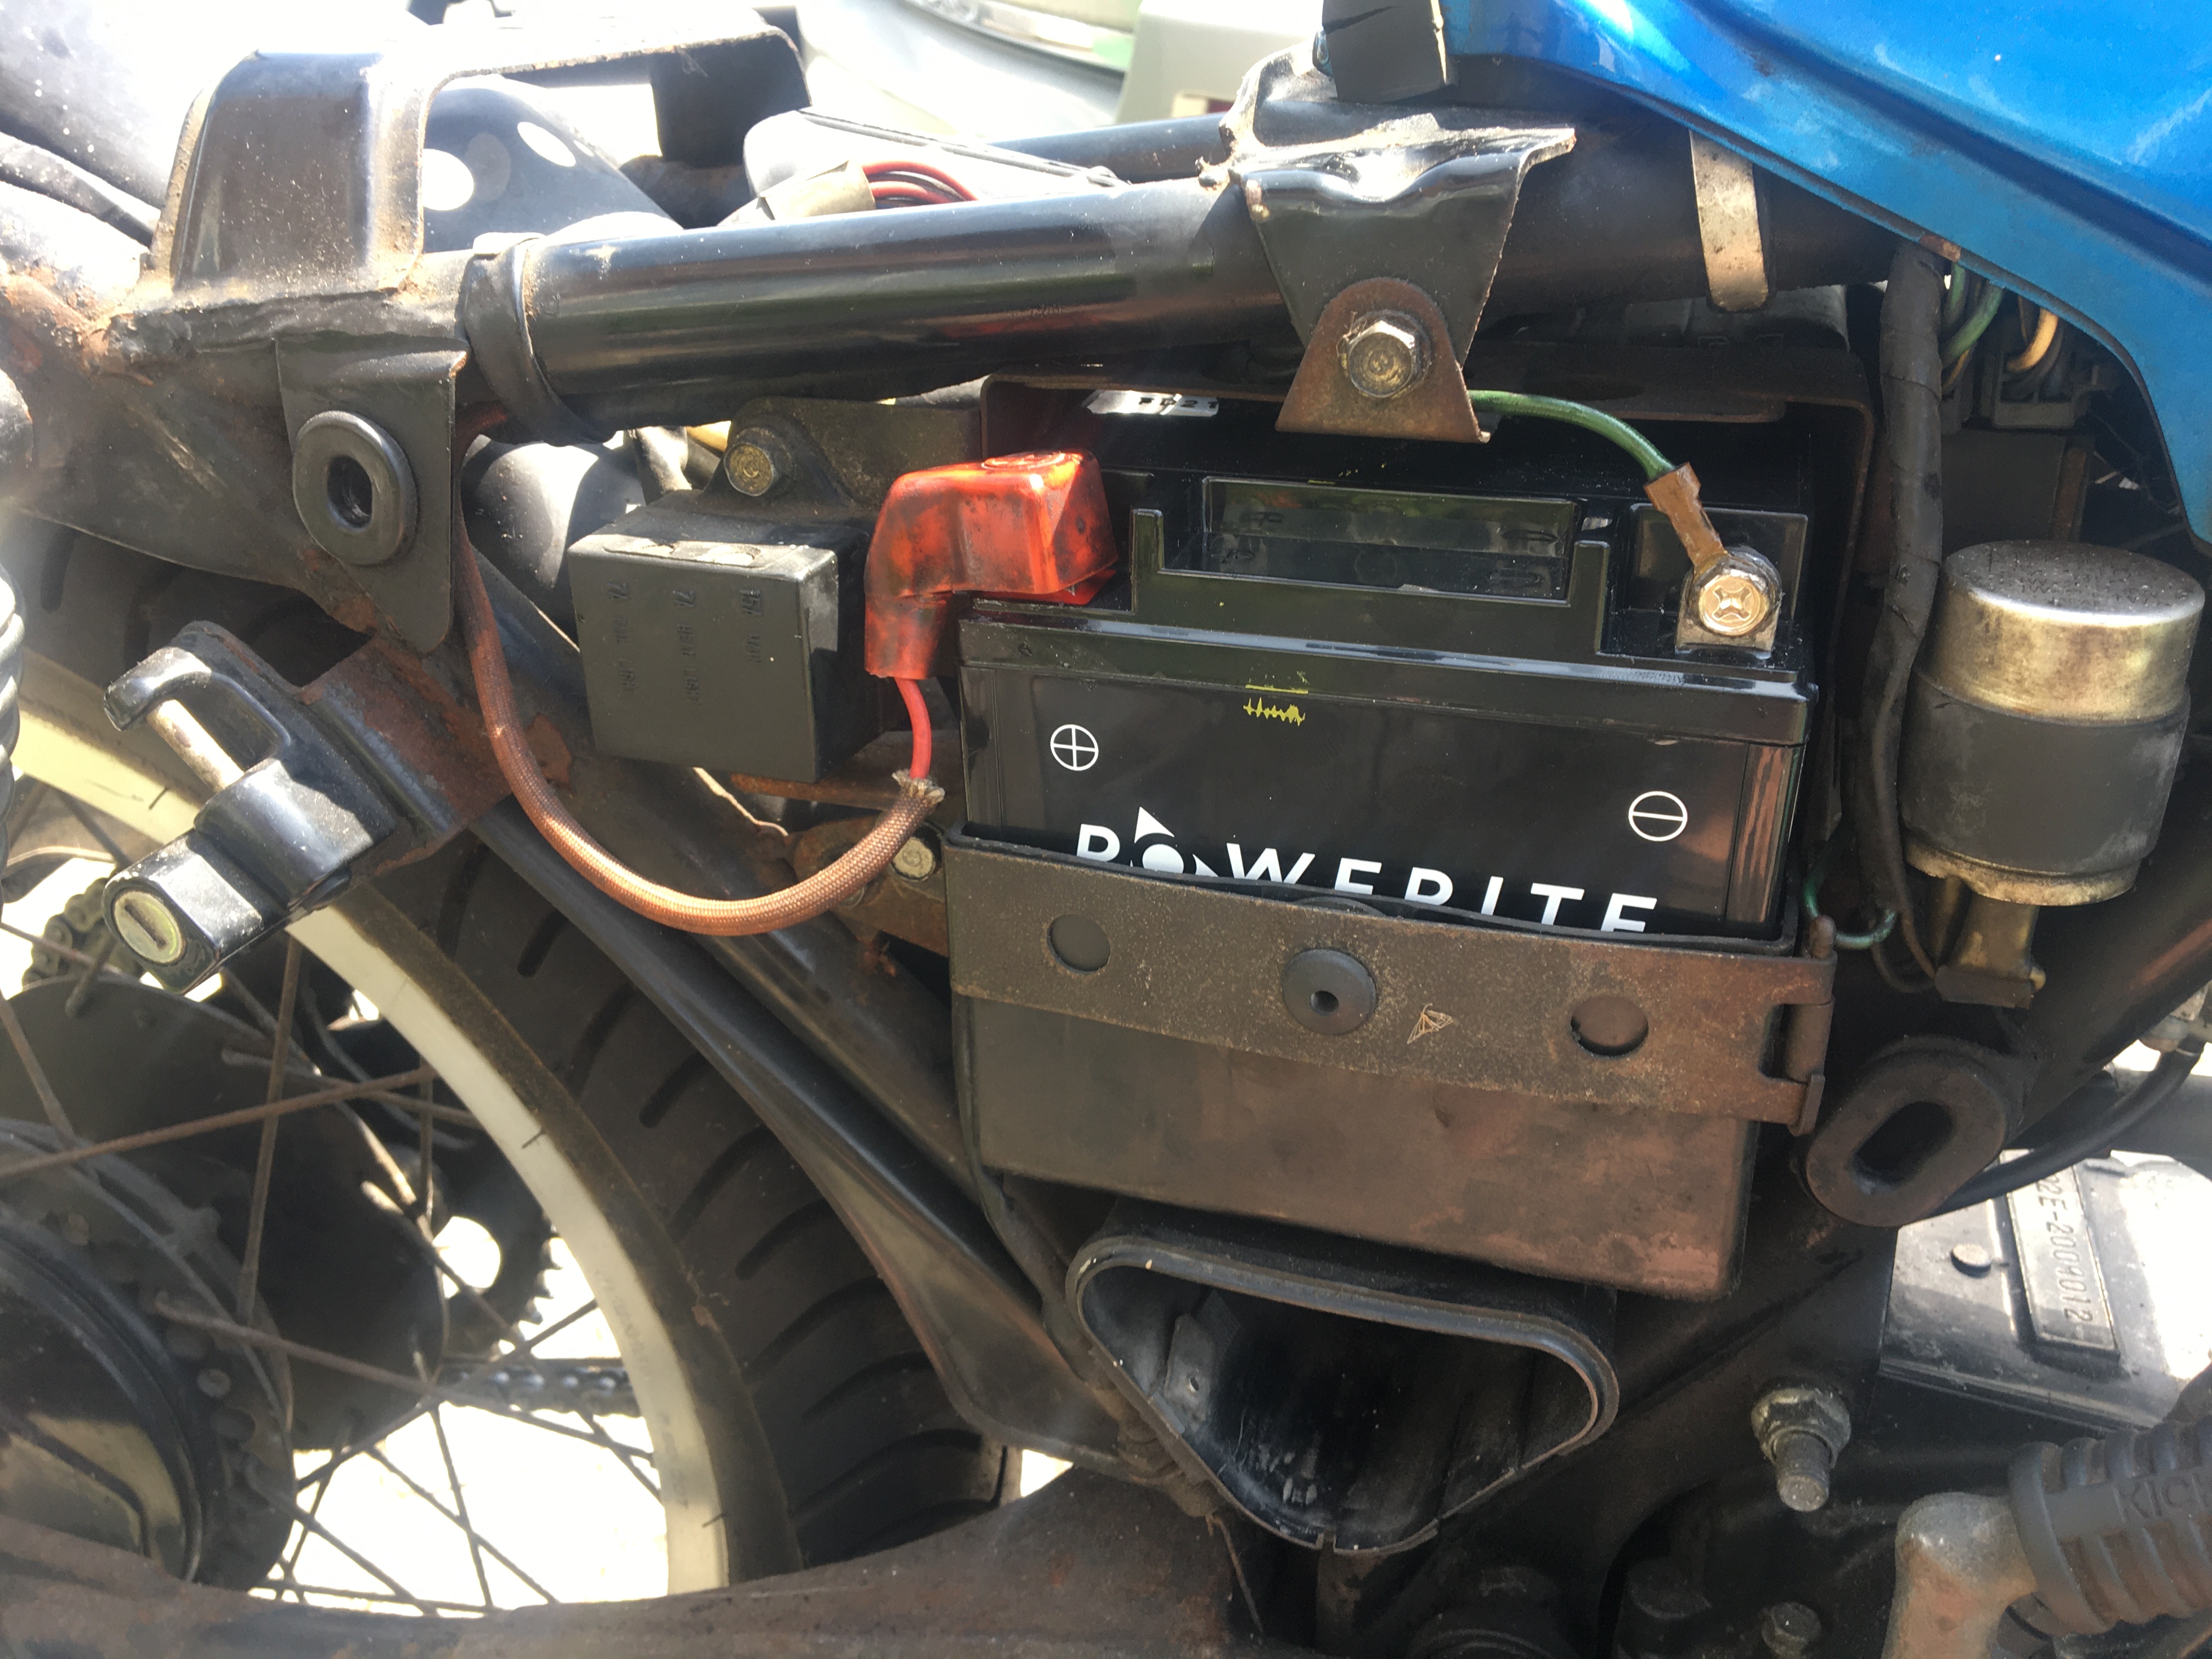
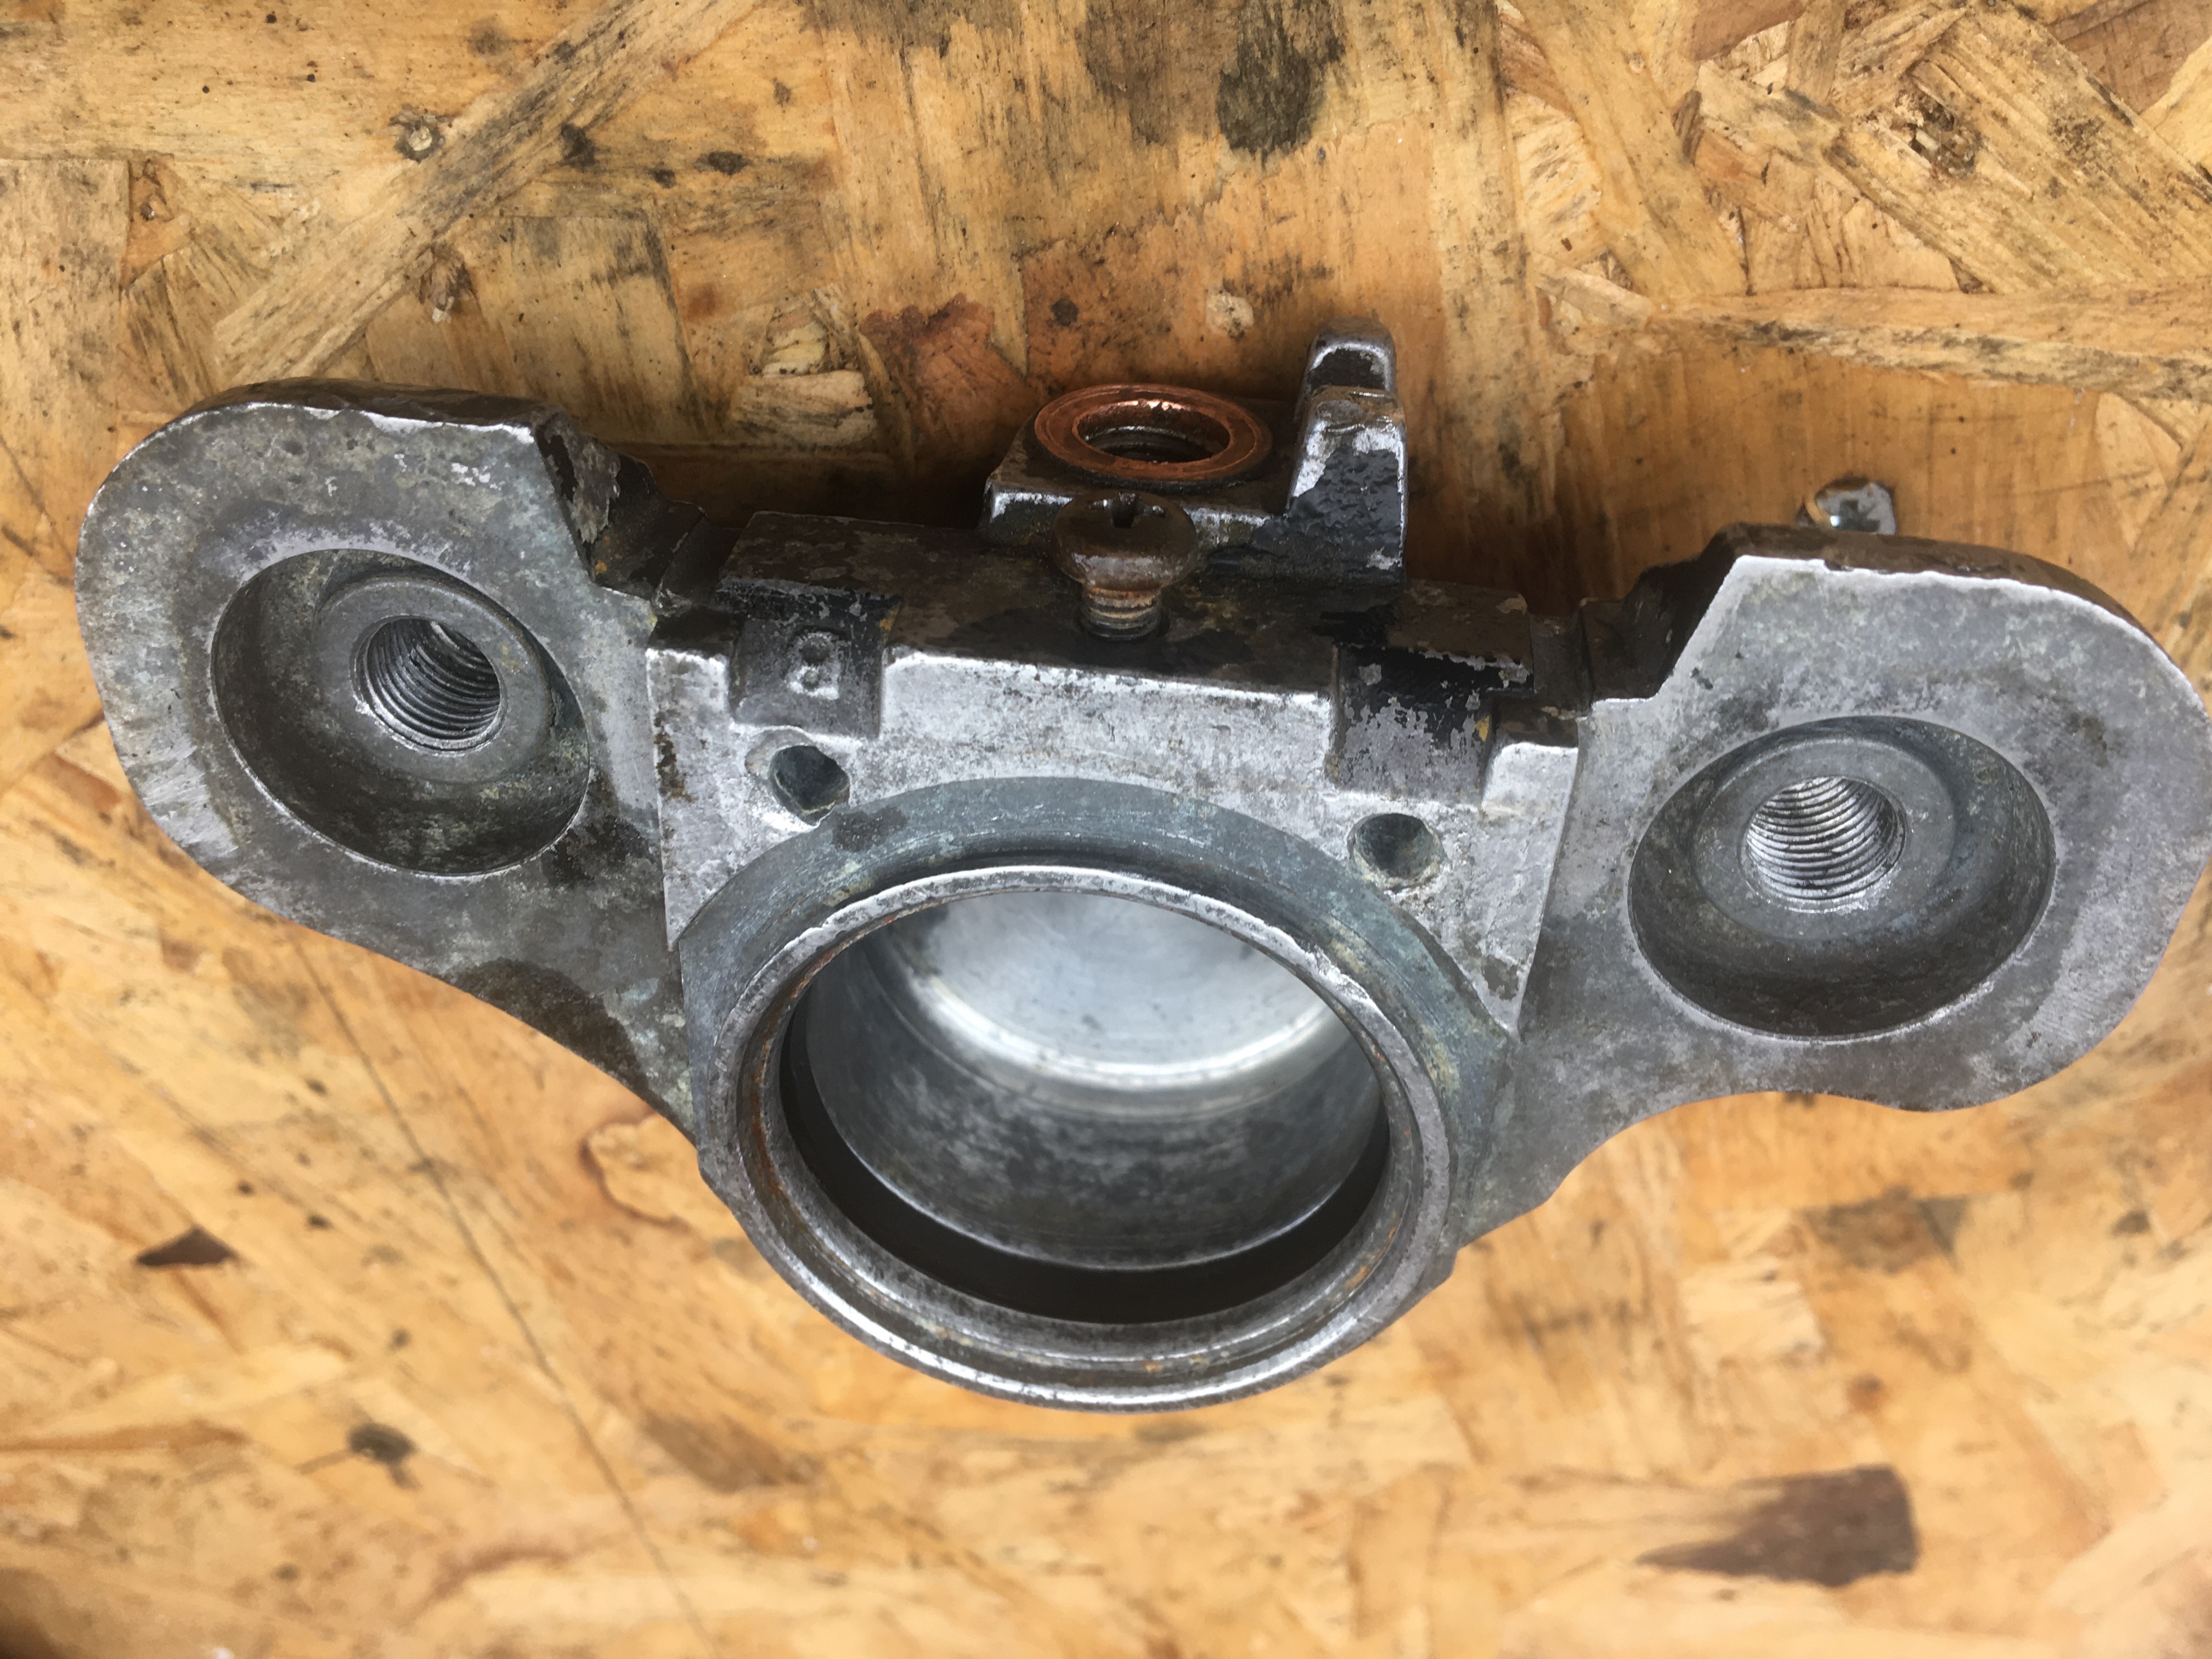
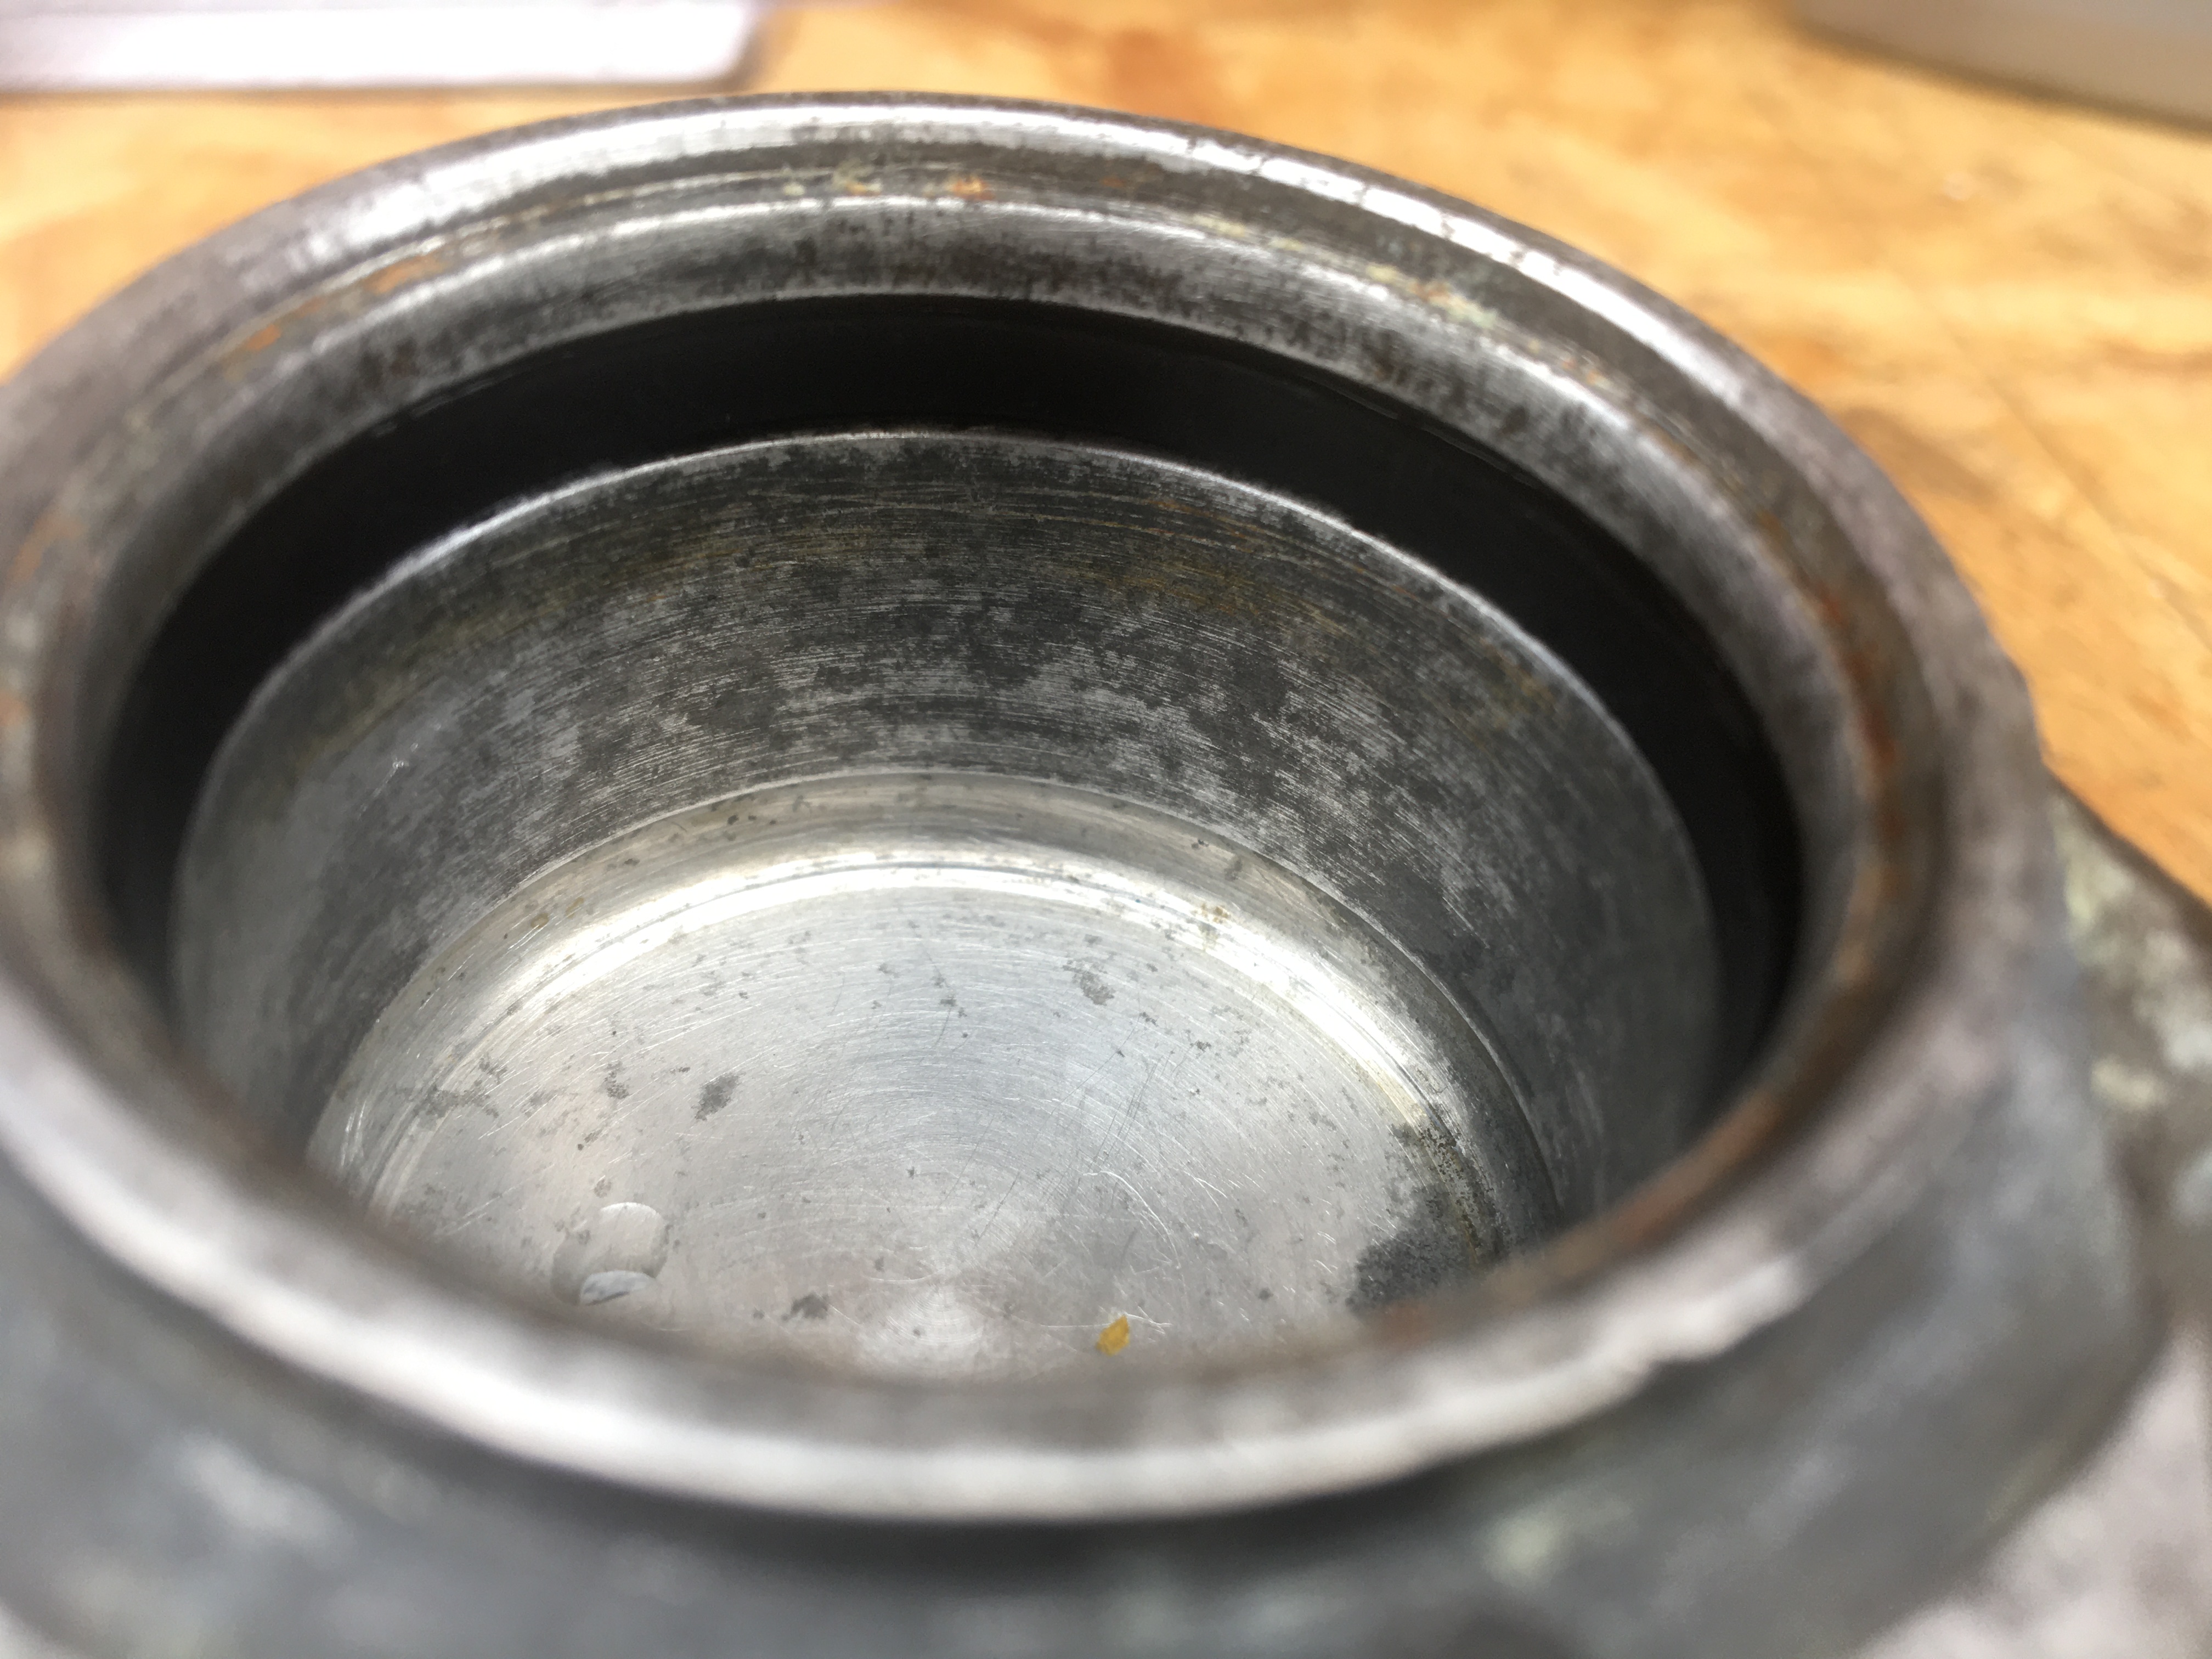
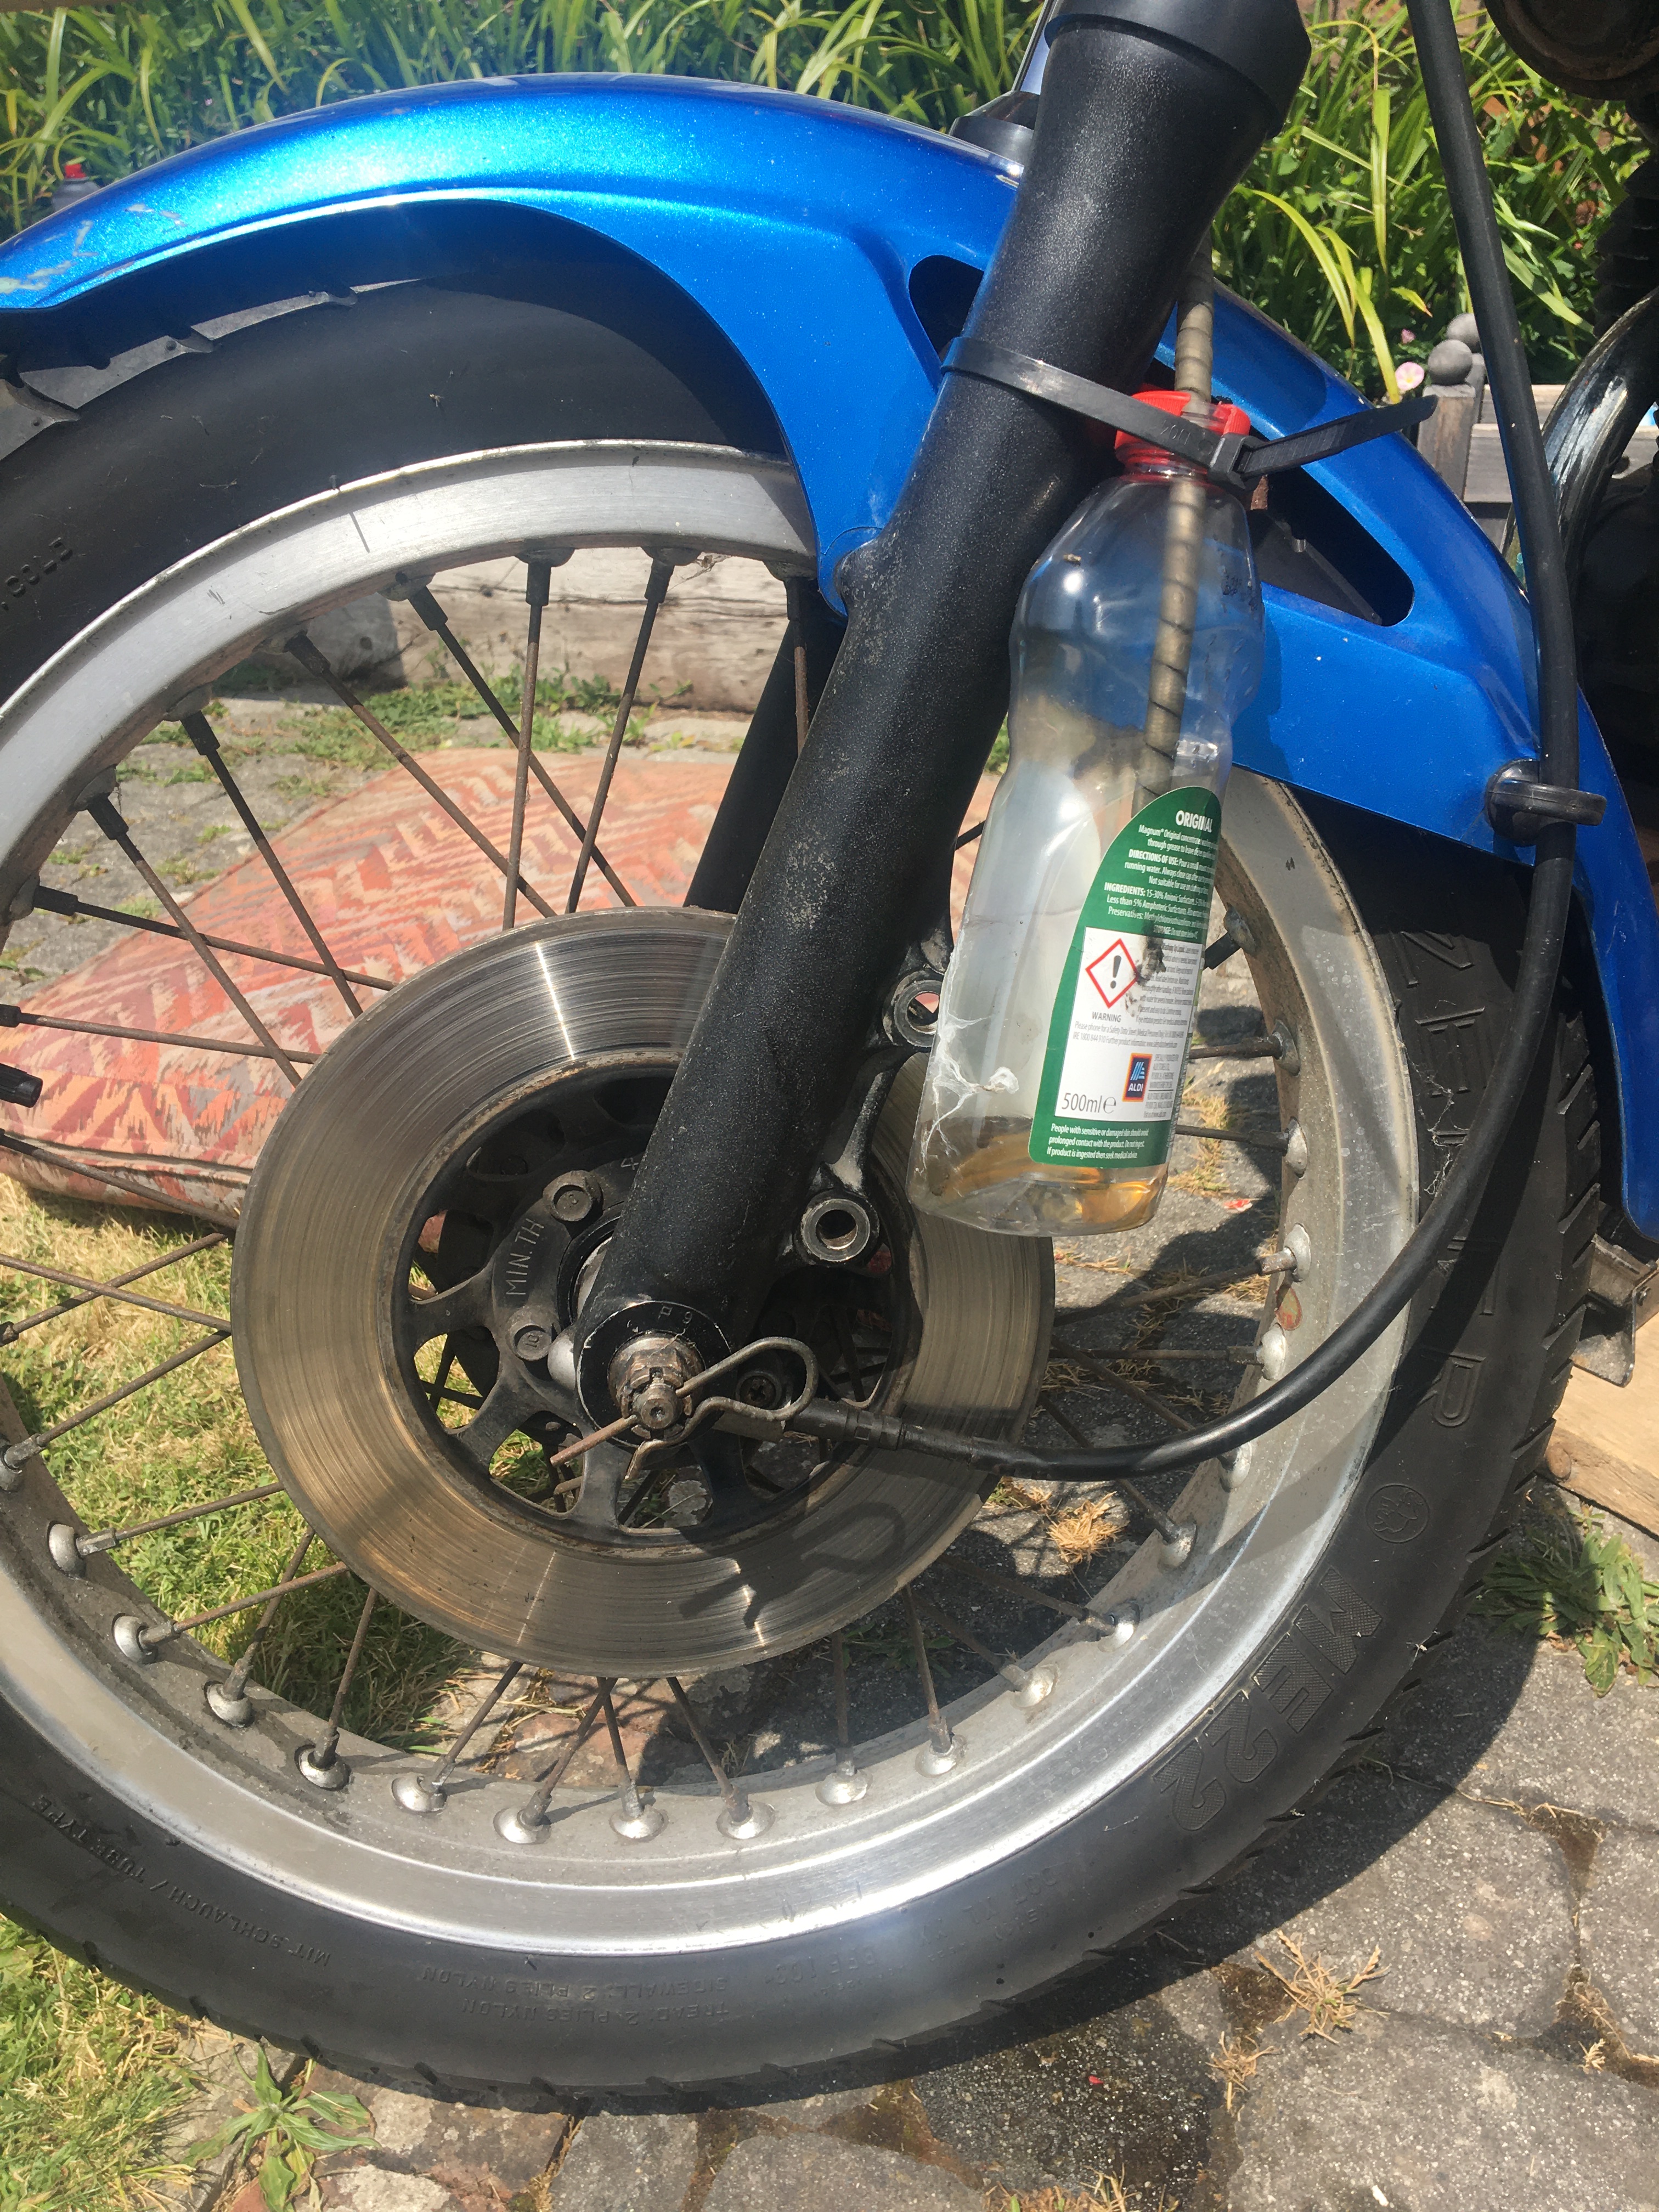
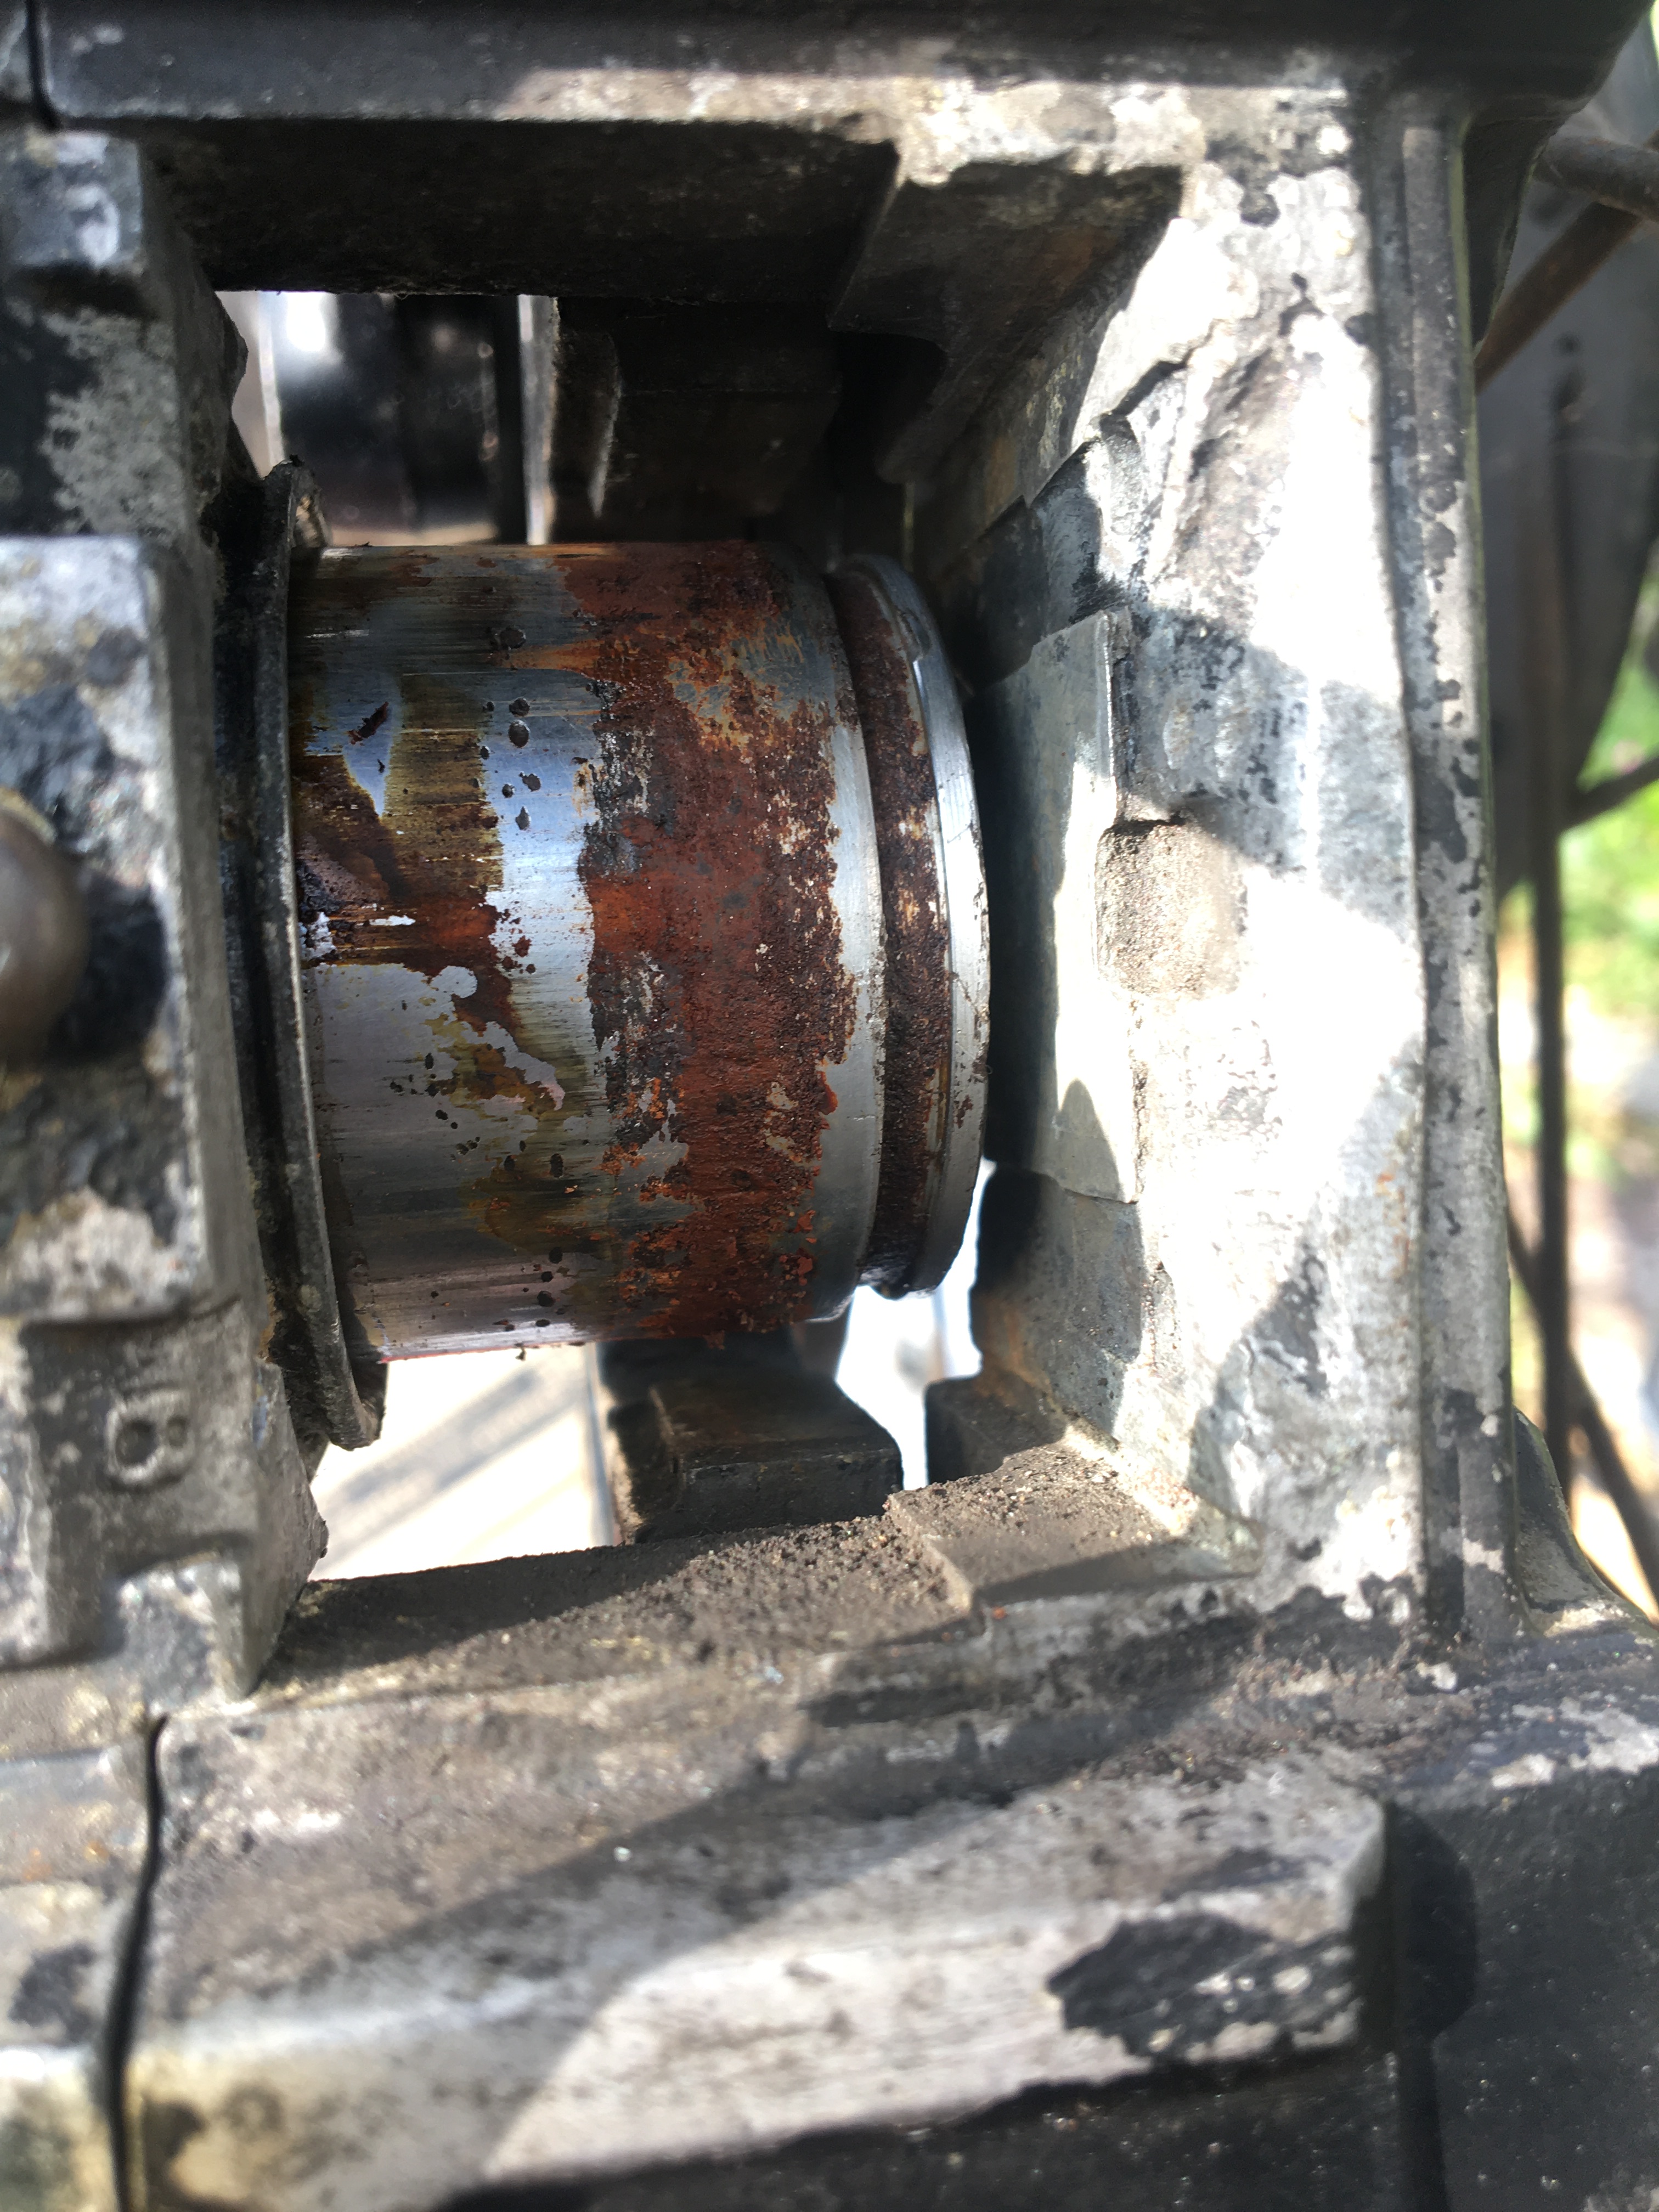
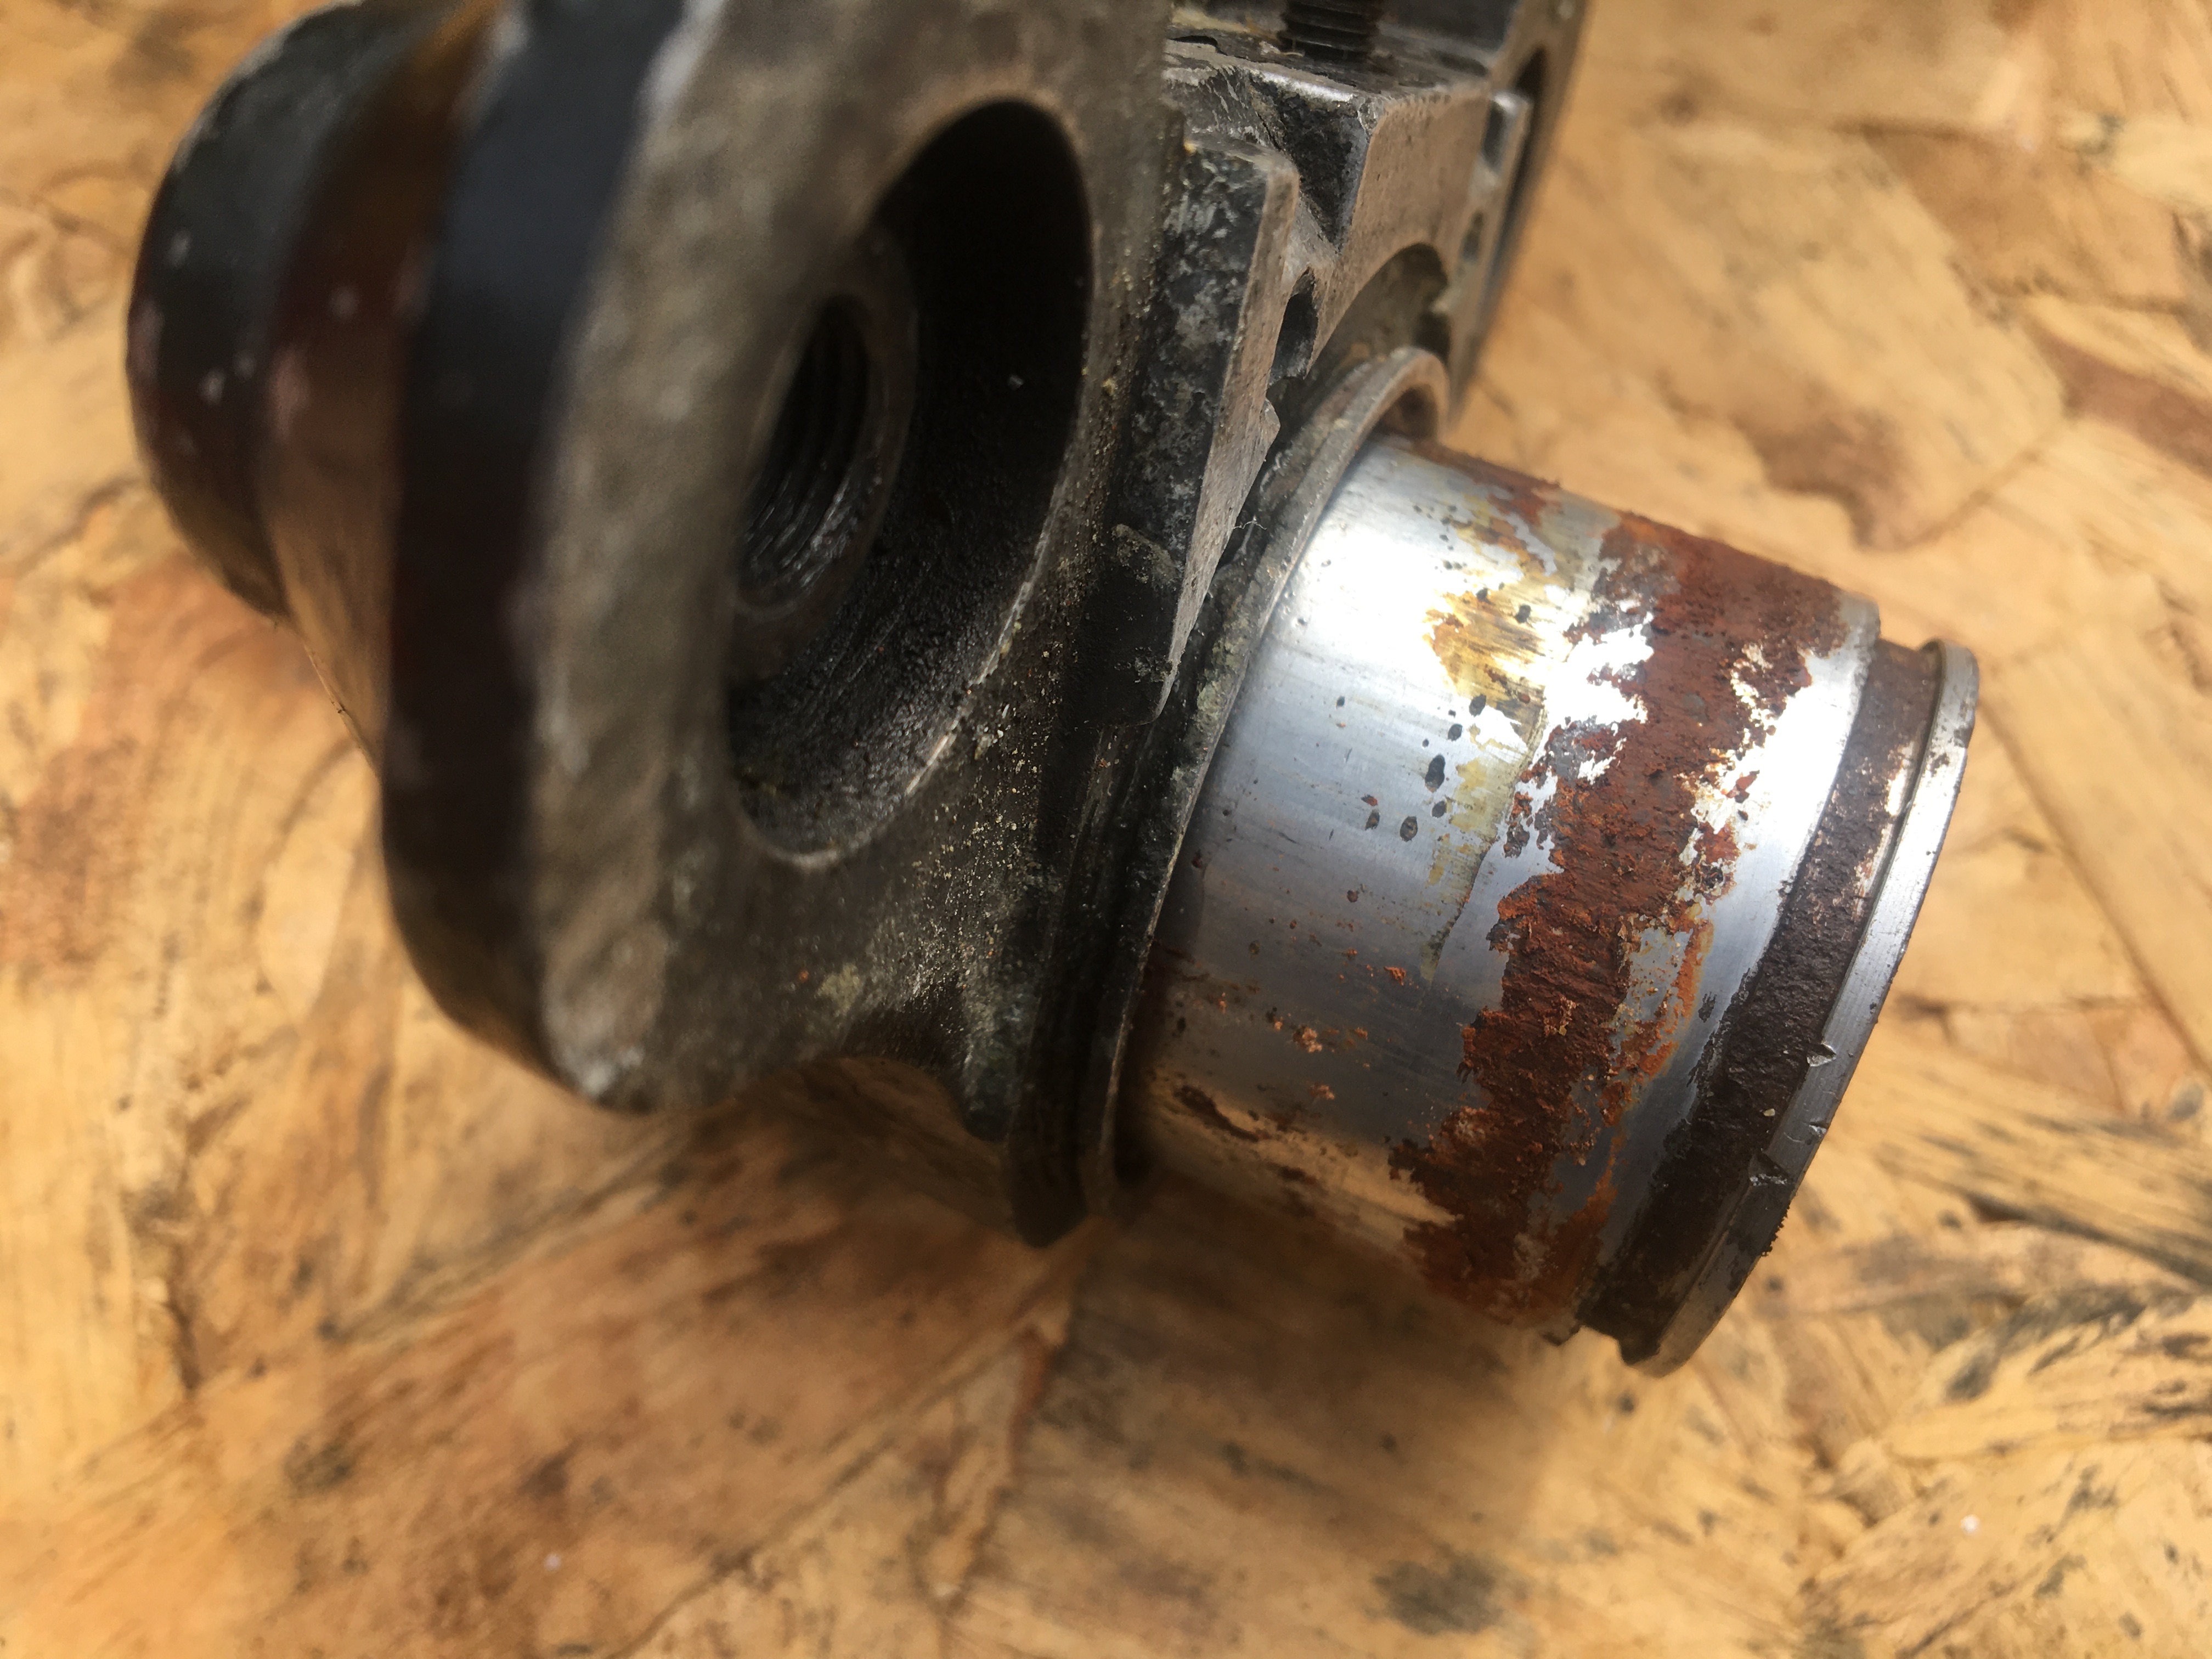
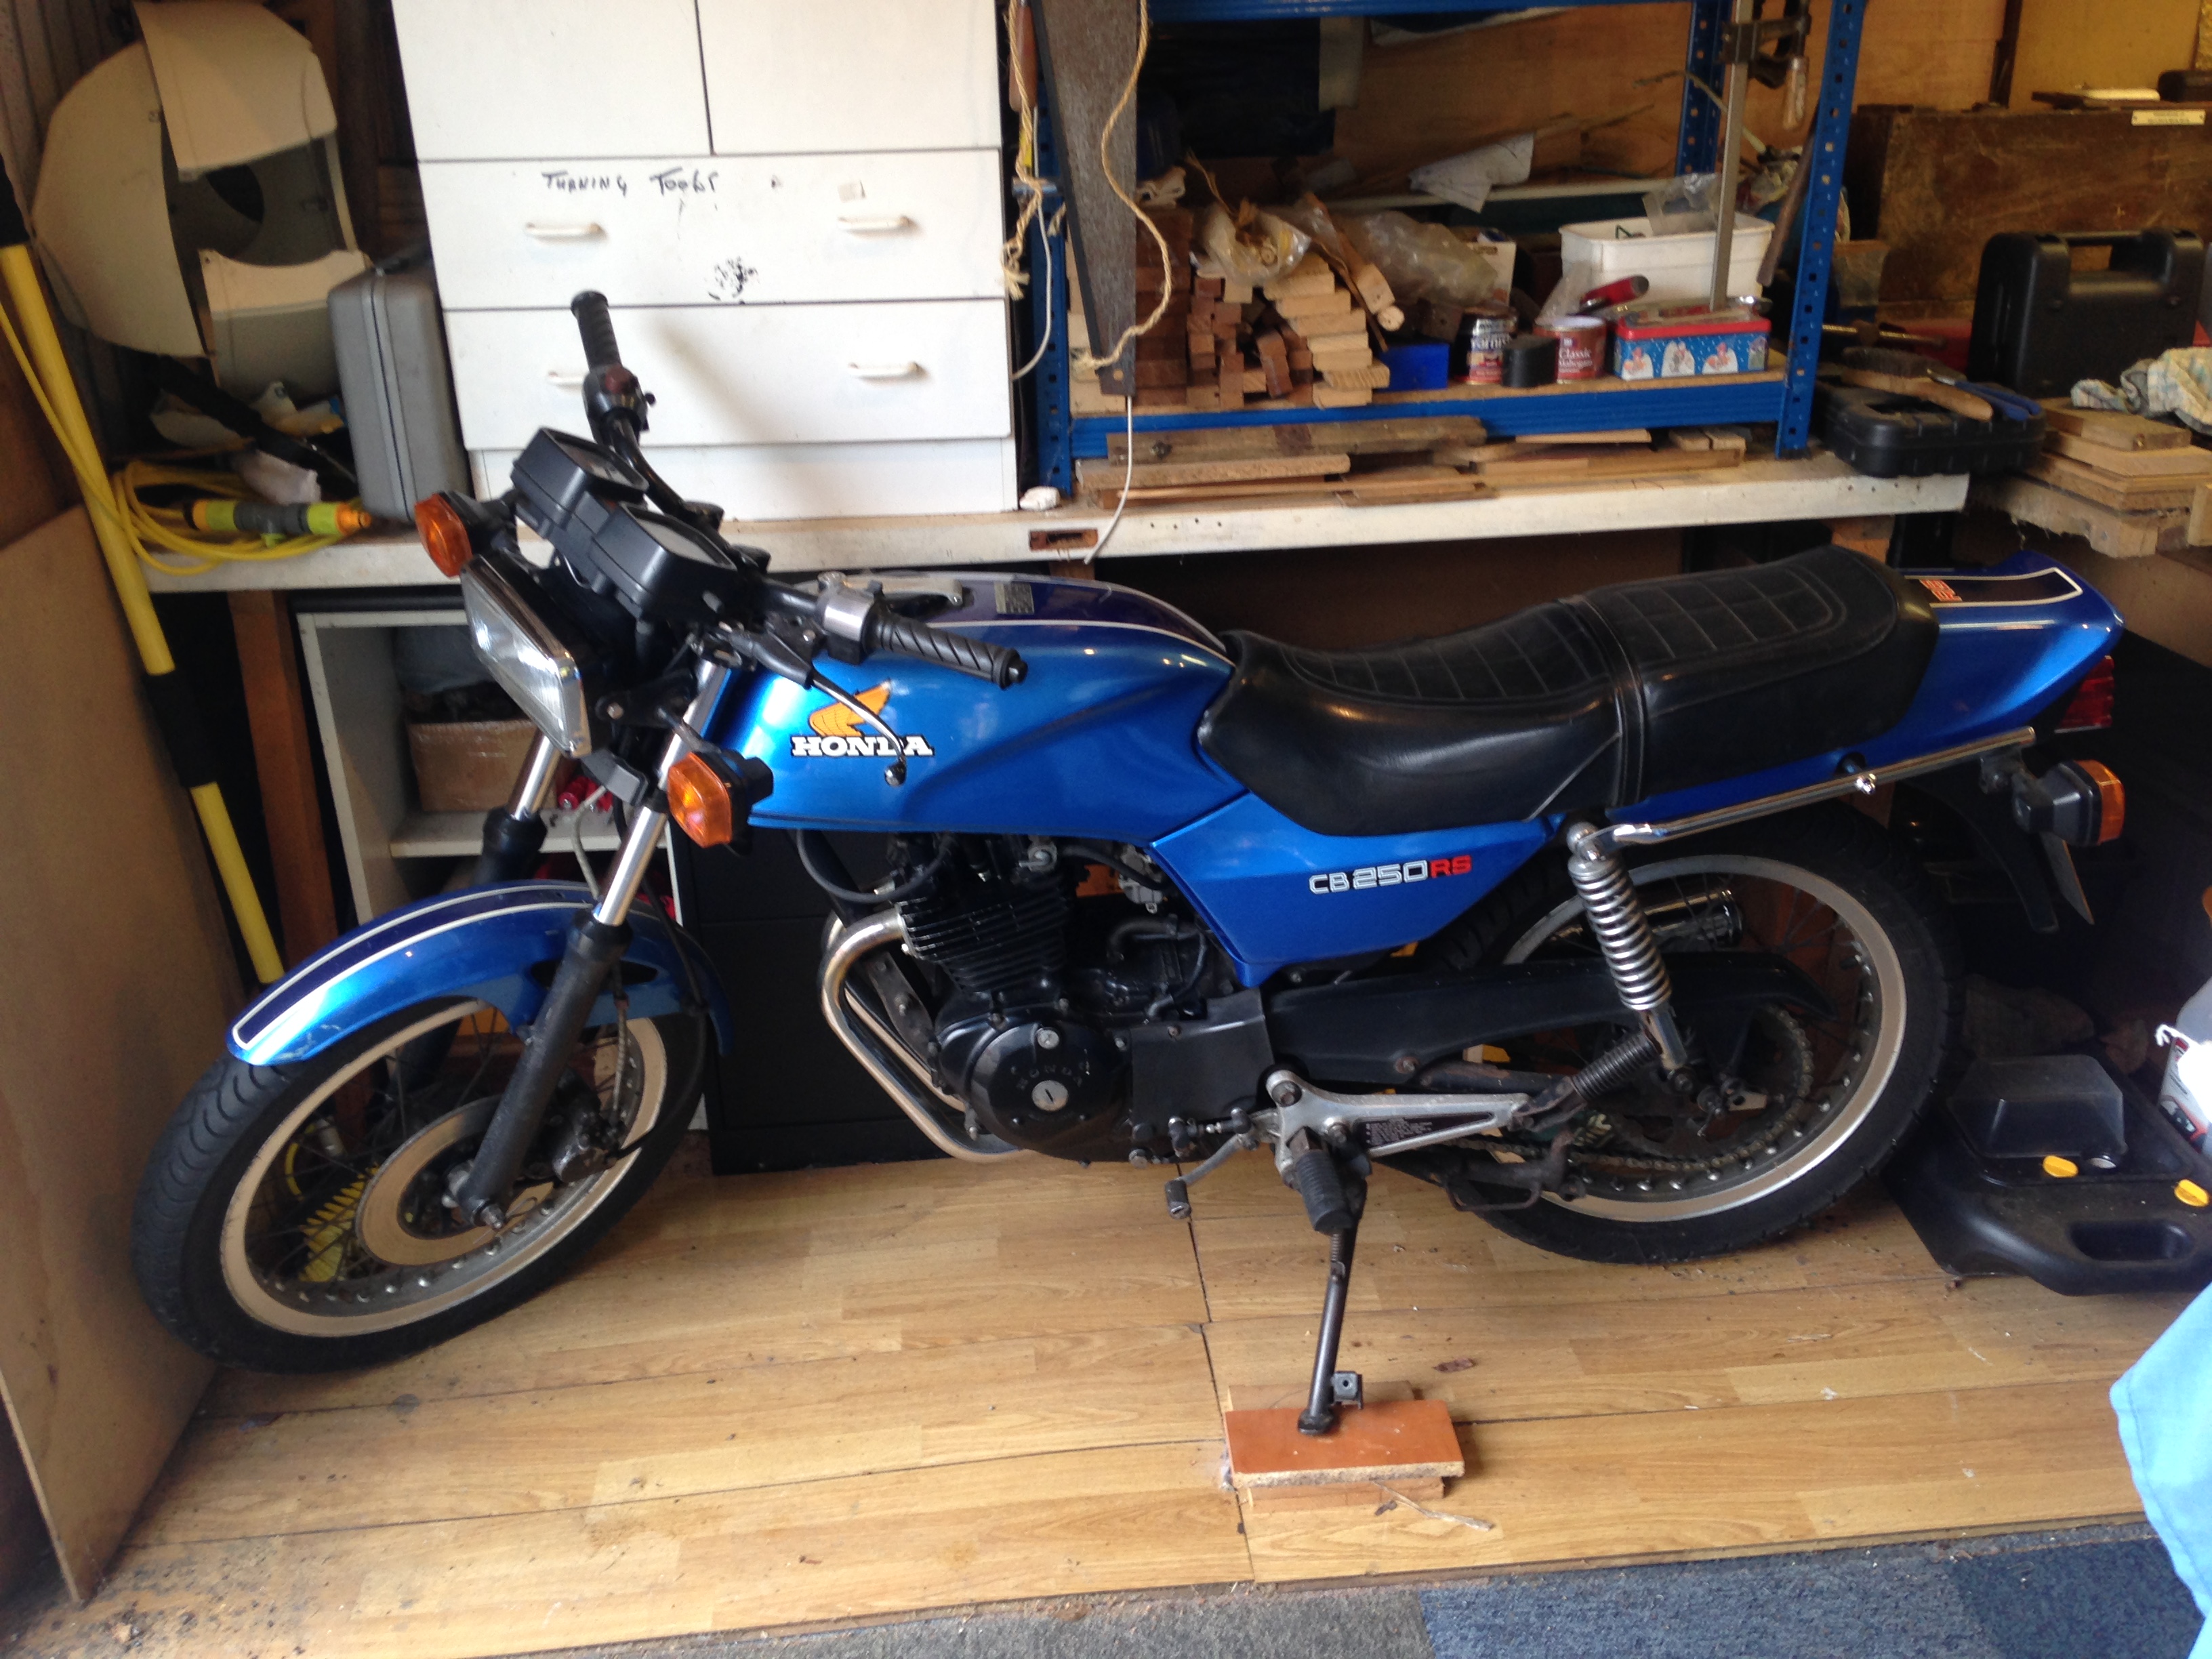
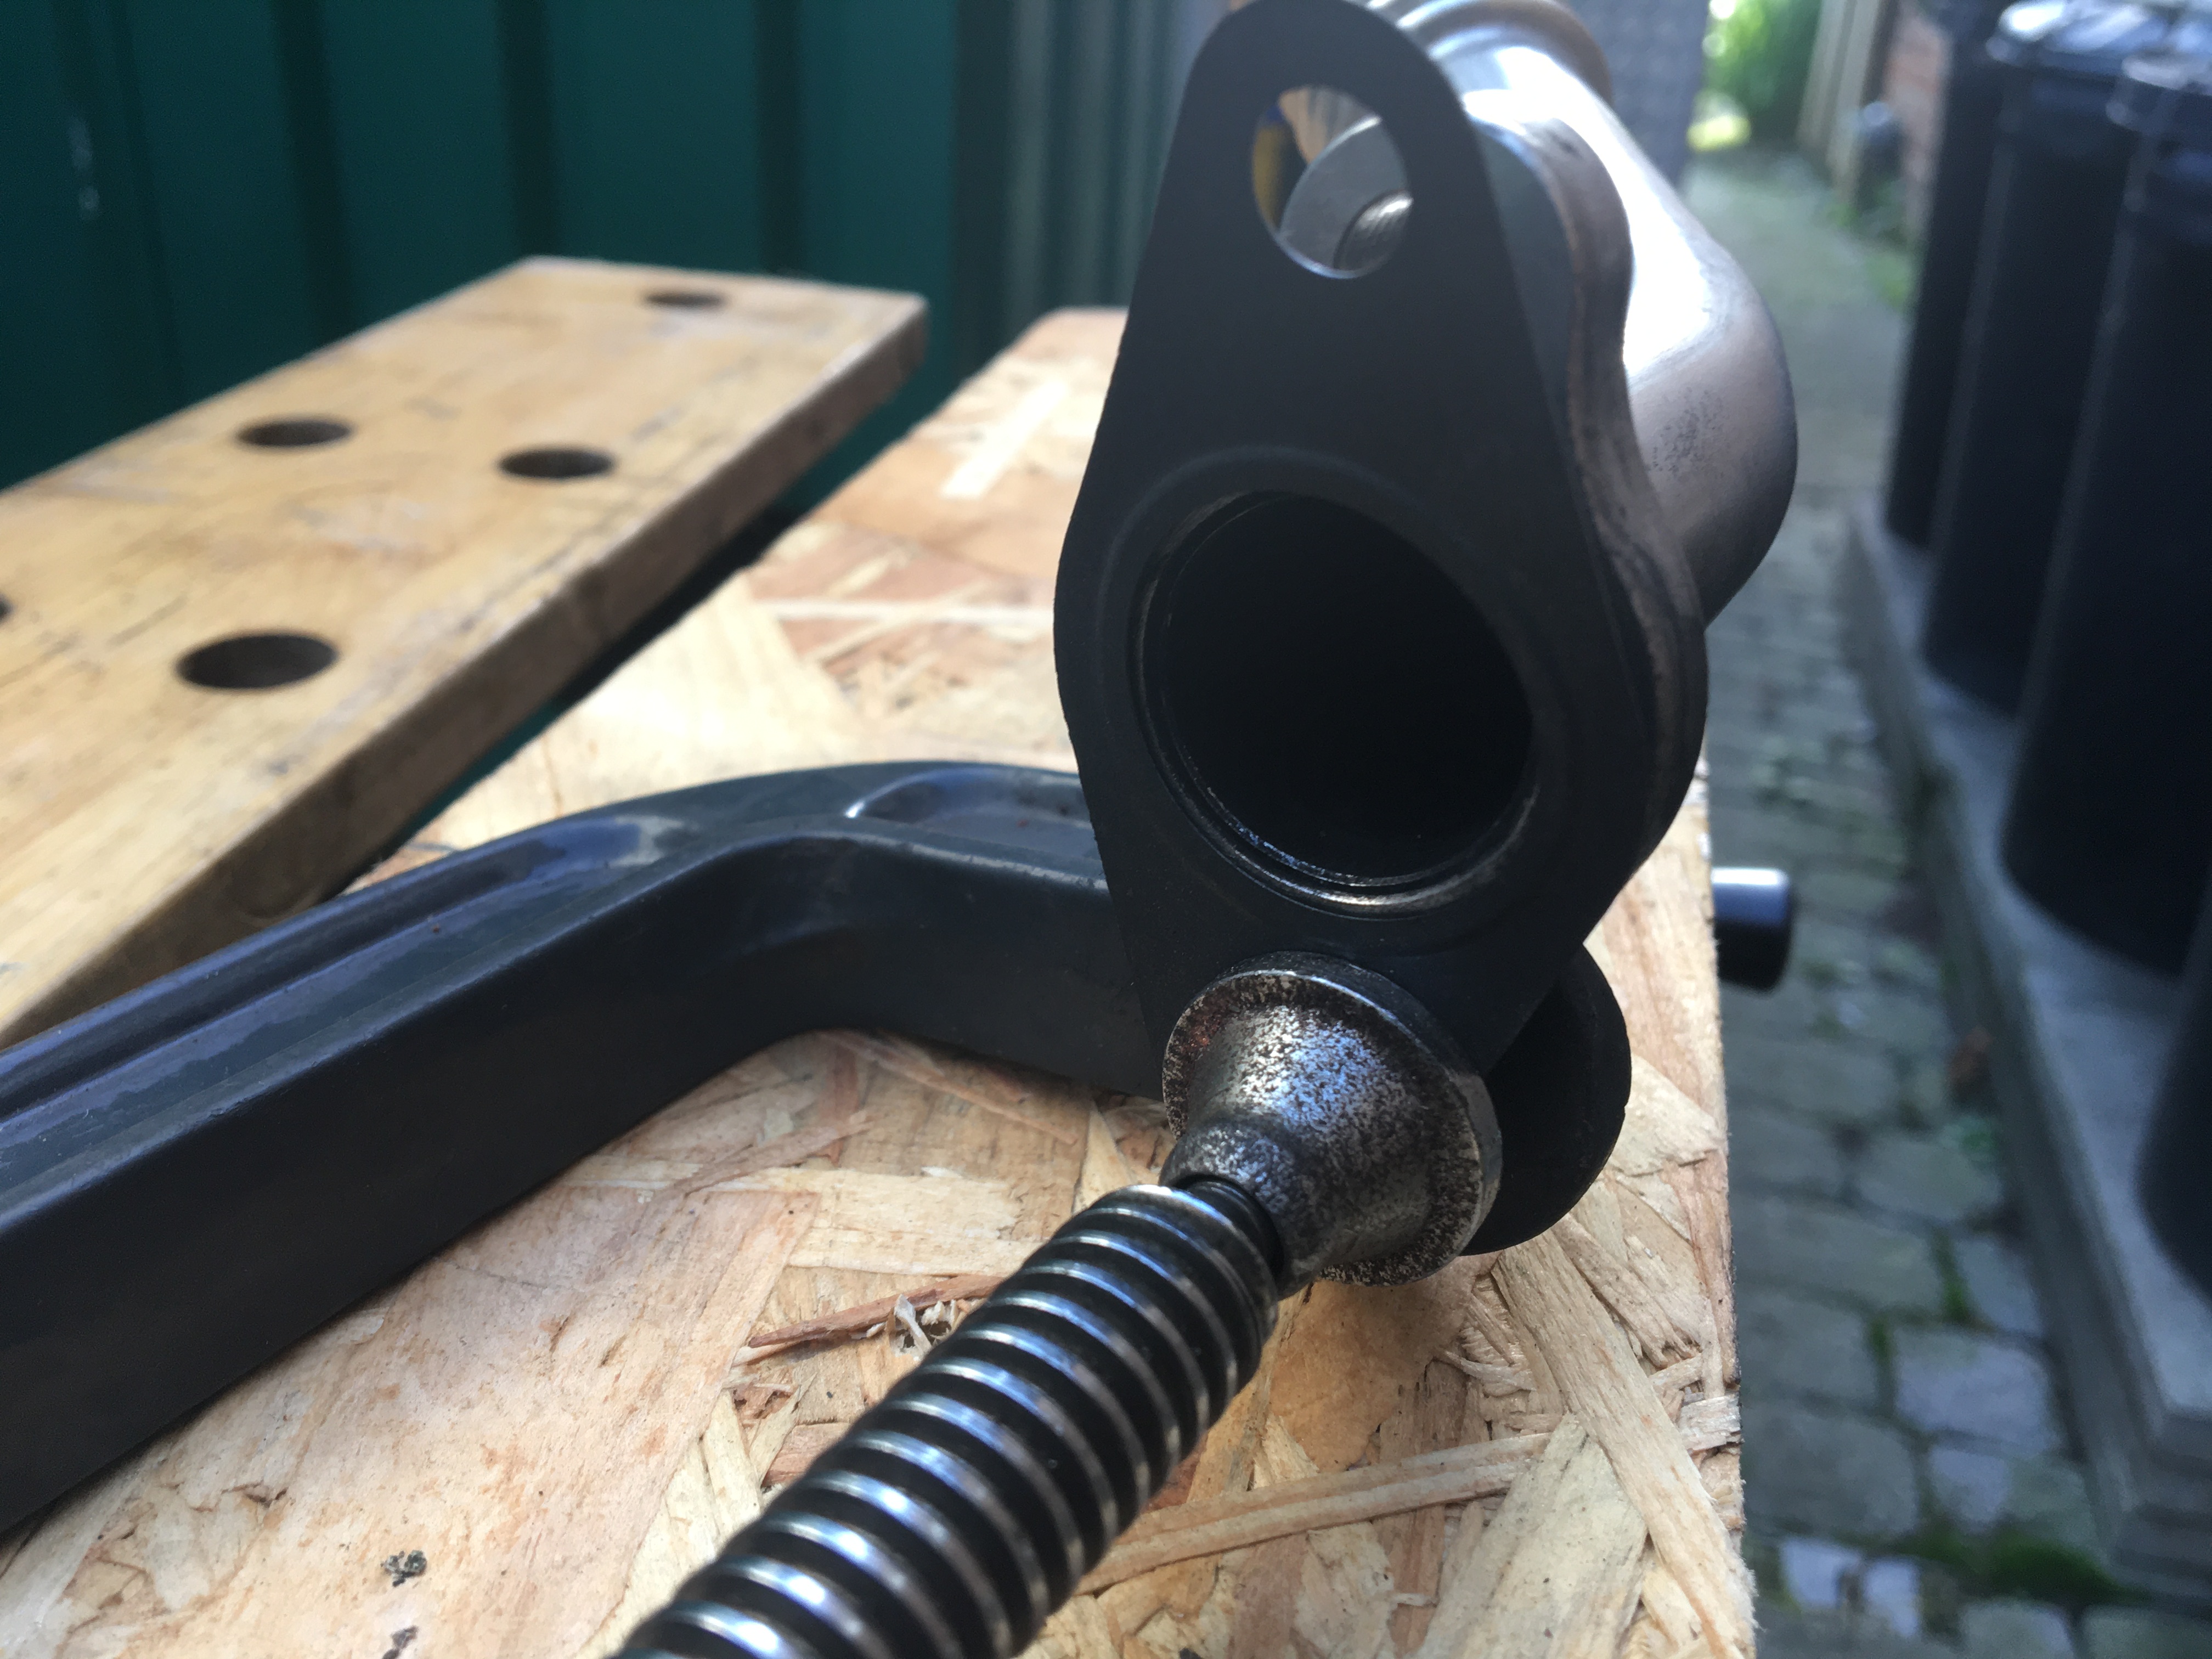
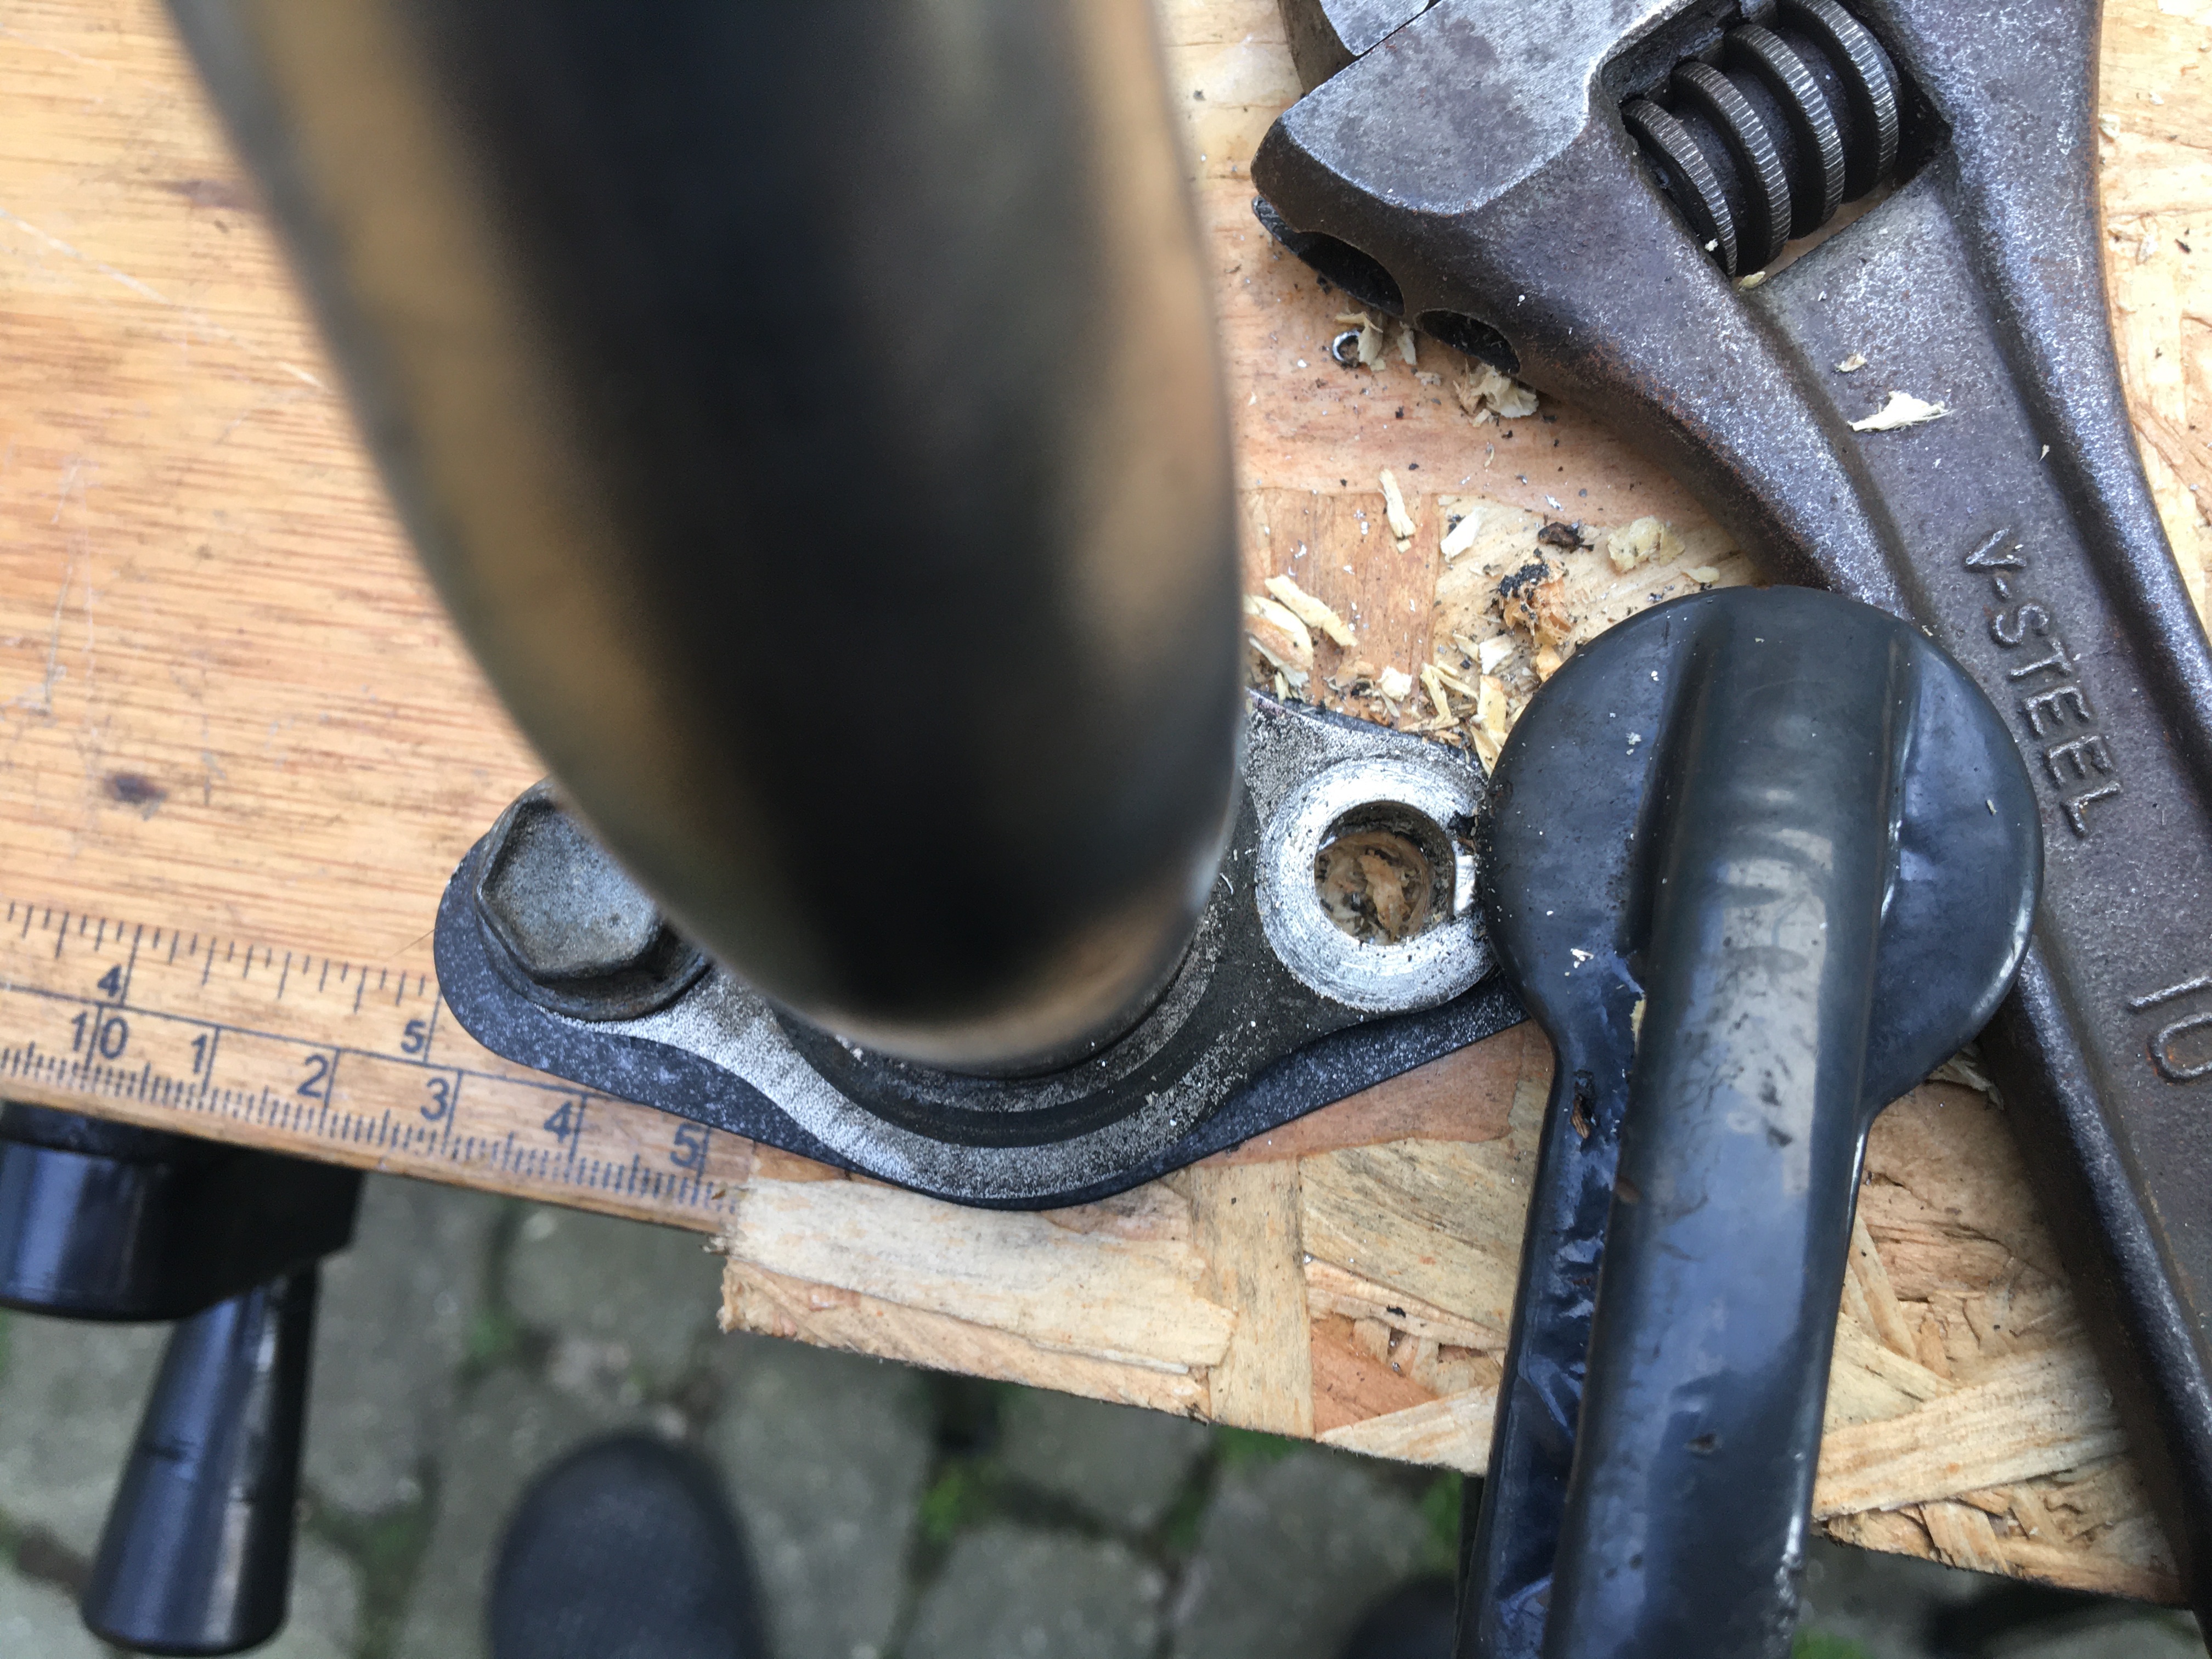
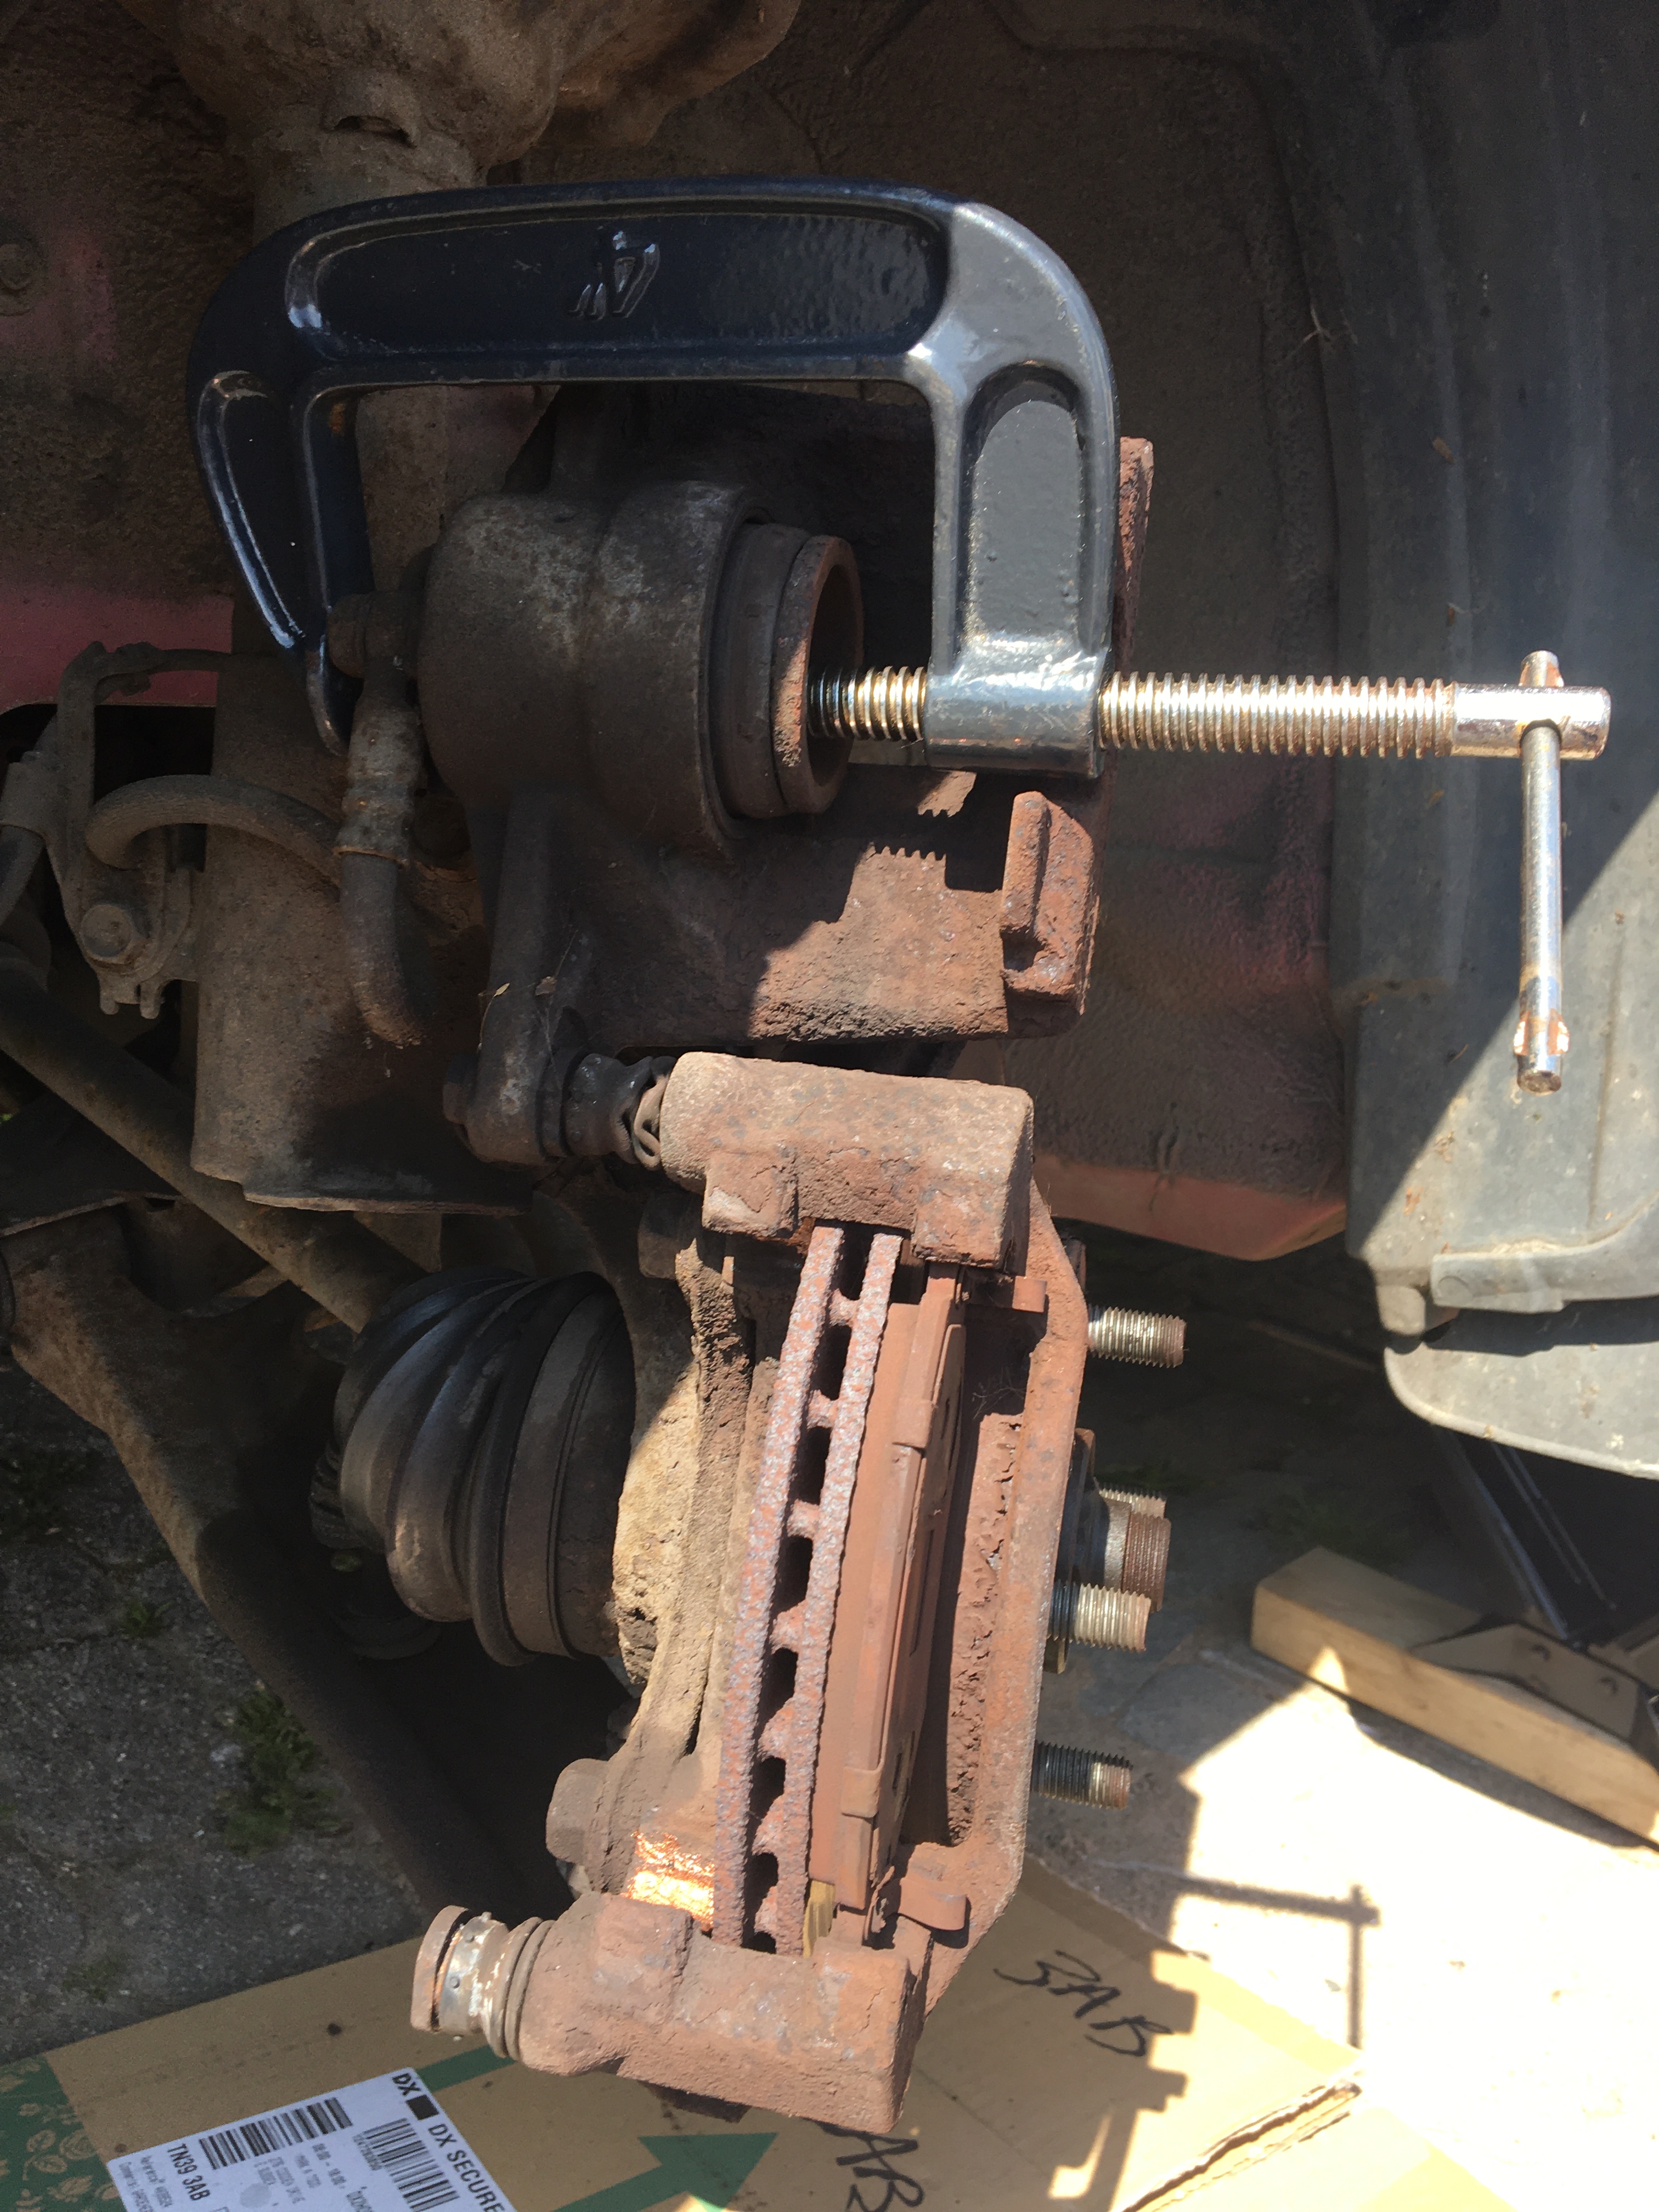
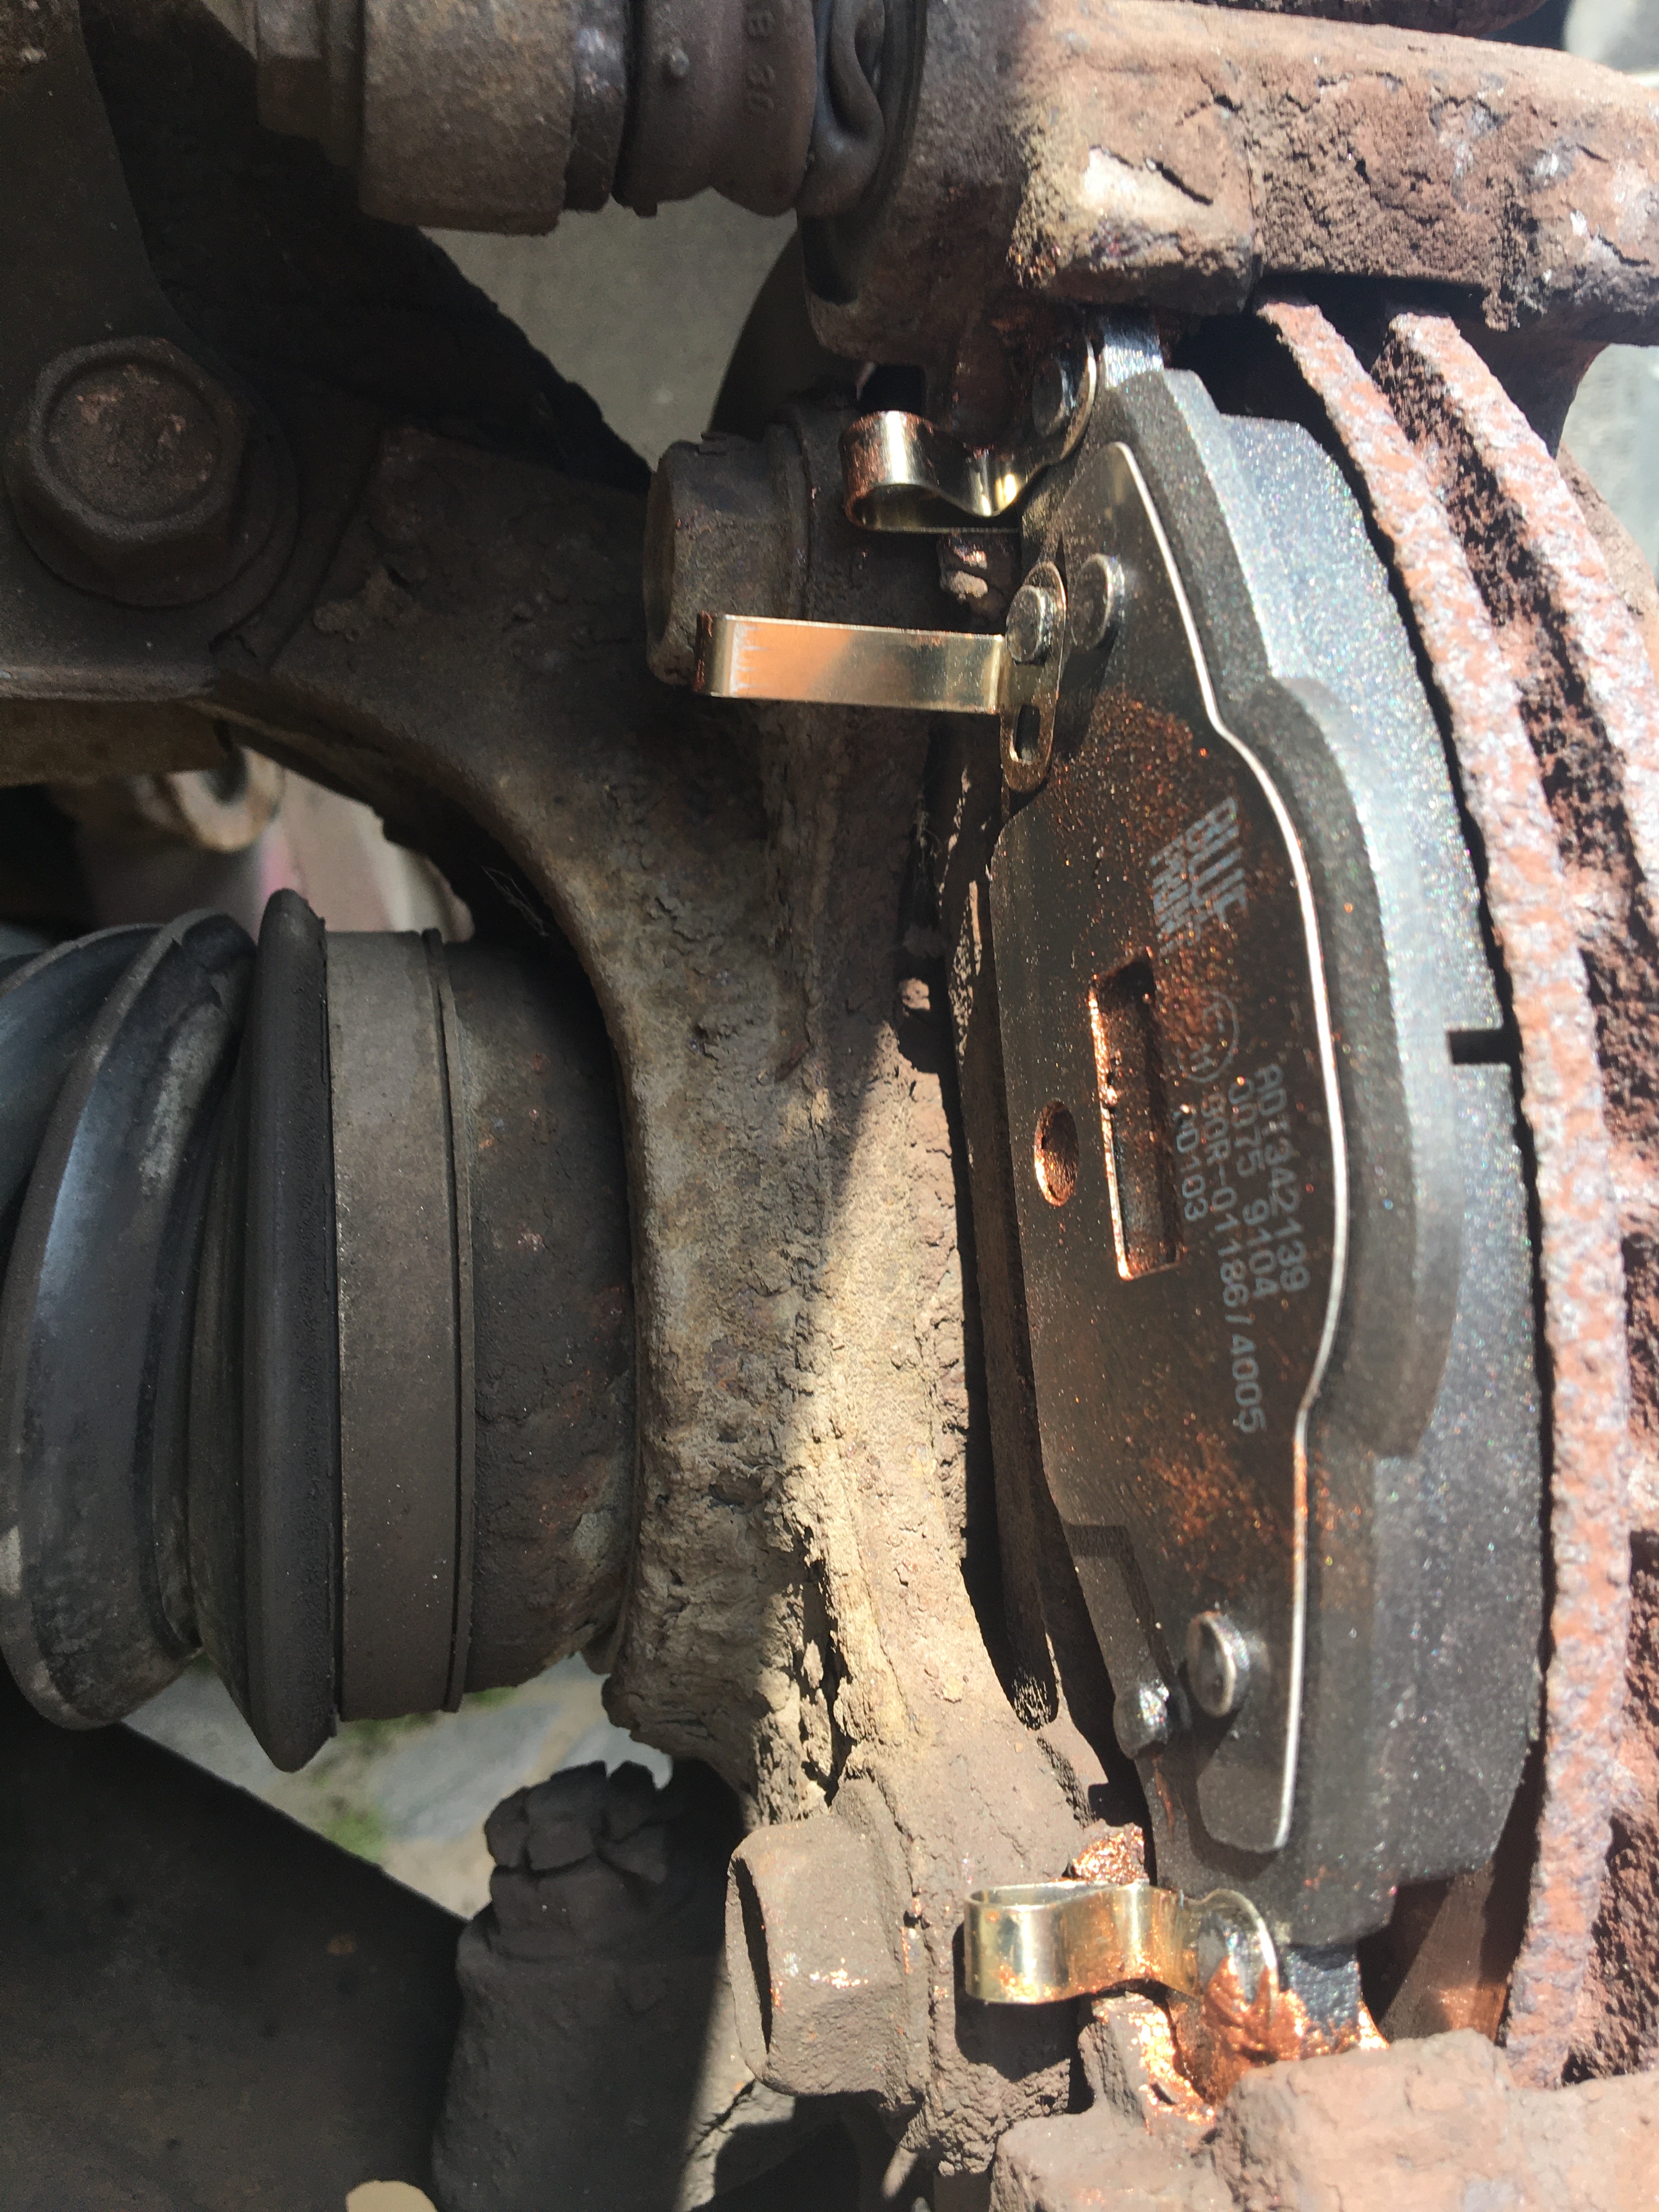
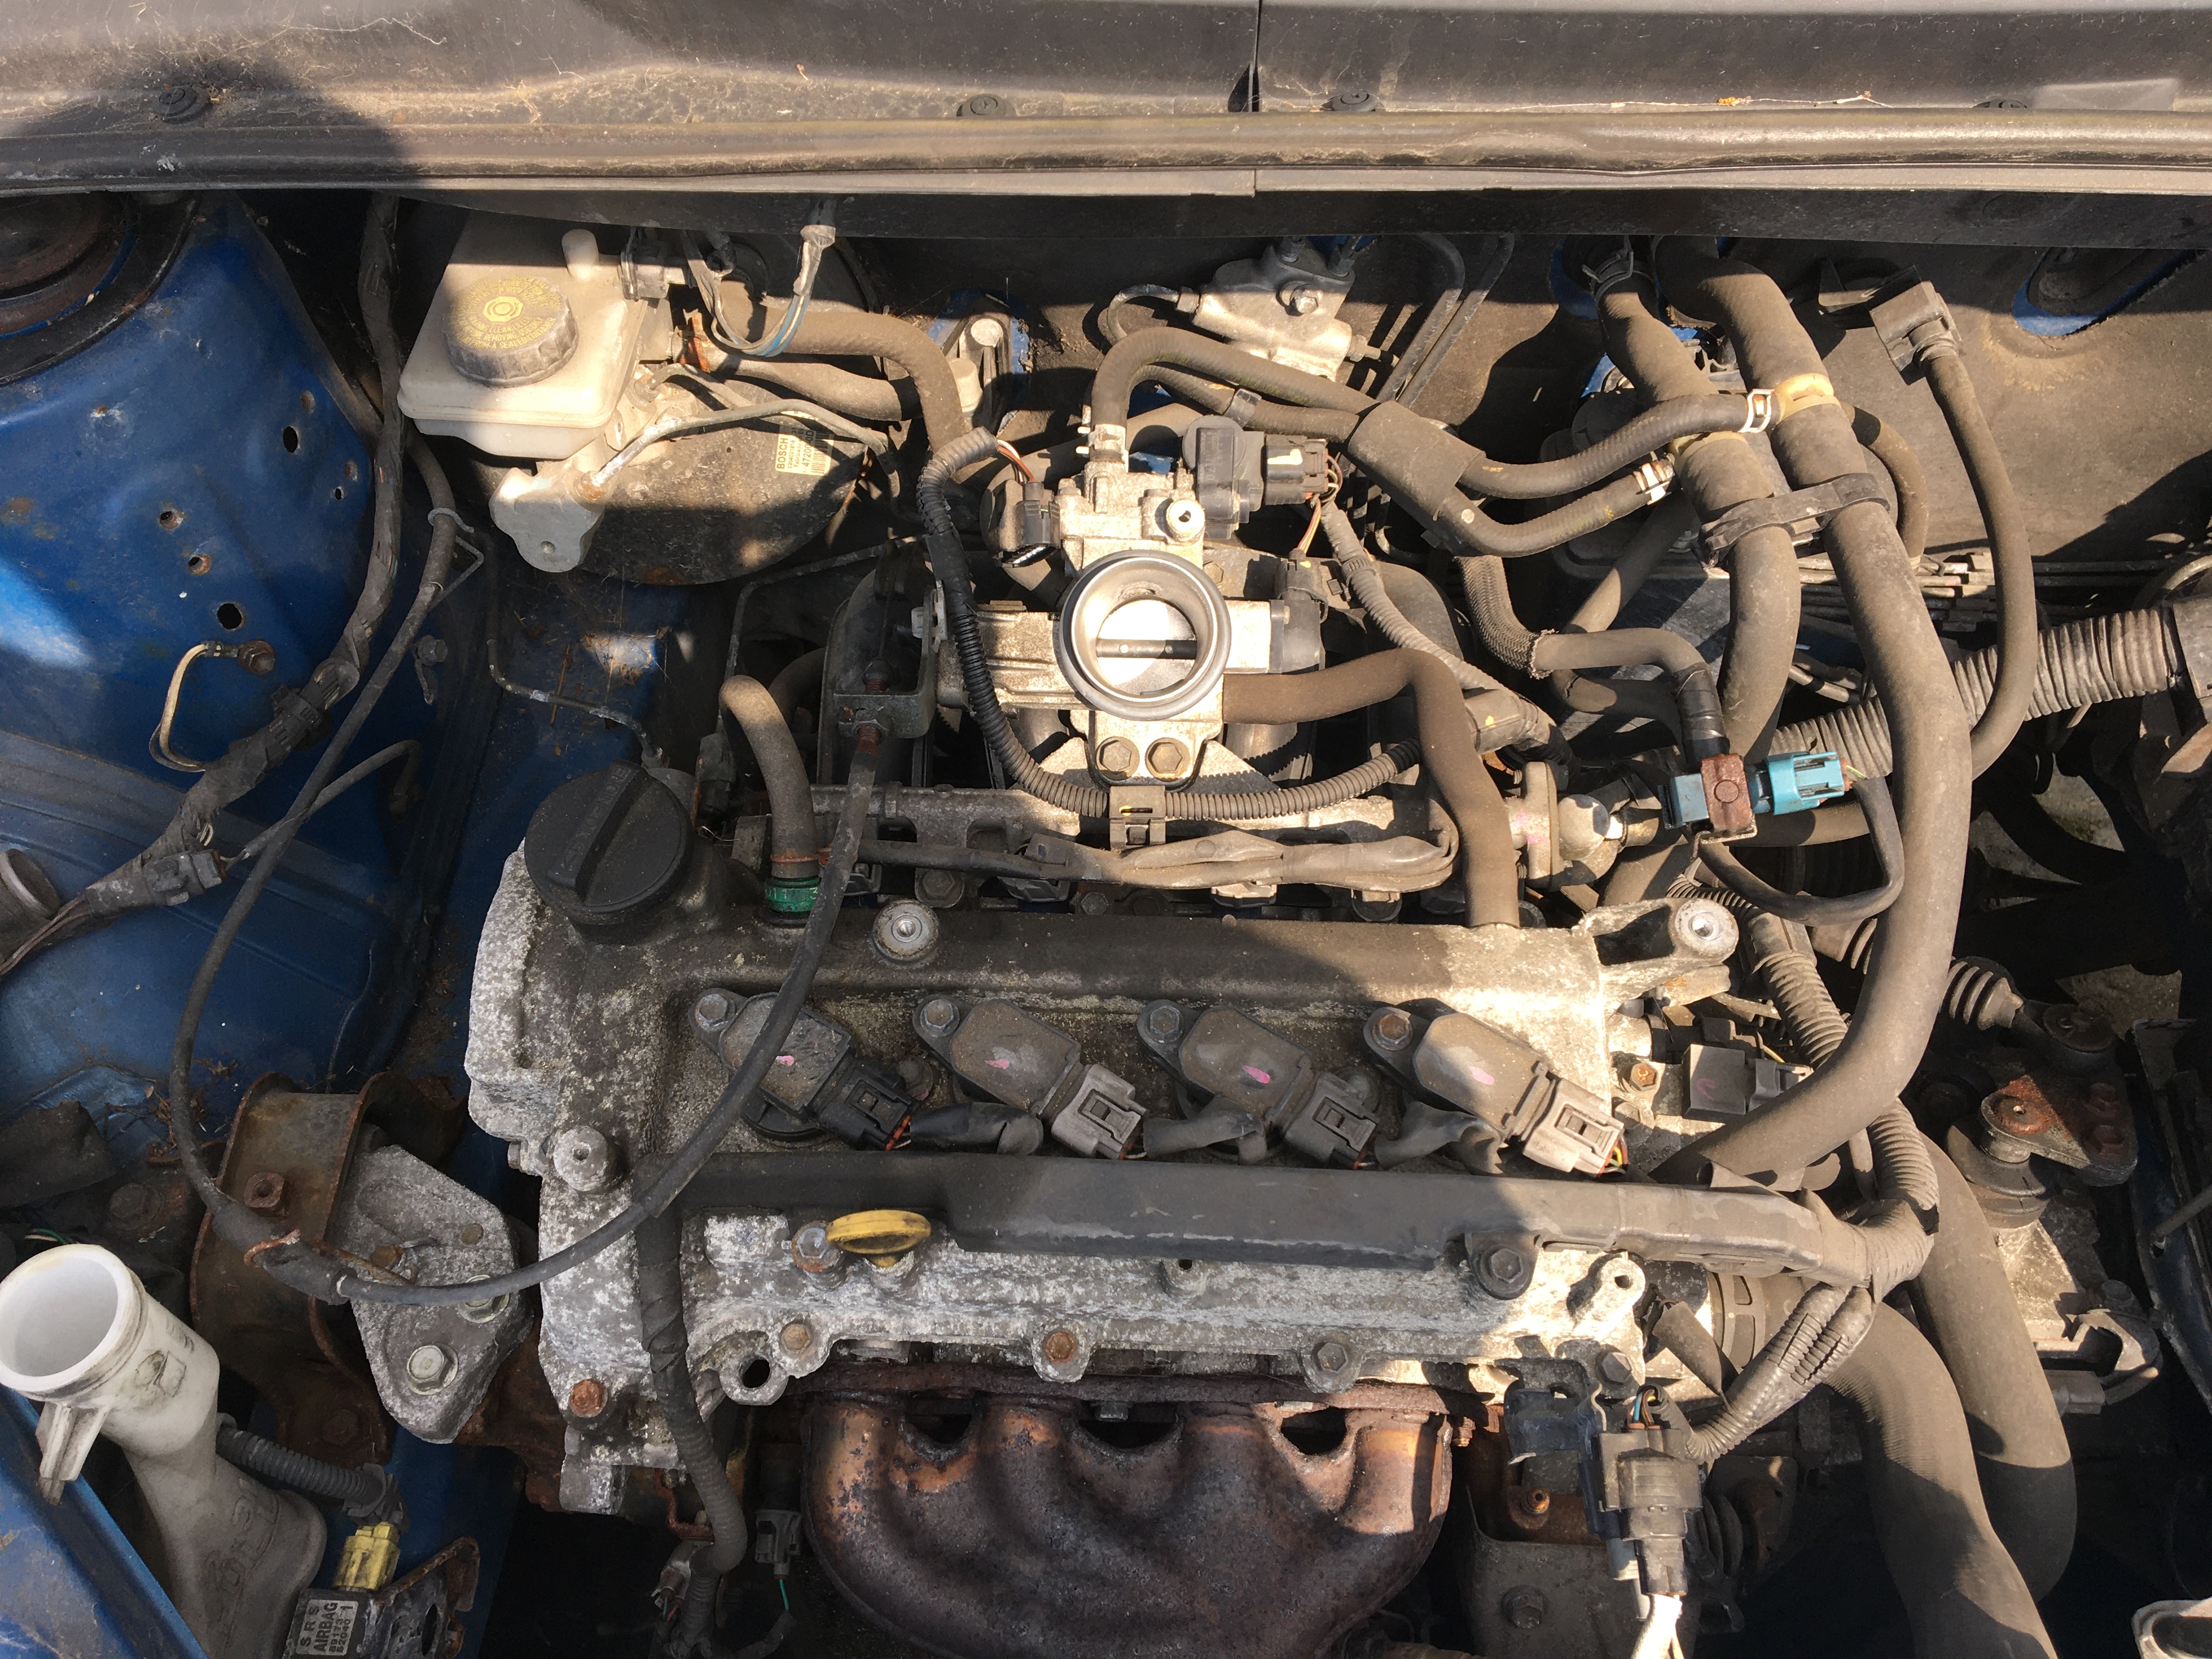
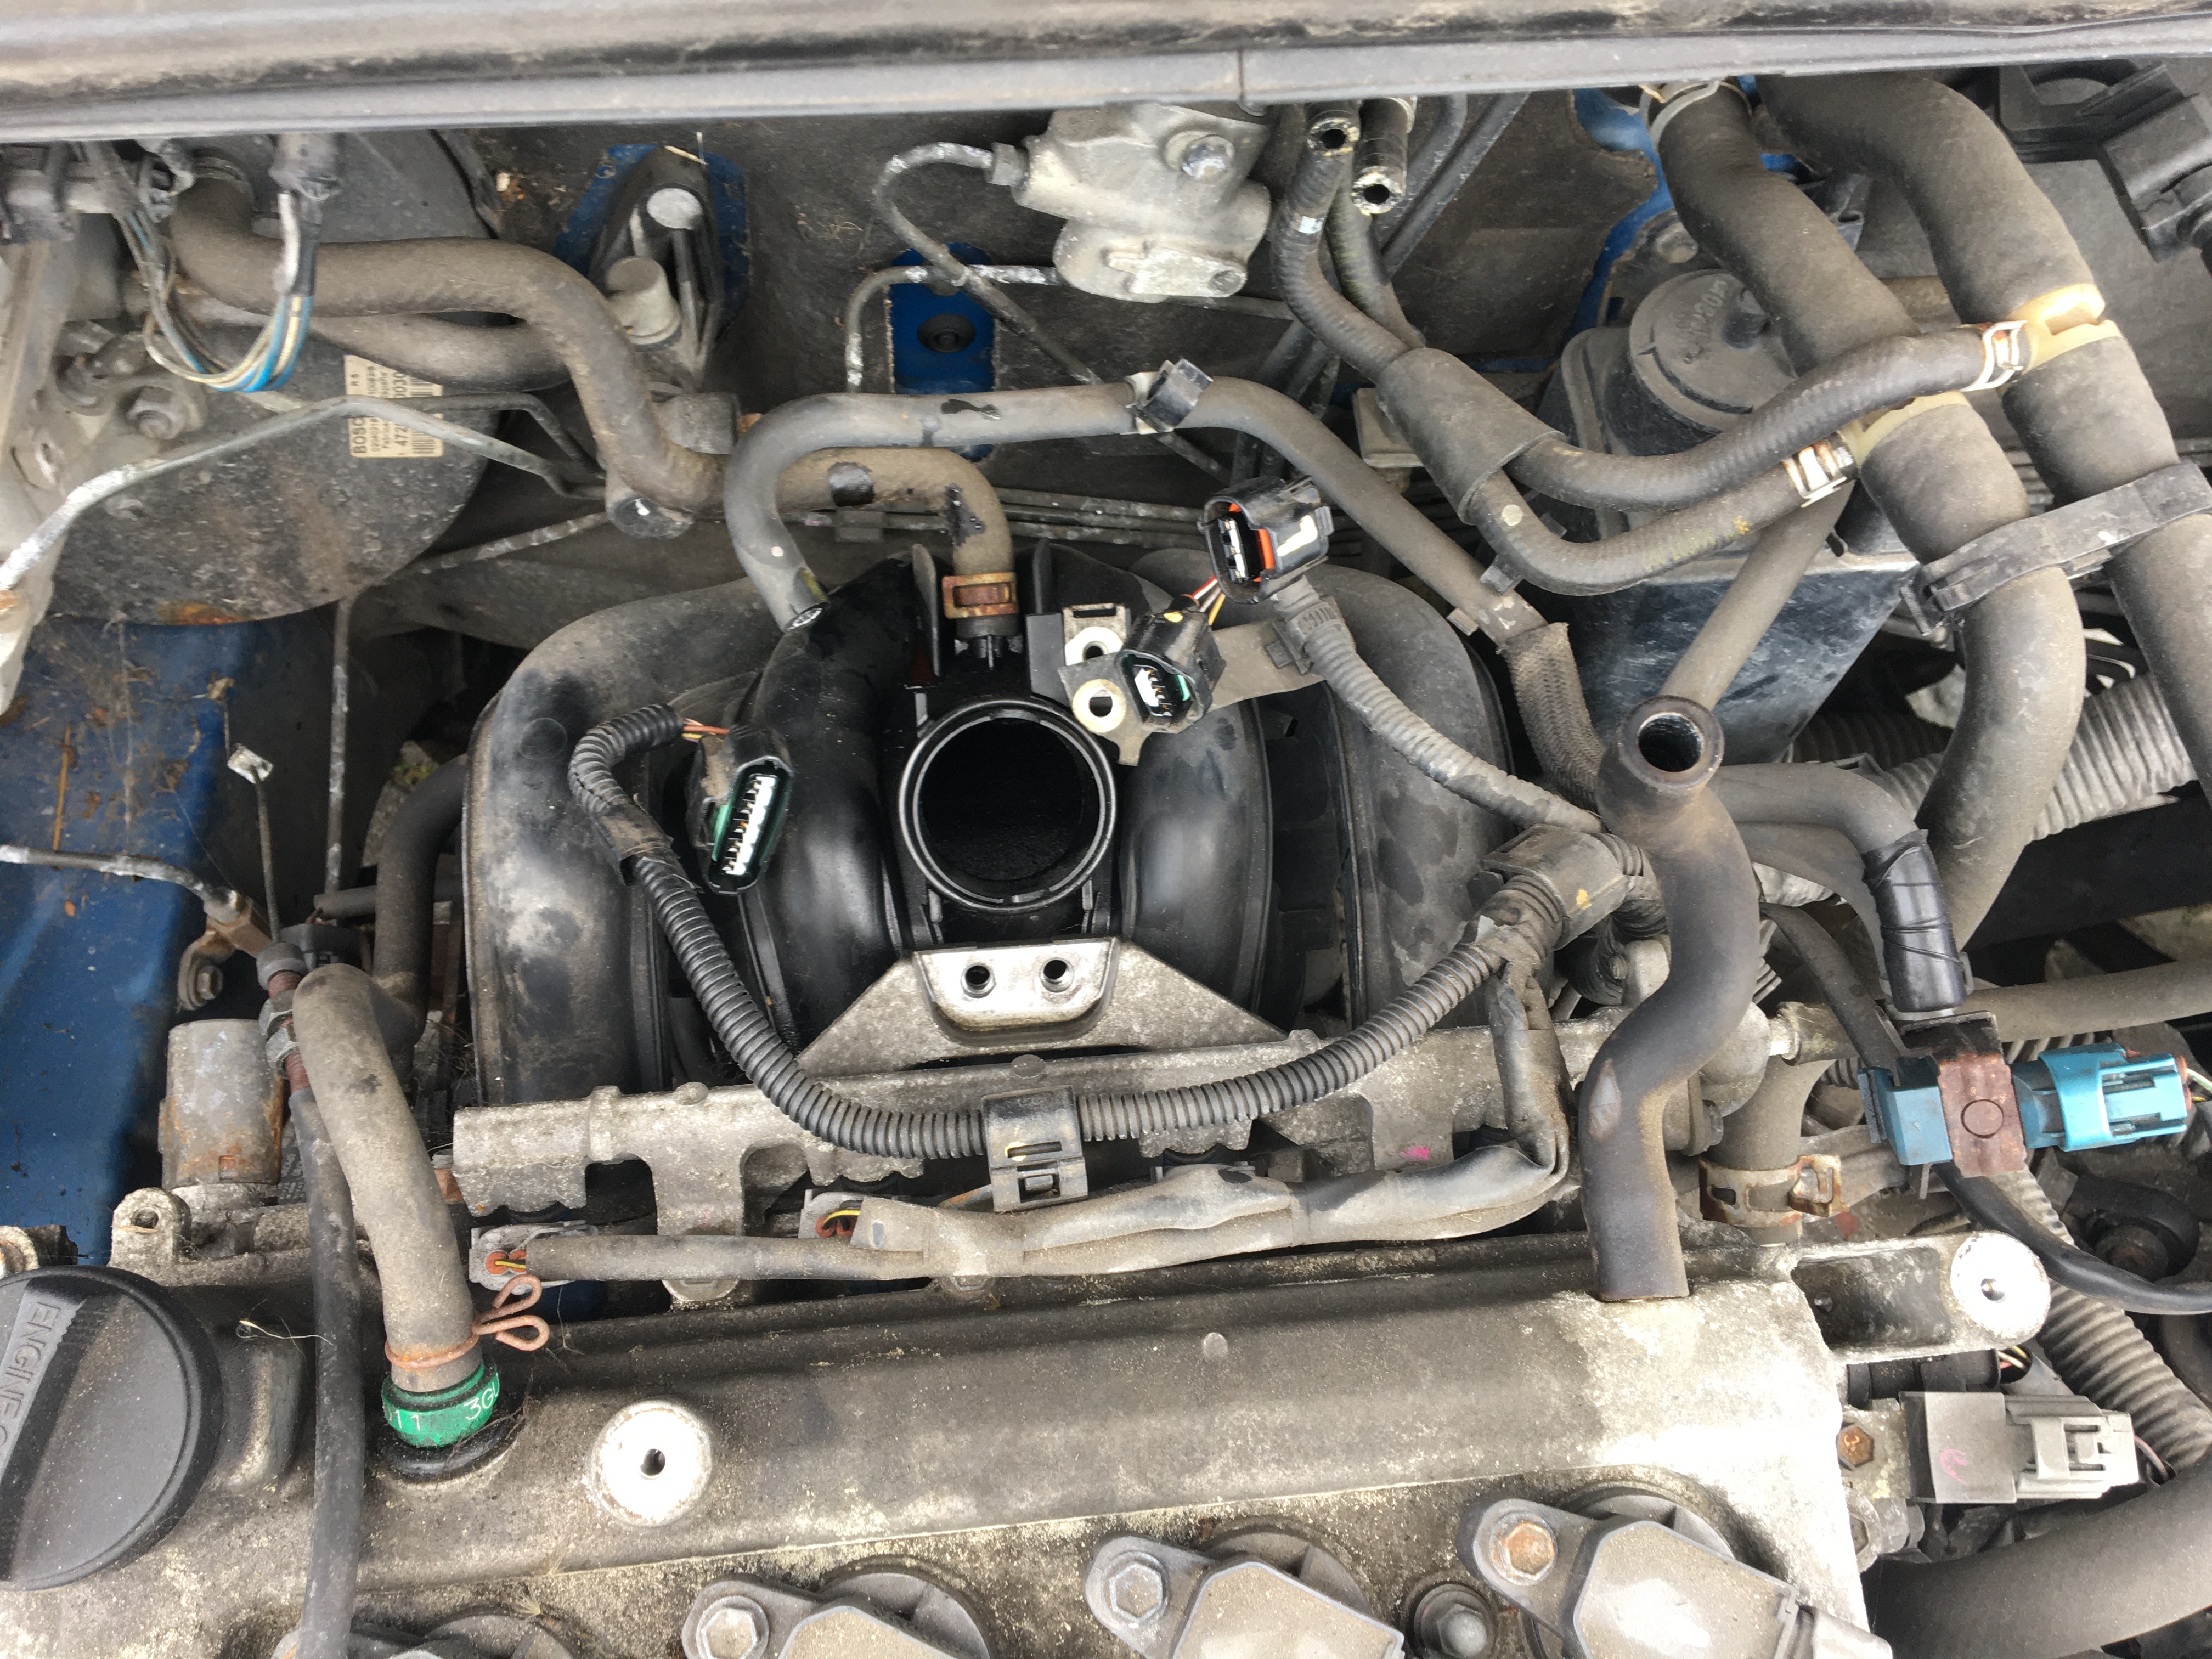
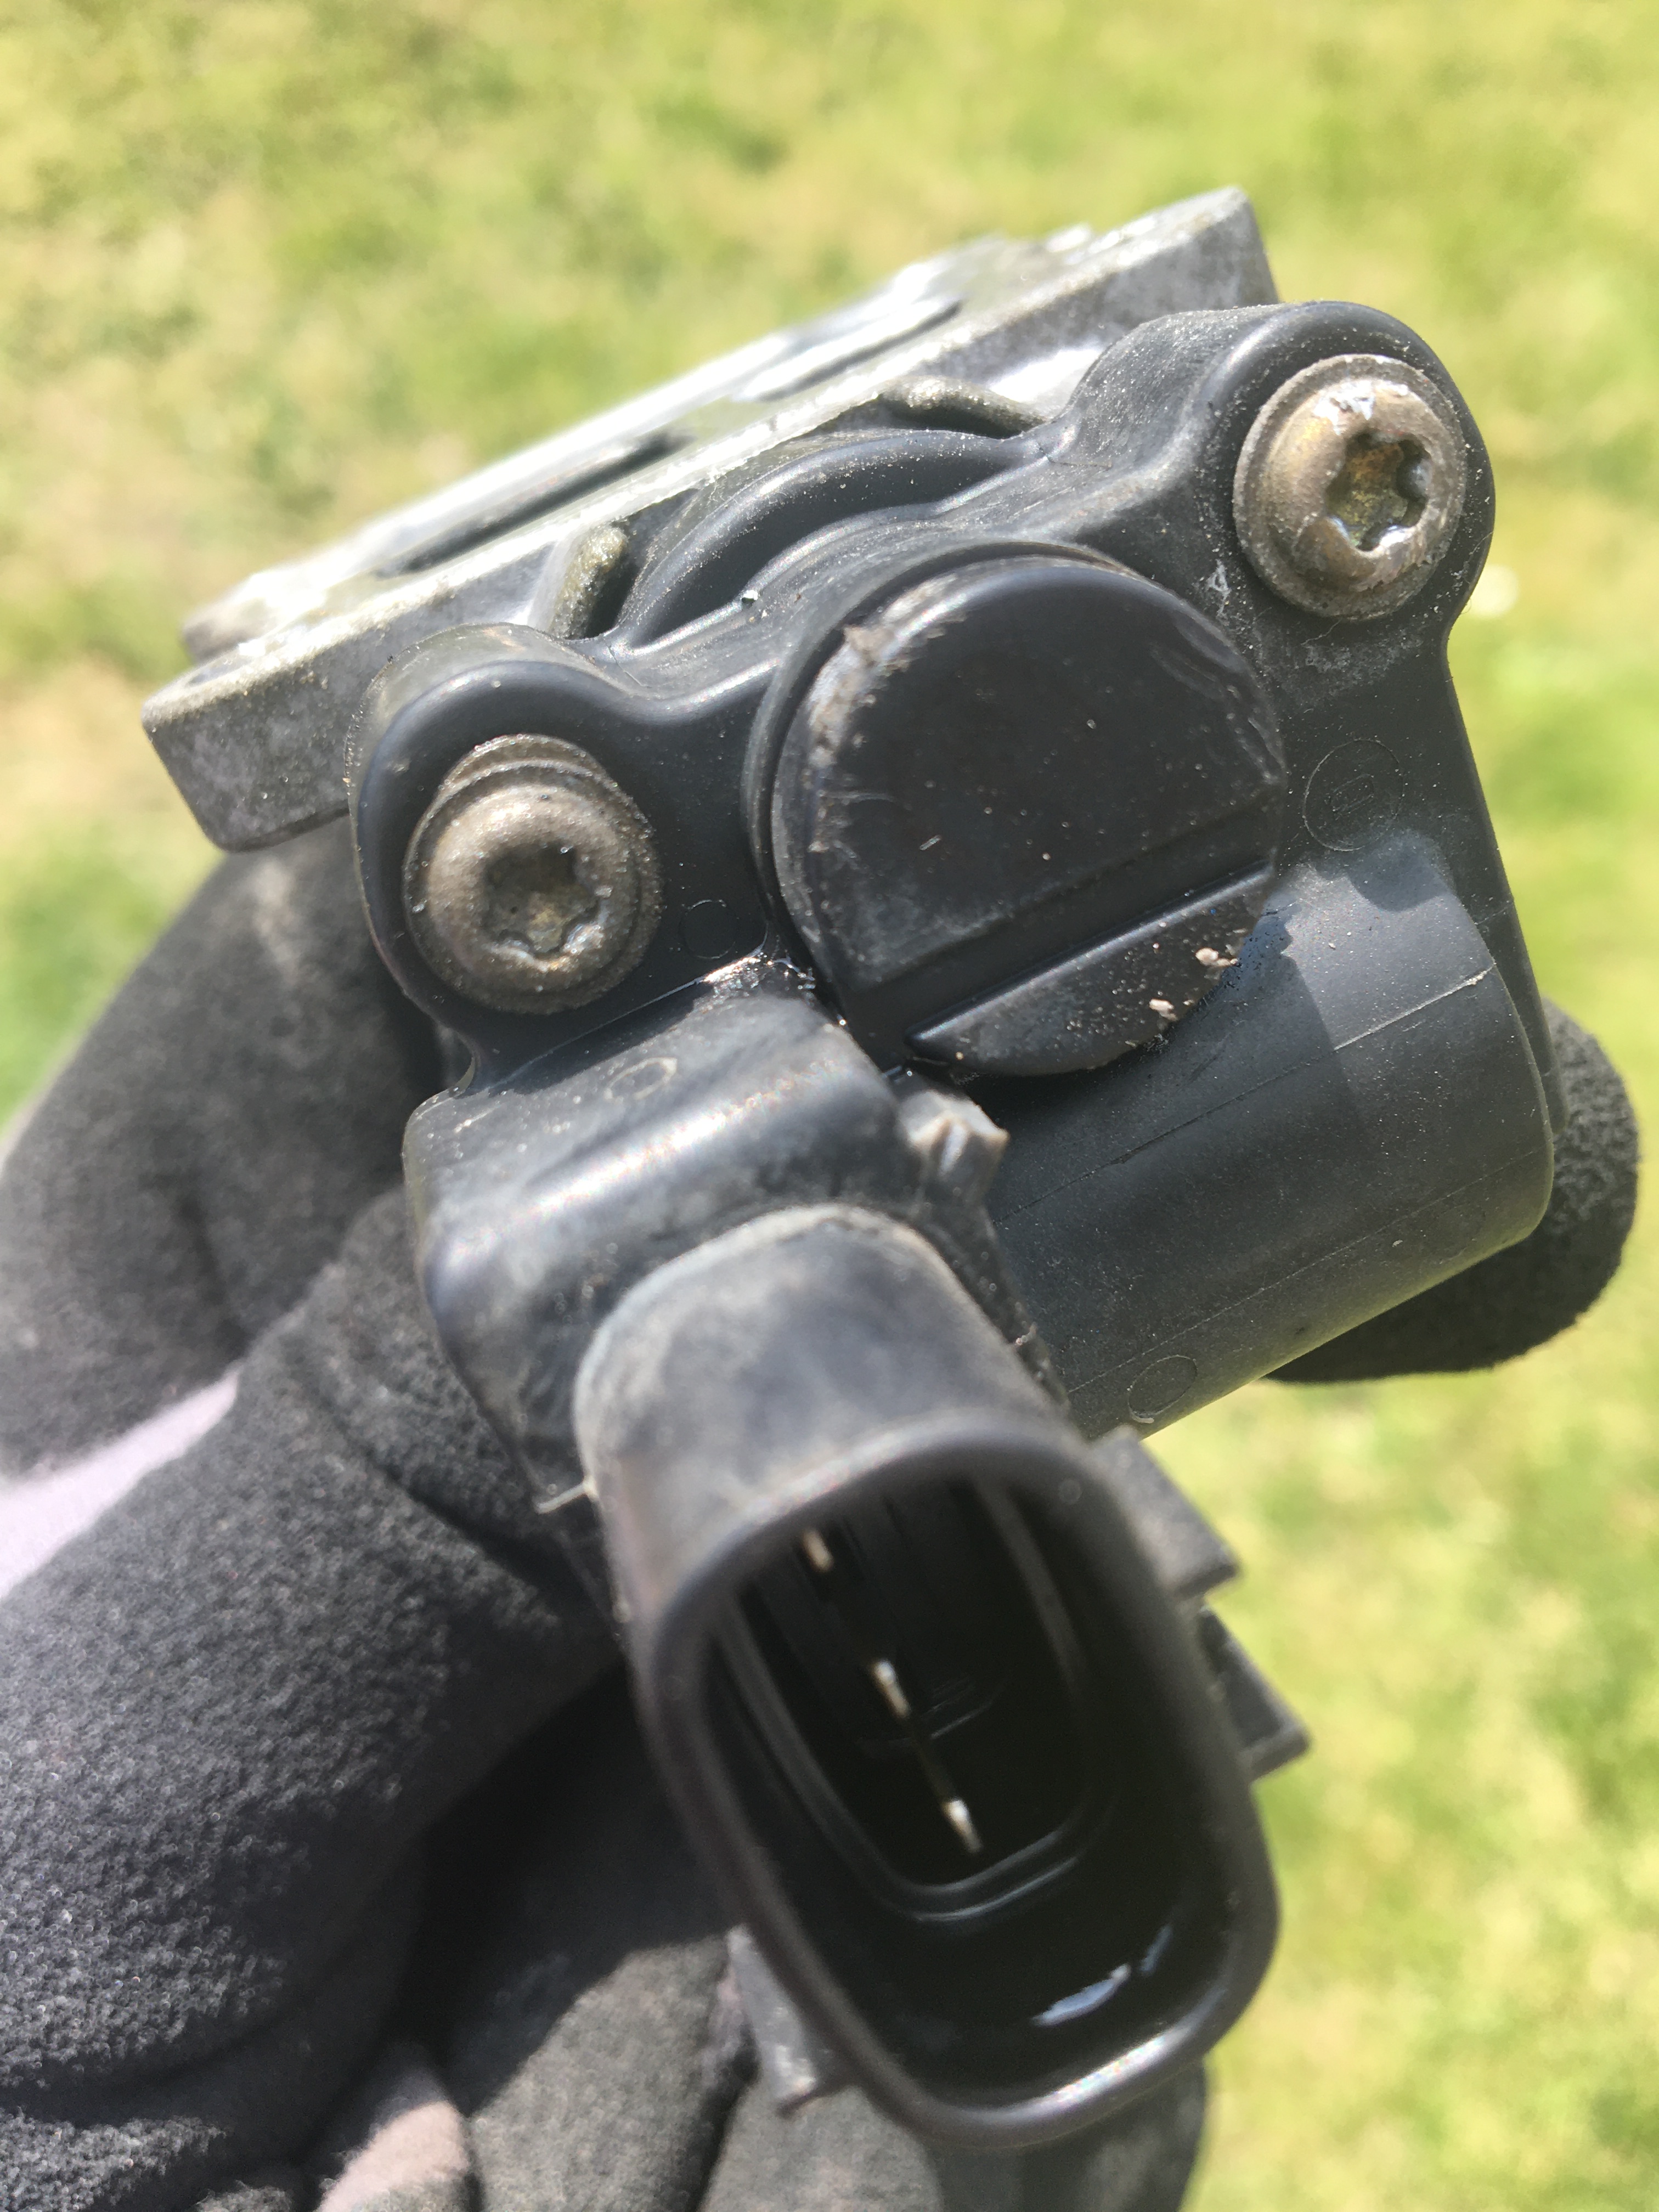
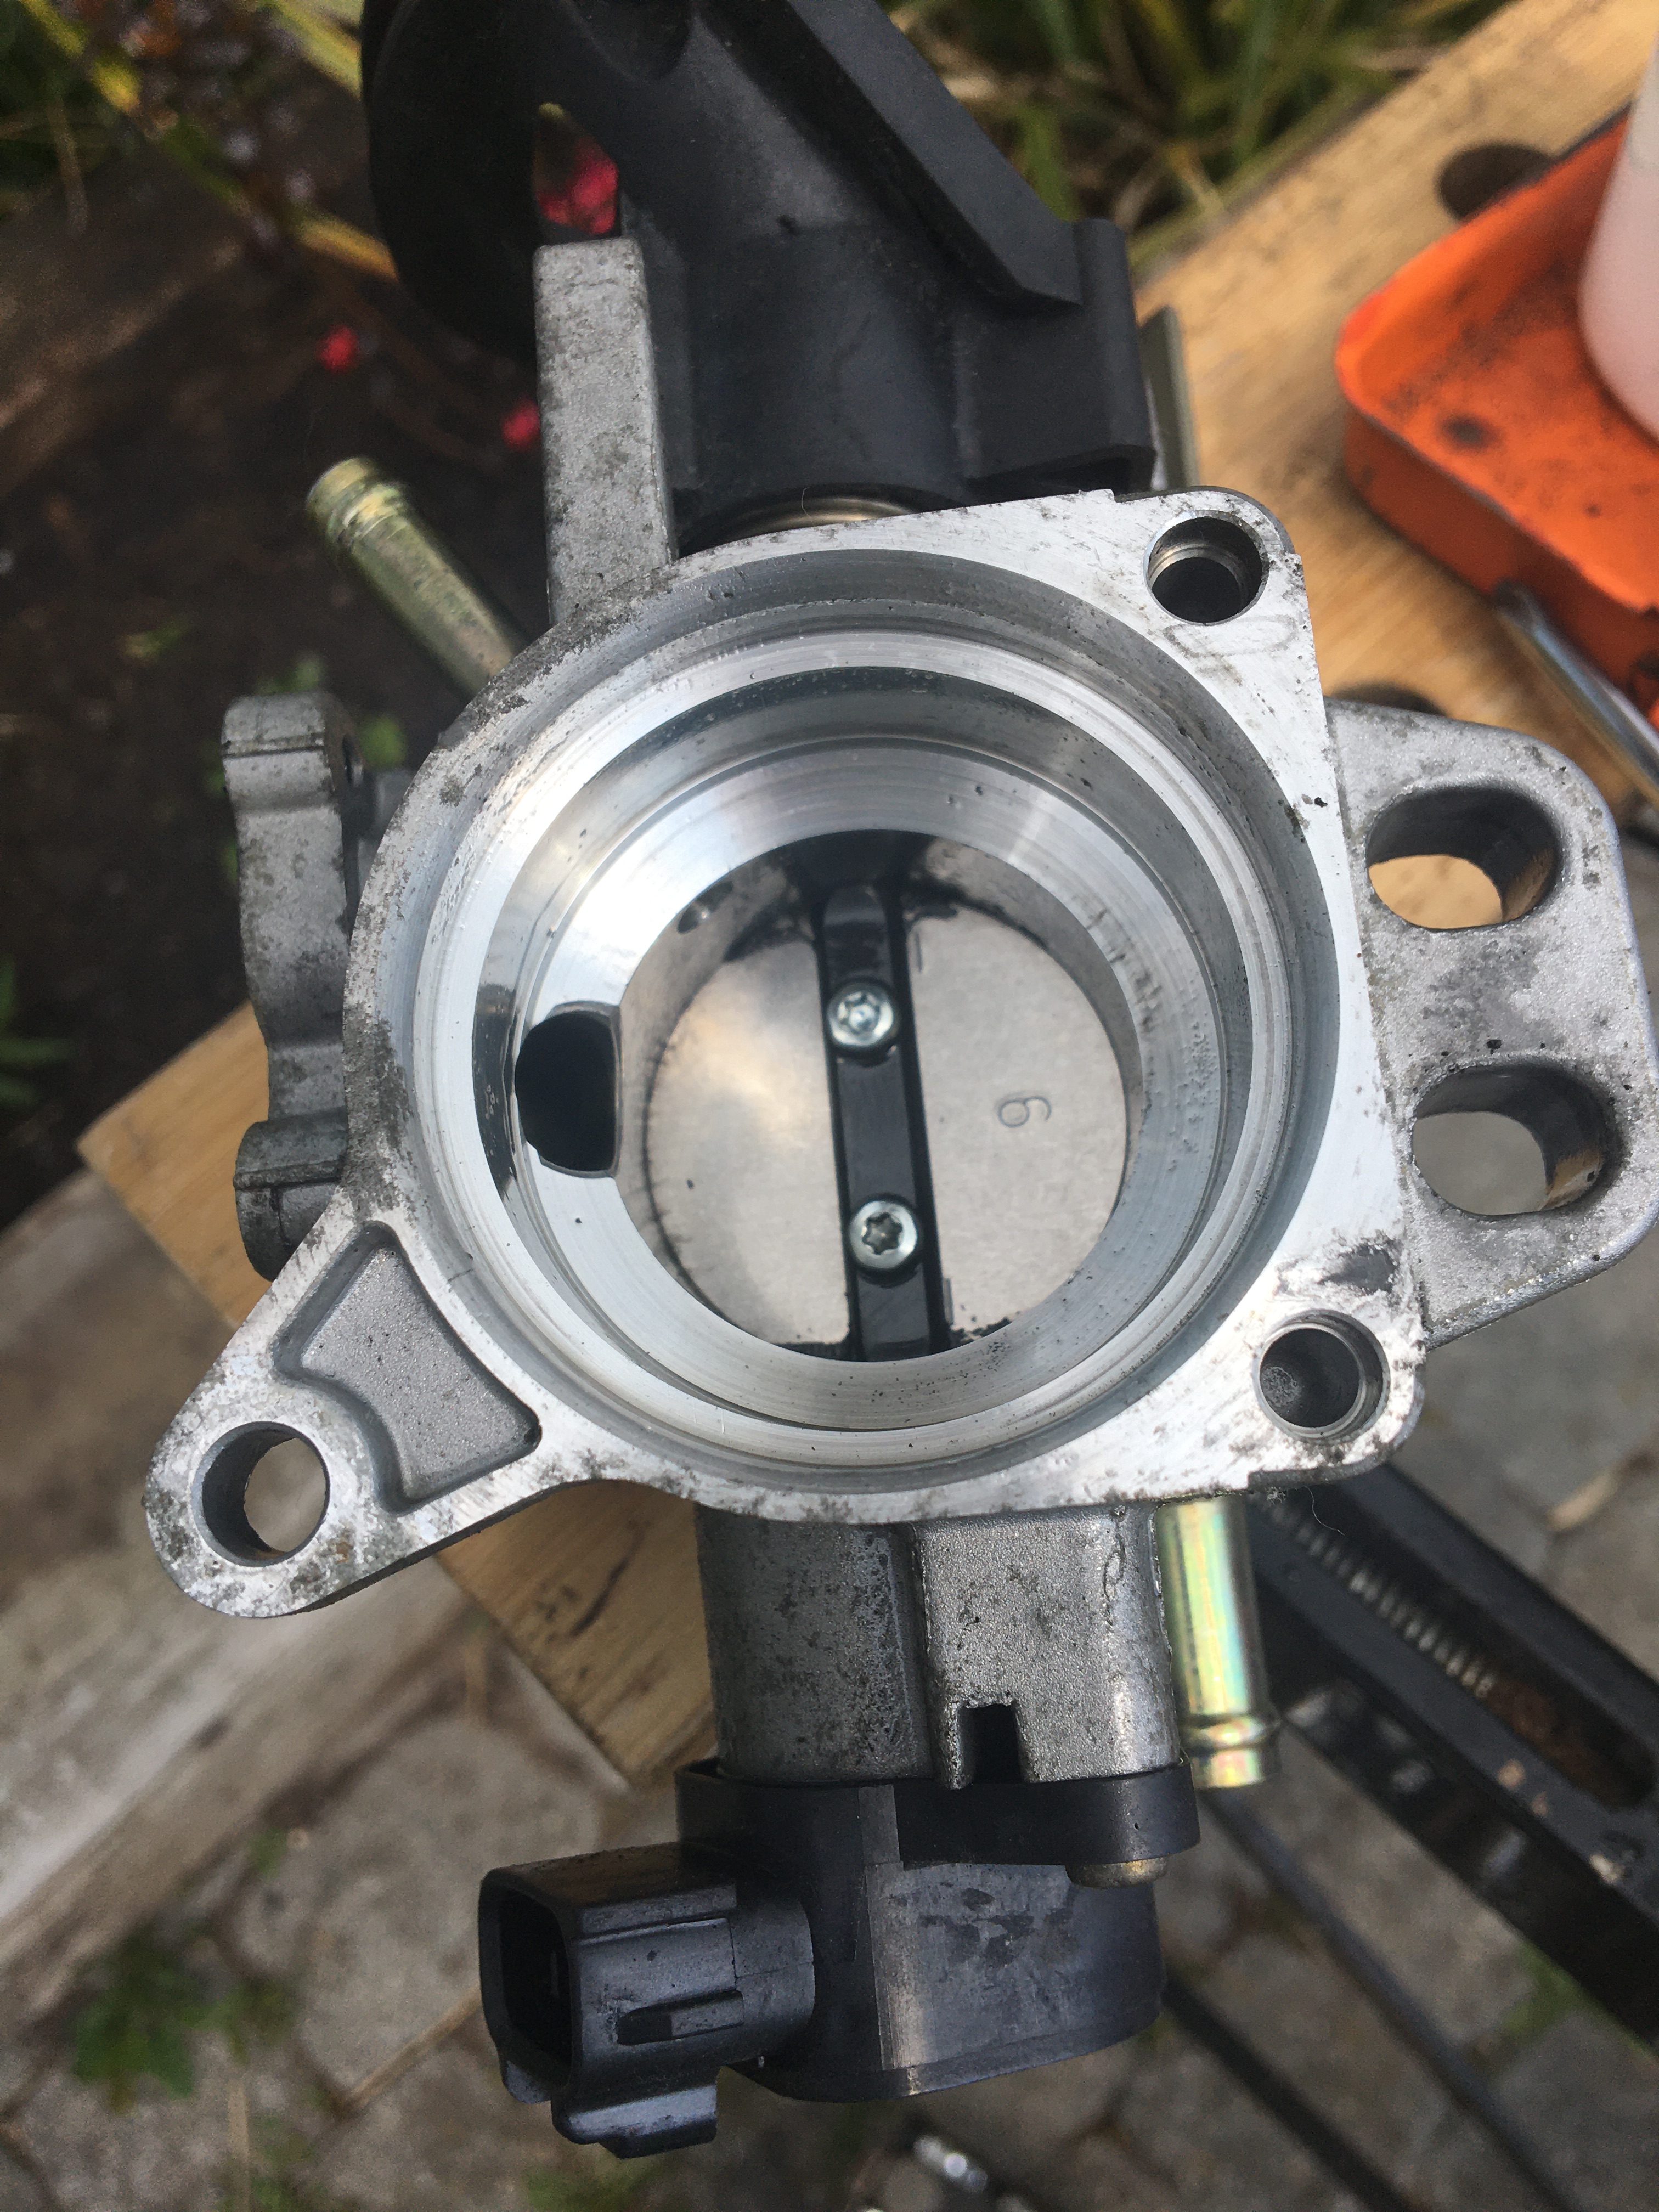
Back in Part 5 I explained how here in the UK vehicles have to pass an annual MOT Test for road worthiness. Well, I am very pleased to report that the 1983 Honda CB 250 RSA passed! This was a great relief and pretty much ‘mission accomplished’ for getting this classic little bike up, running and on the road again. The final legal step is Road Tax, just 6 months which will take us into 2024 when this bike can be re-classified as an Historic Vehicle and will no longer require either road tax or an annual mot test.


Lightweight and agile, Honda’s CB250RS conflicted with its own Superdream for sales and was never as popular. Now, they can be a great back-lane bike with big H reliability.
A great review by Classic Bike Guide
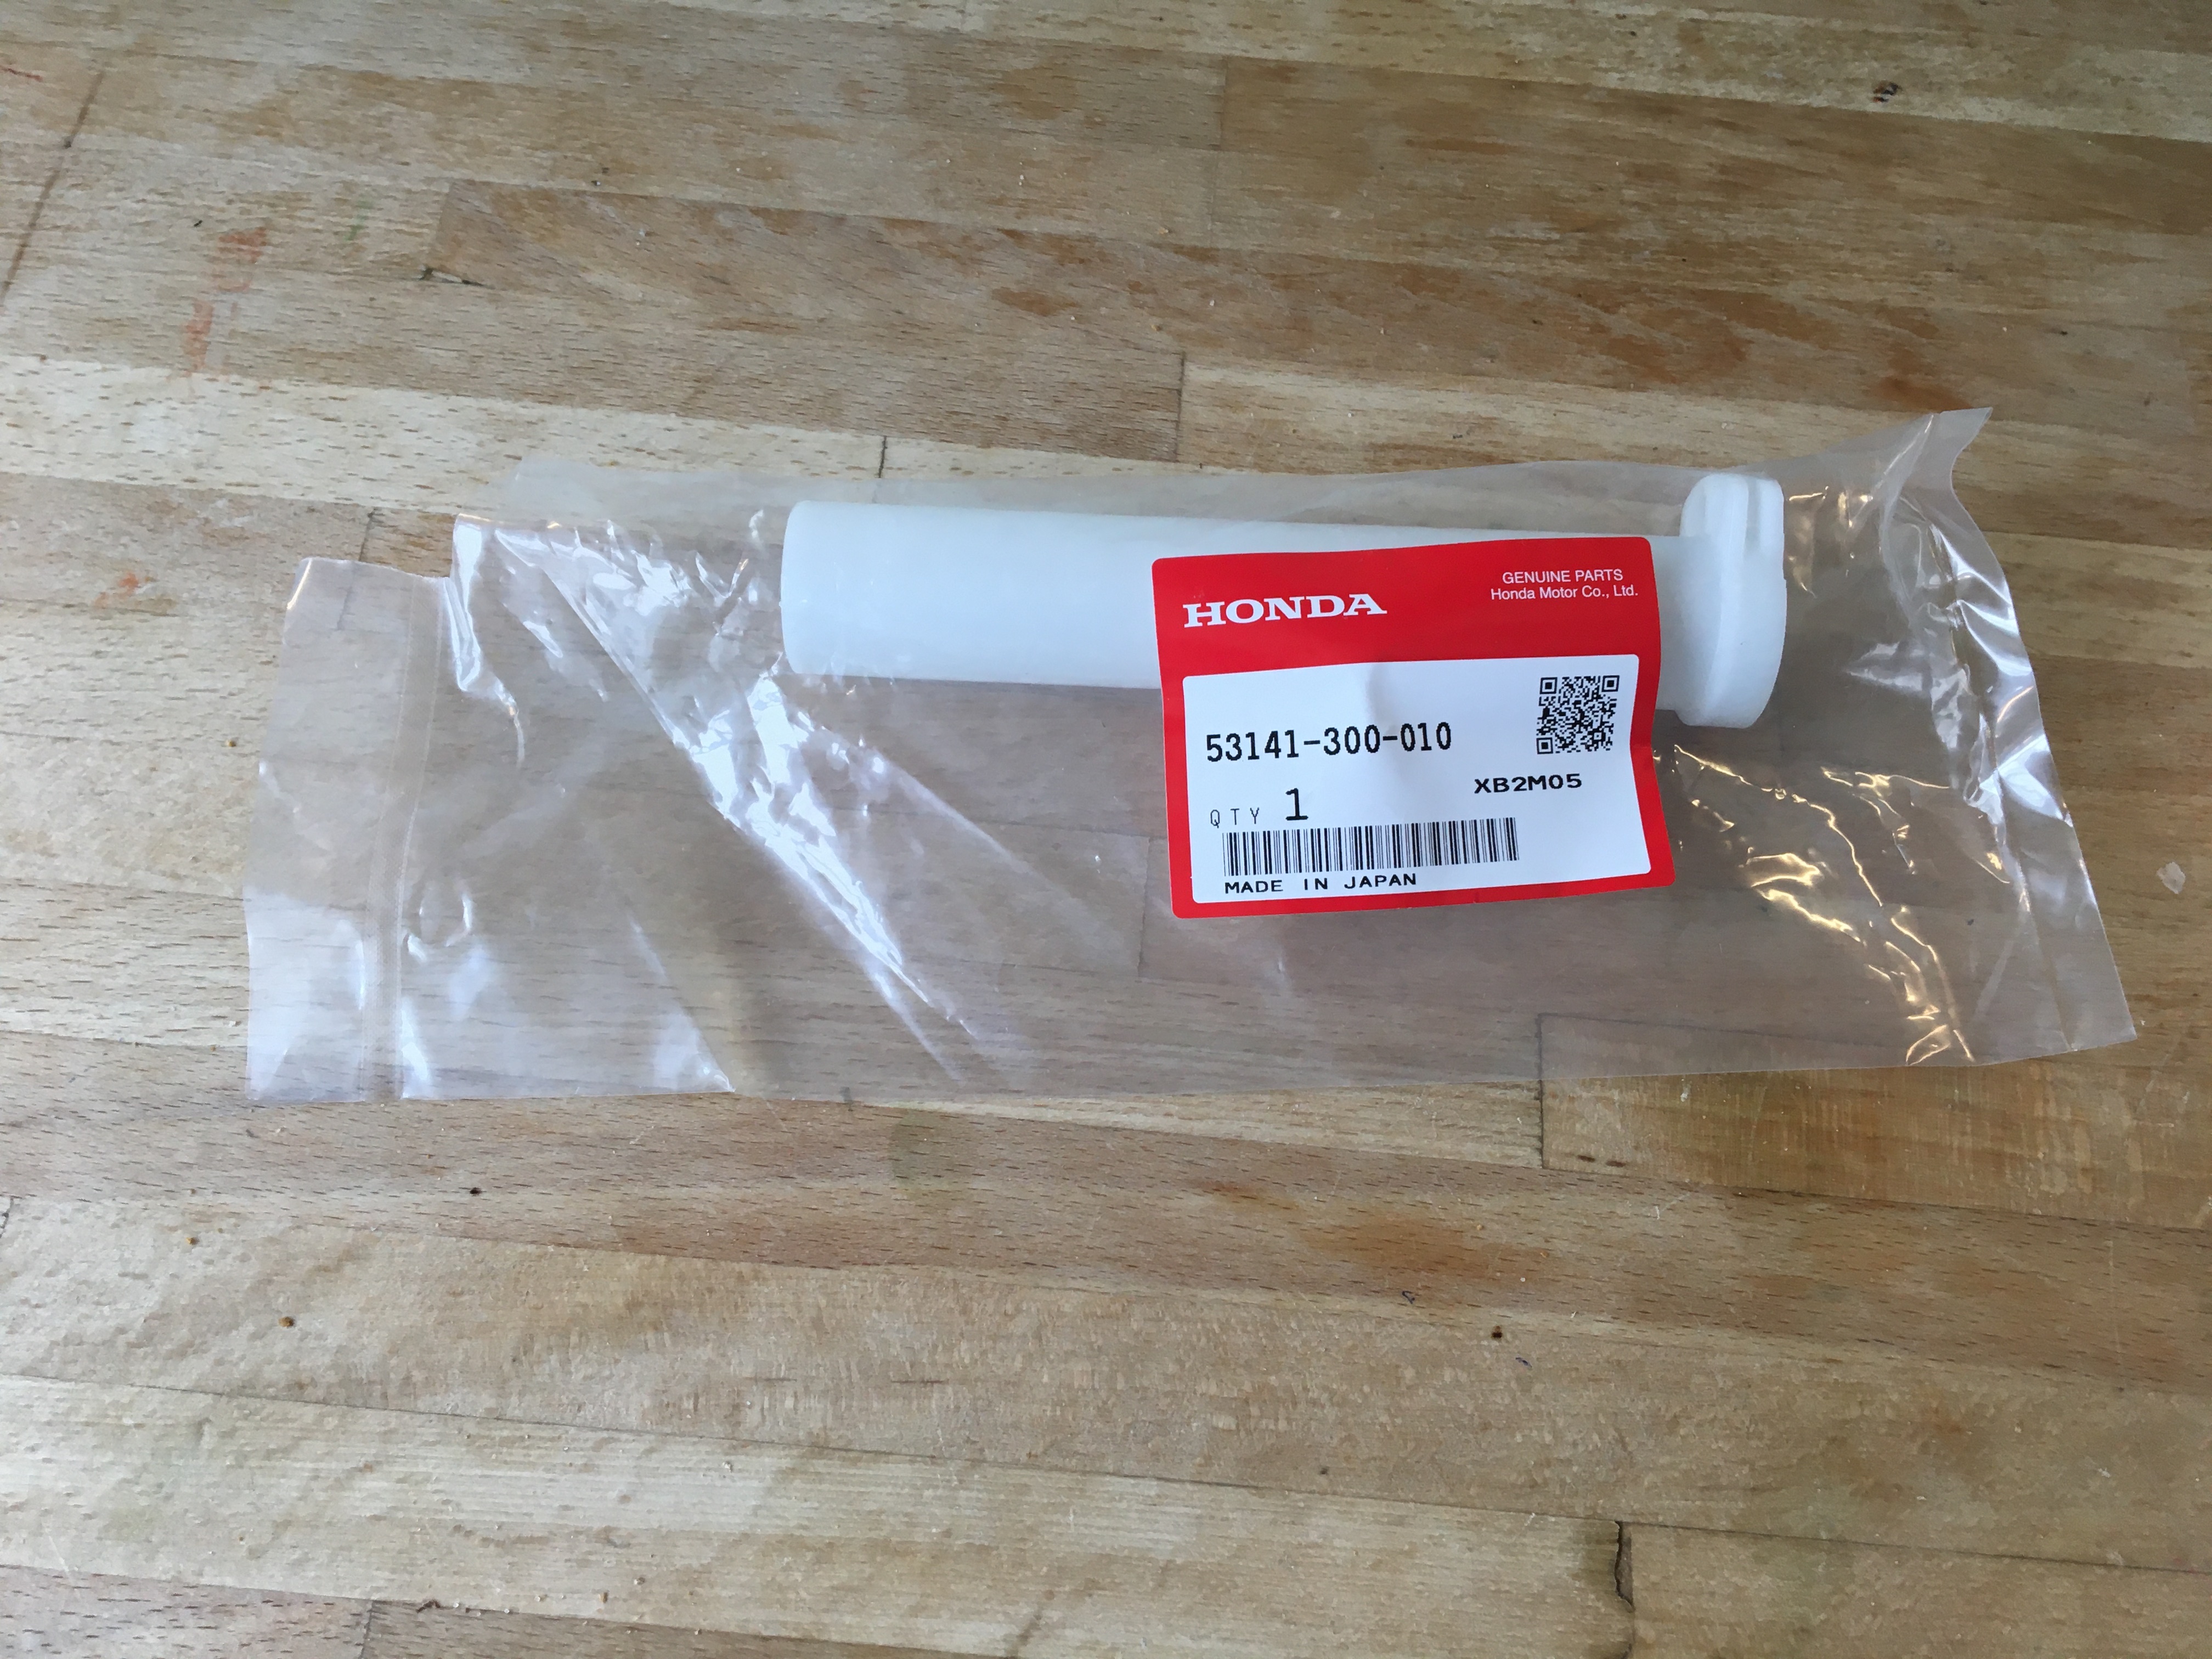
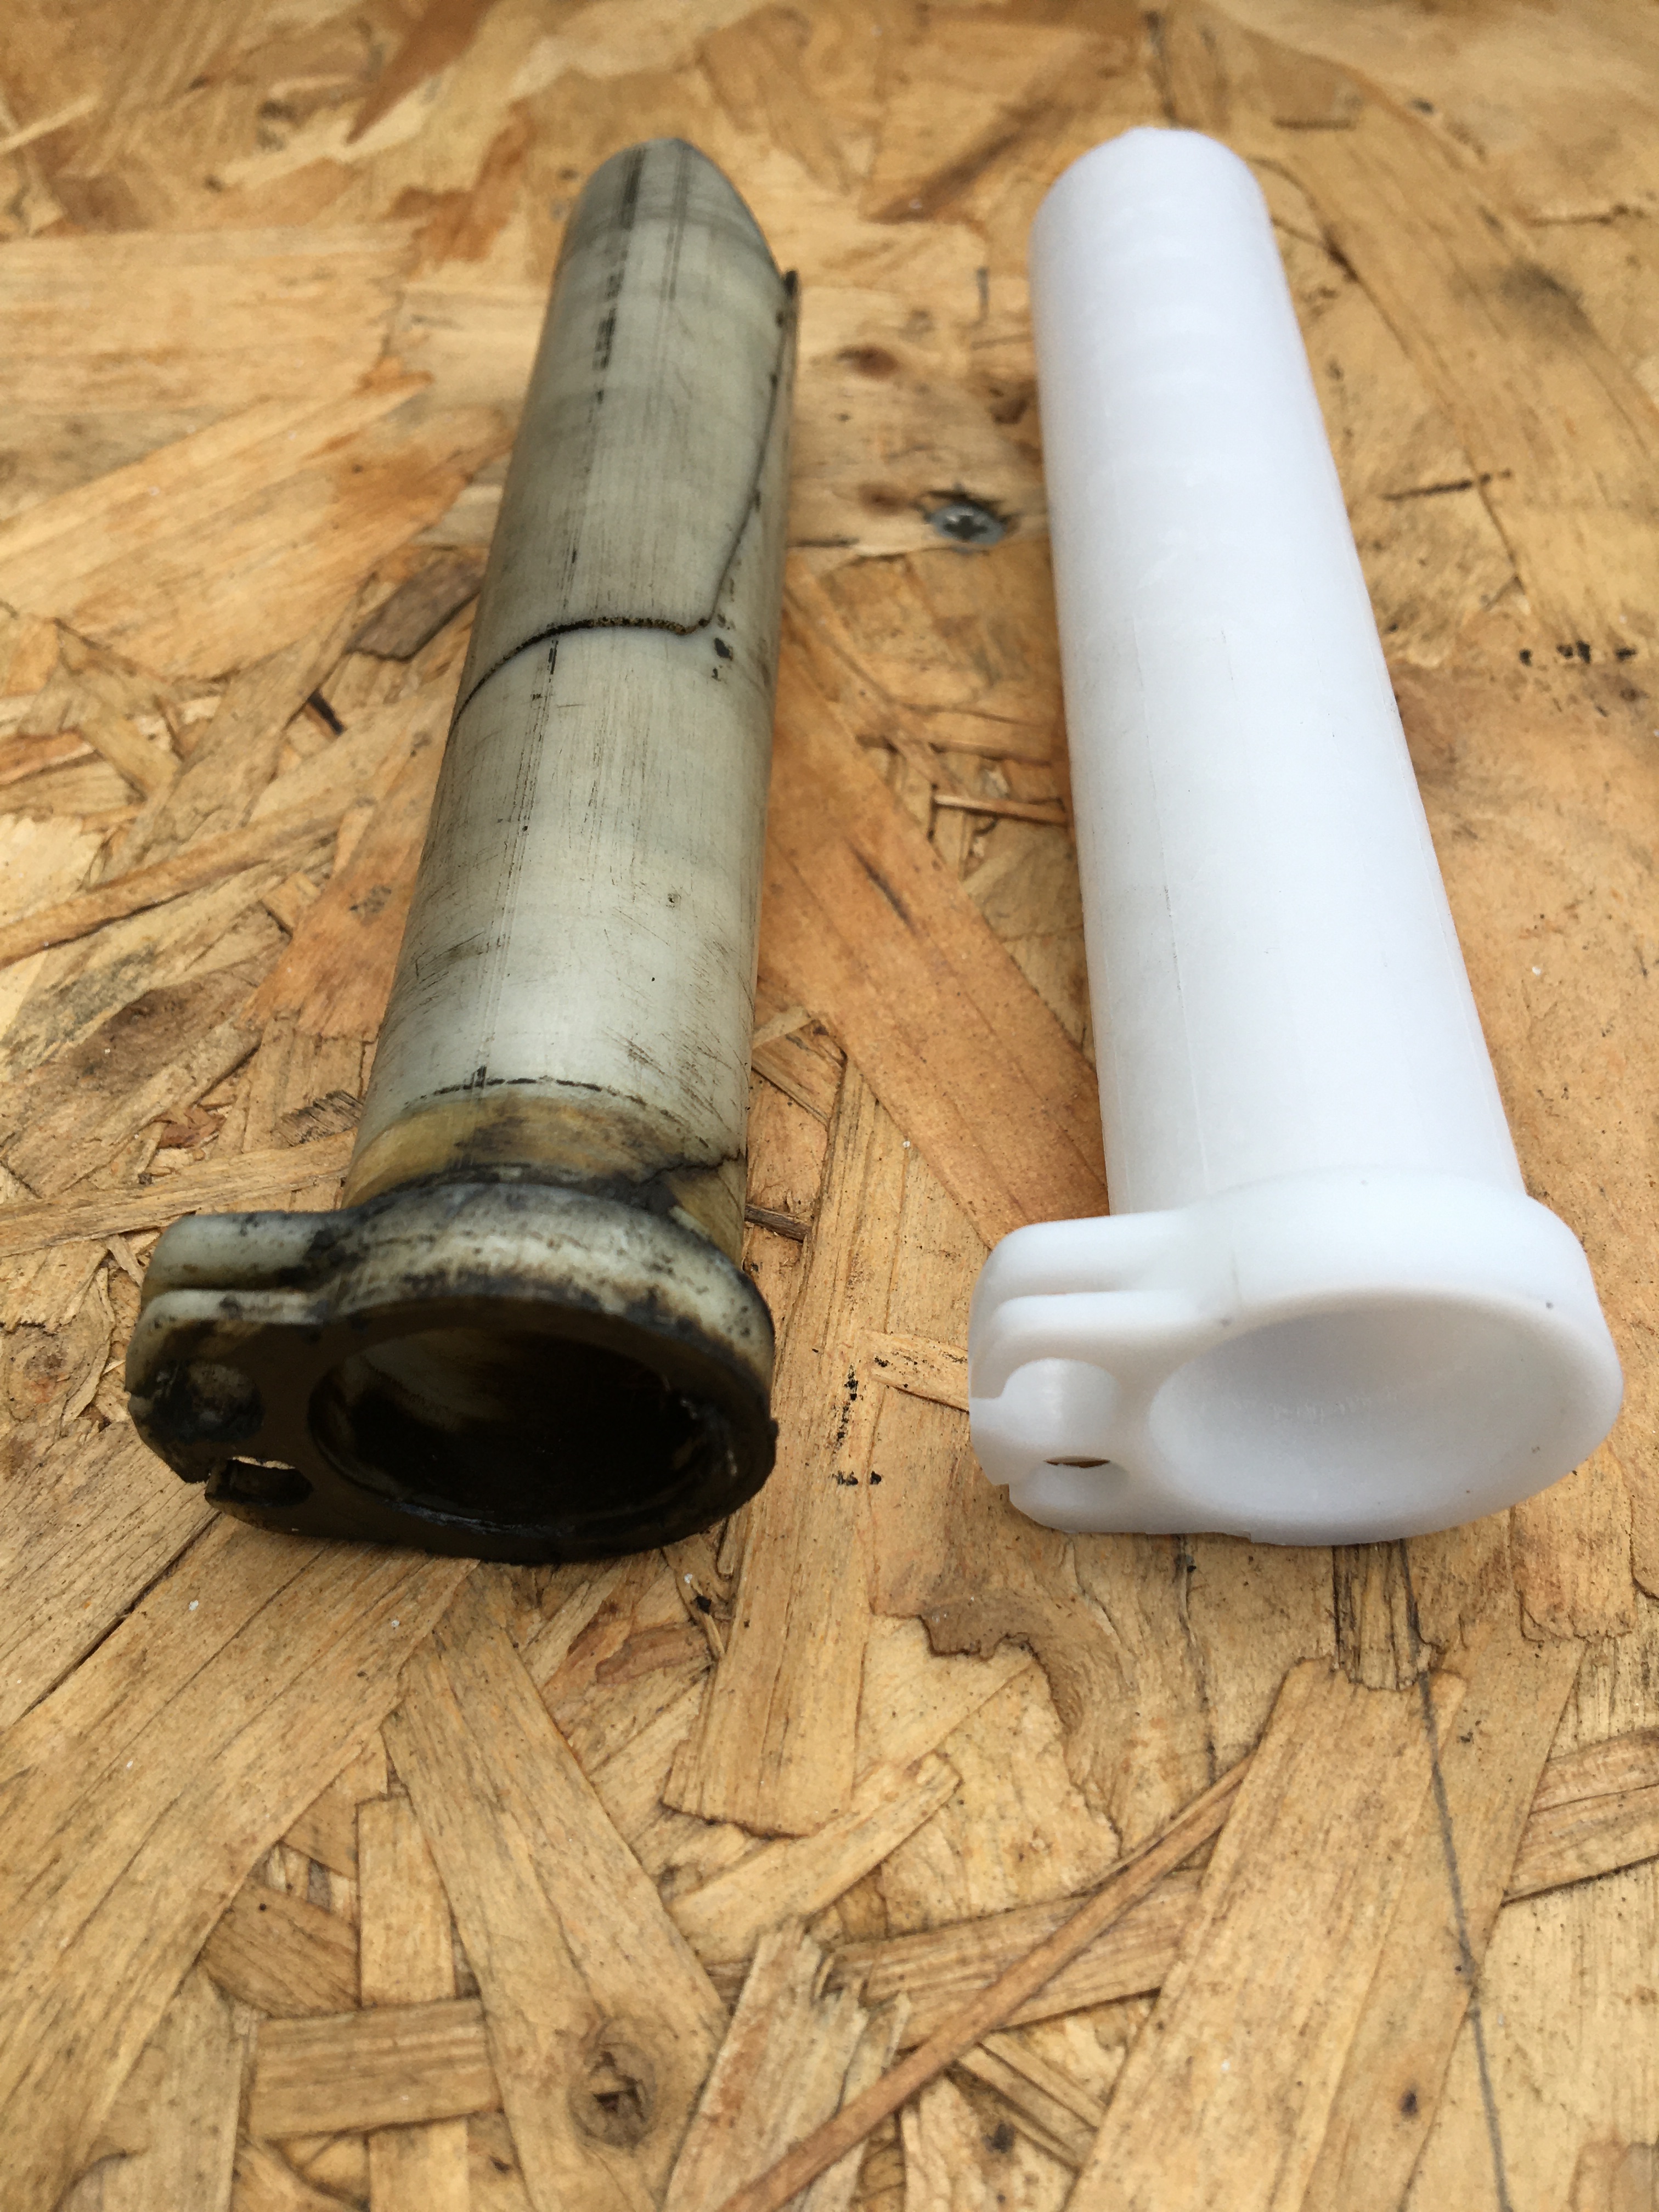
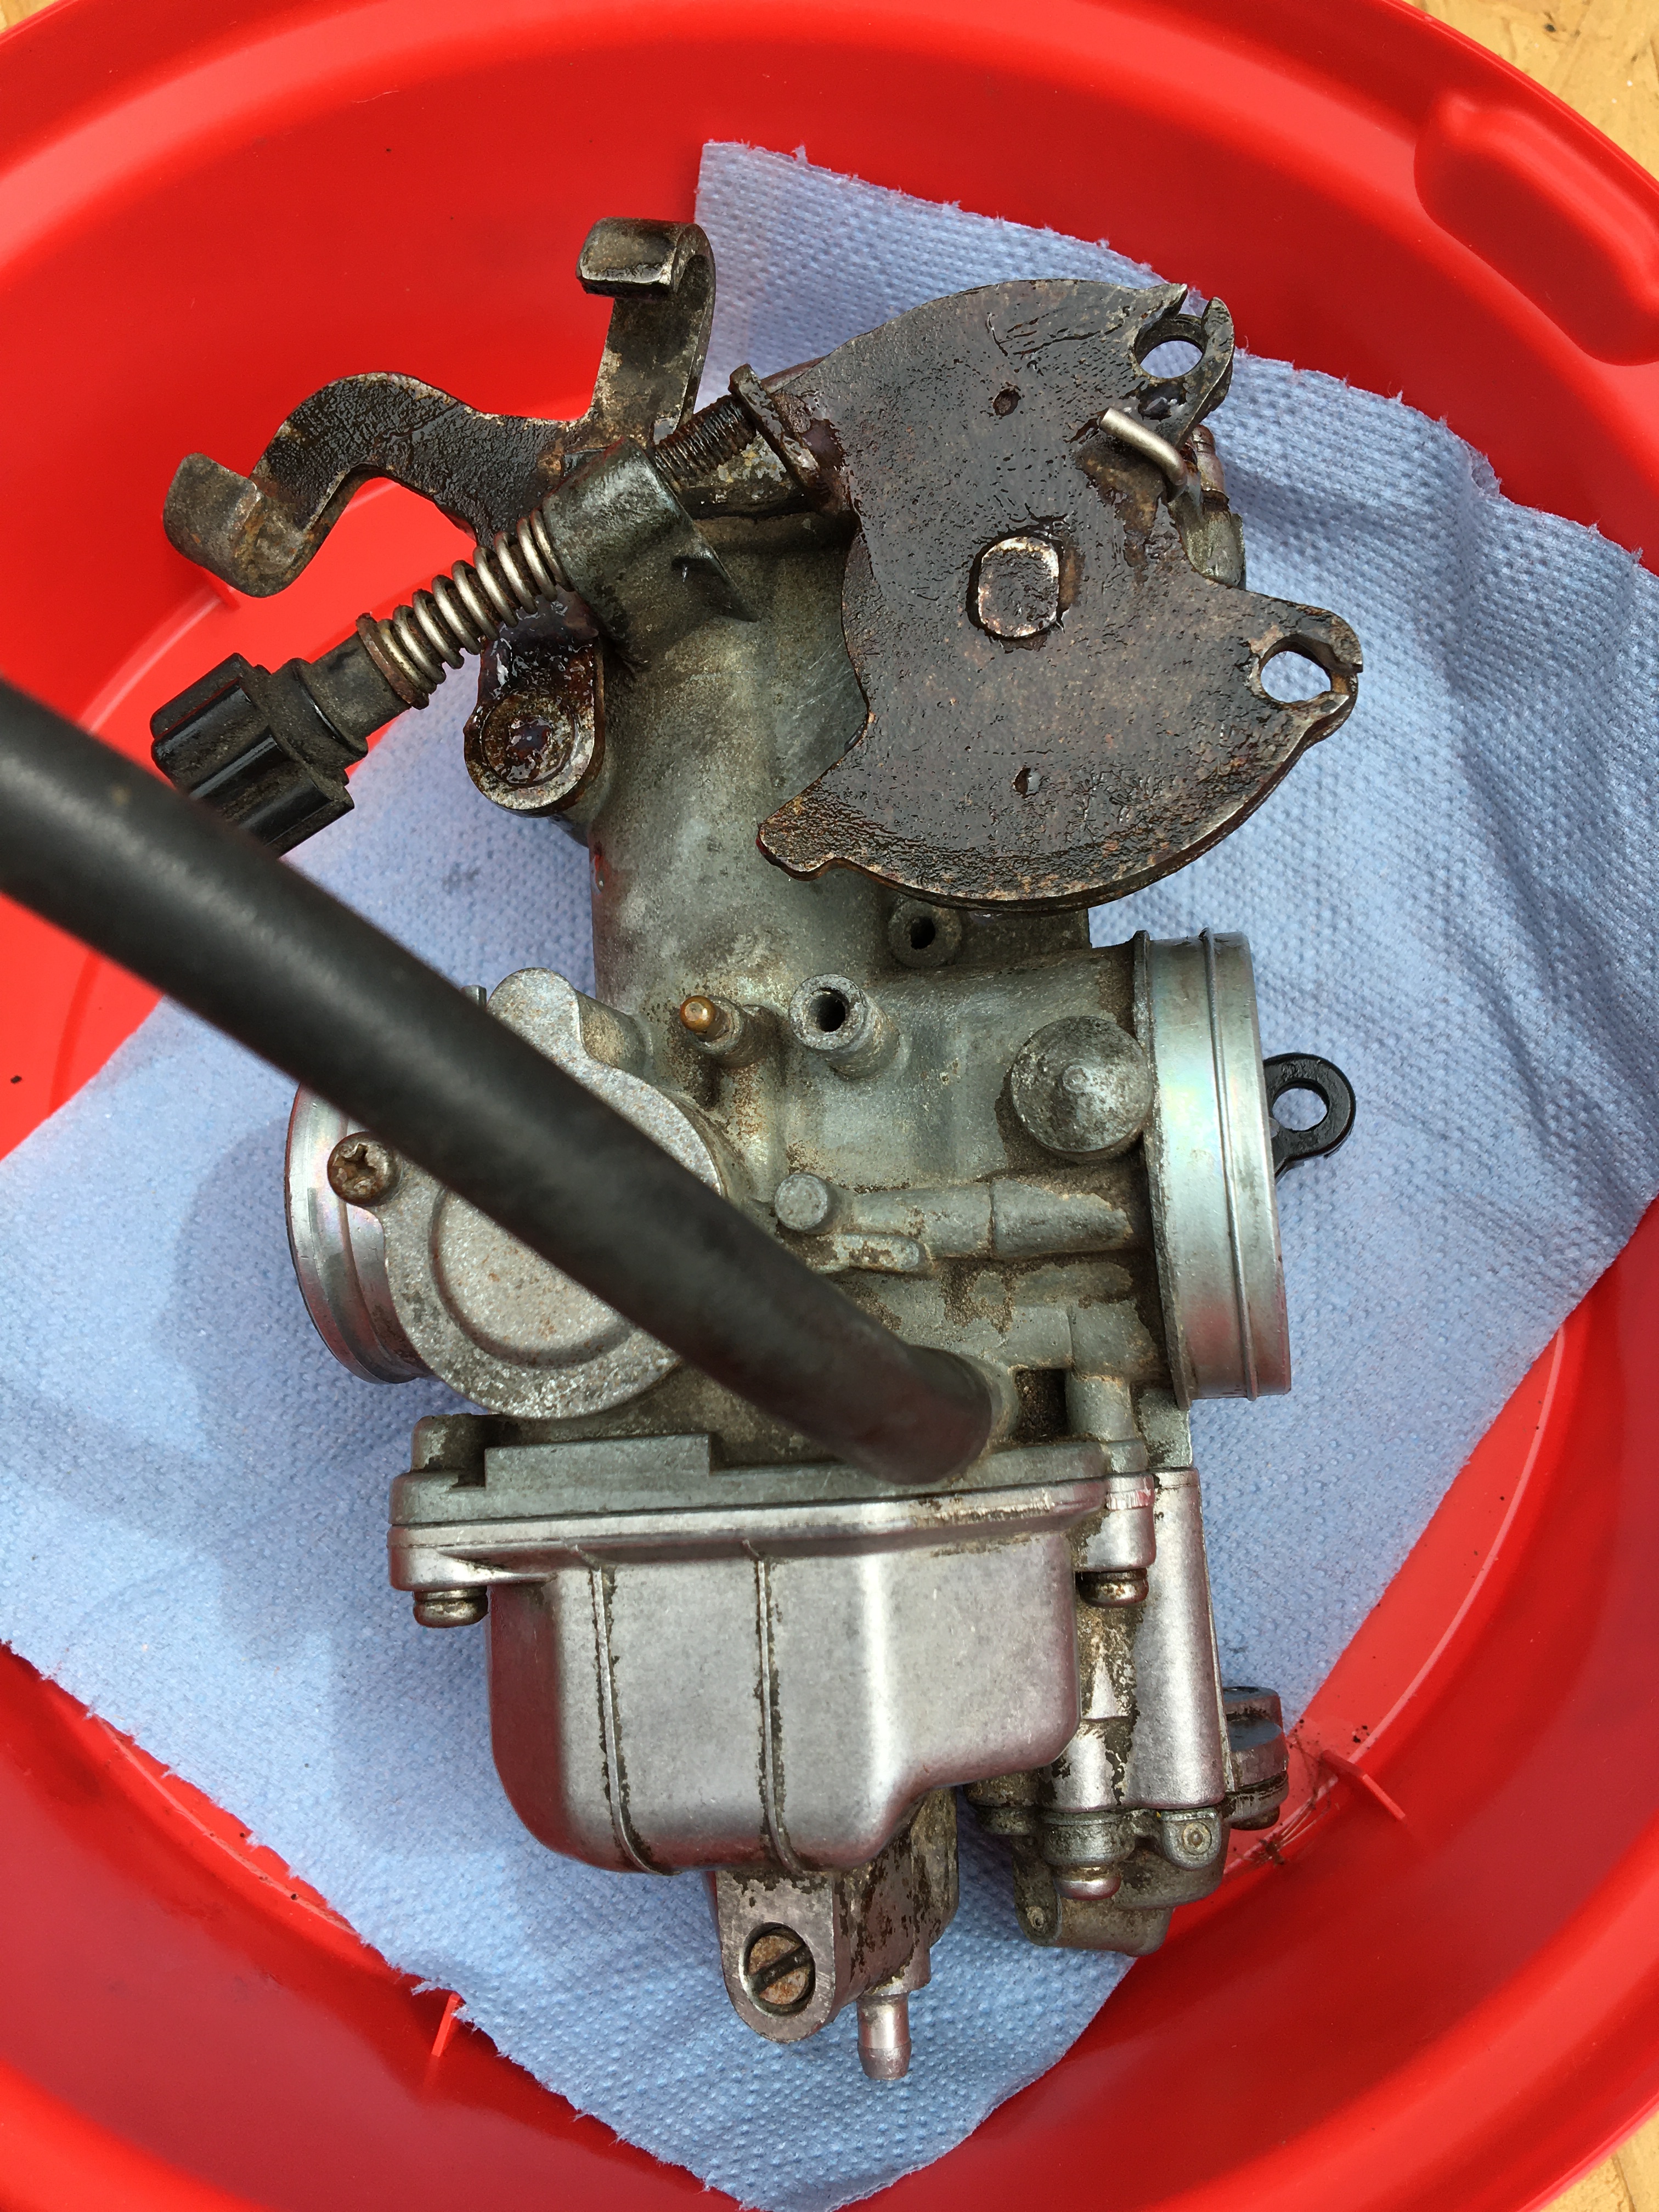
While tackling all the tasks I’ve detailed in this series of blog posts I had to do a fair amount of web searching for parts etc. While doing so I came across the review above which tells the history of this great (and often overlooked) little motorcycle. If you’re a veteran of 1970’s/80’s Japanese bikes it is a great read.
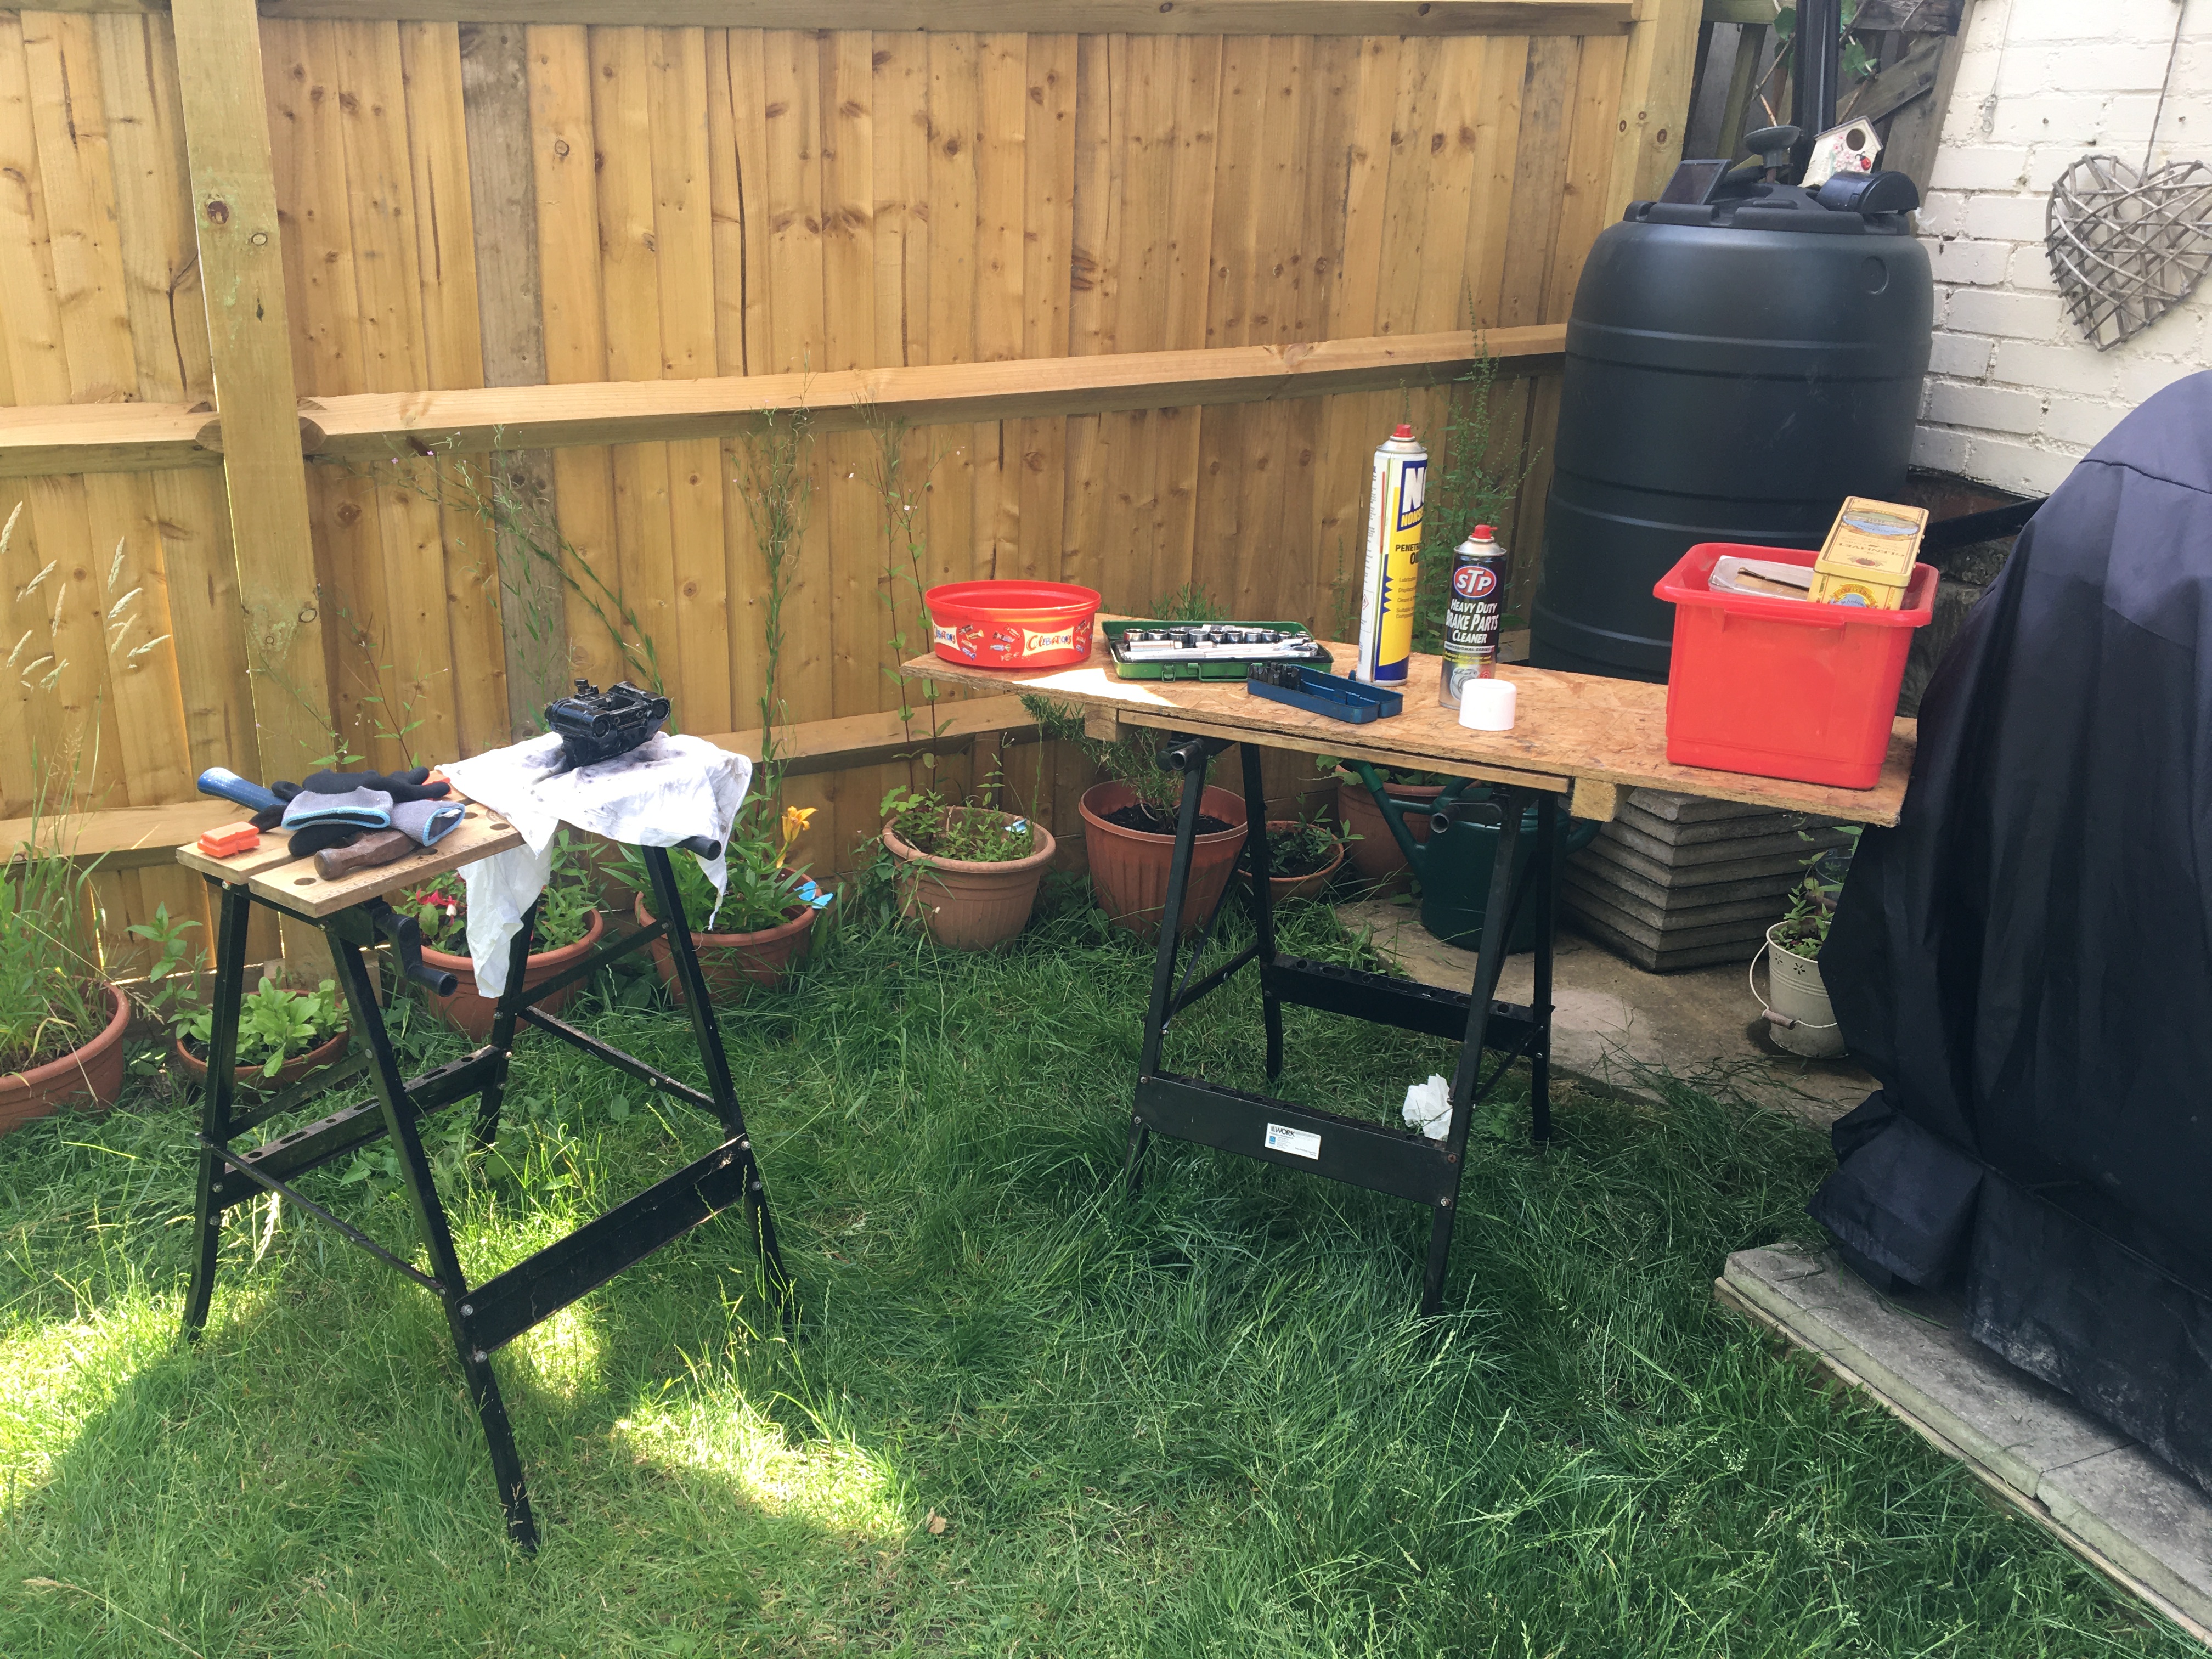
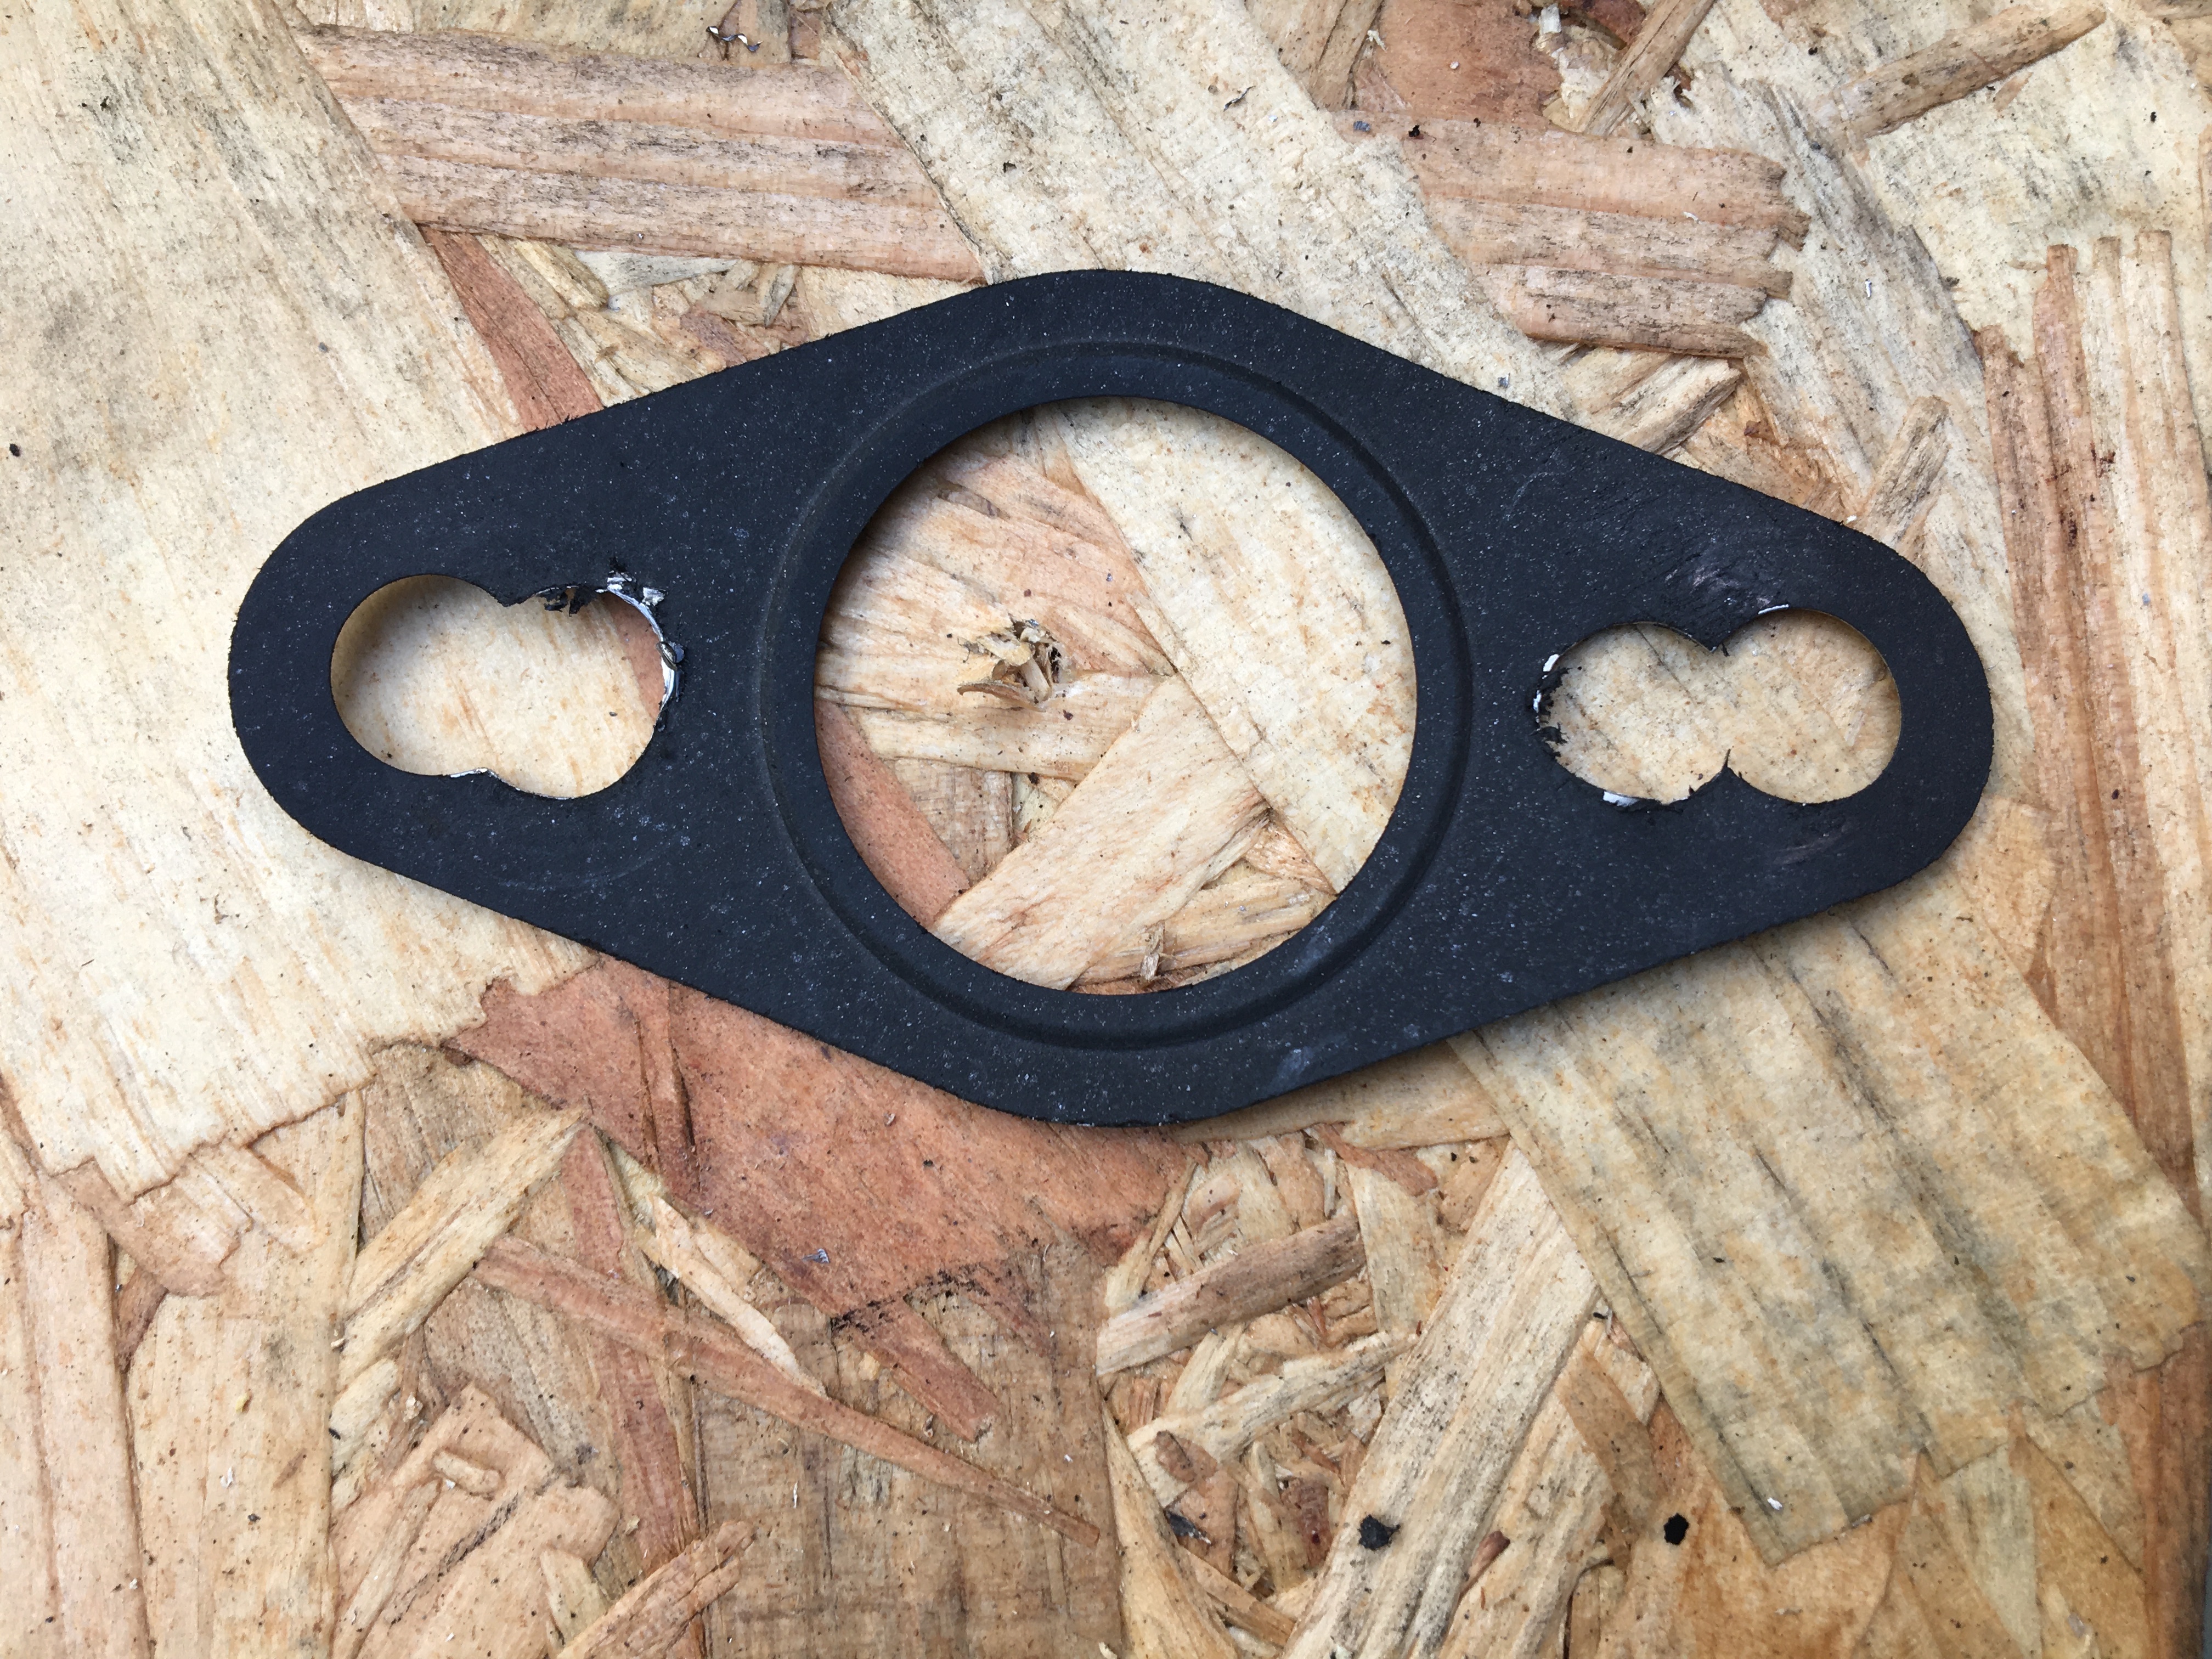
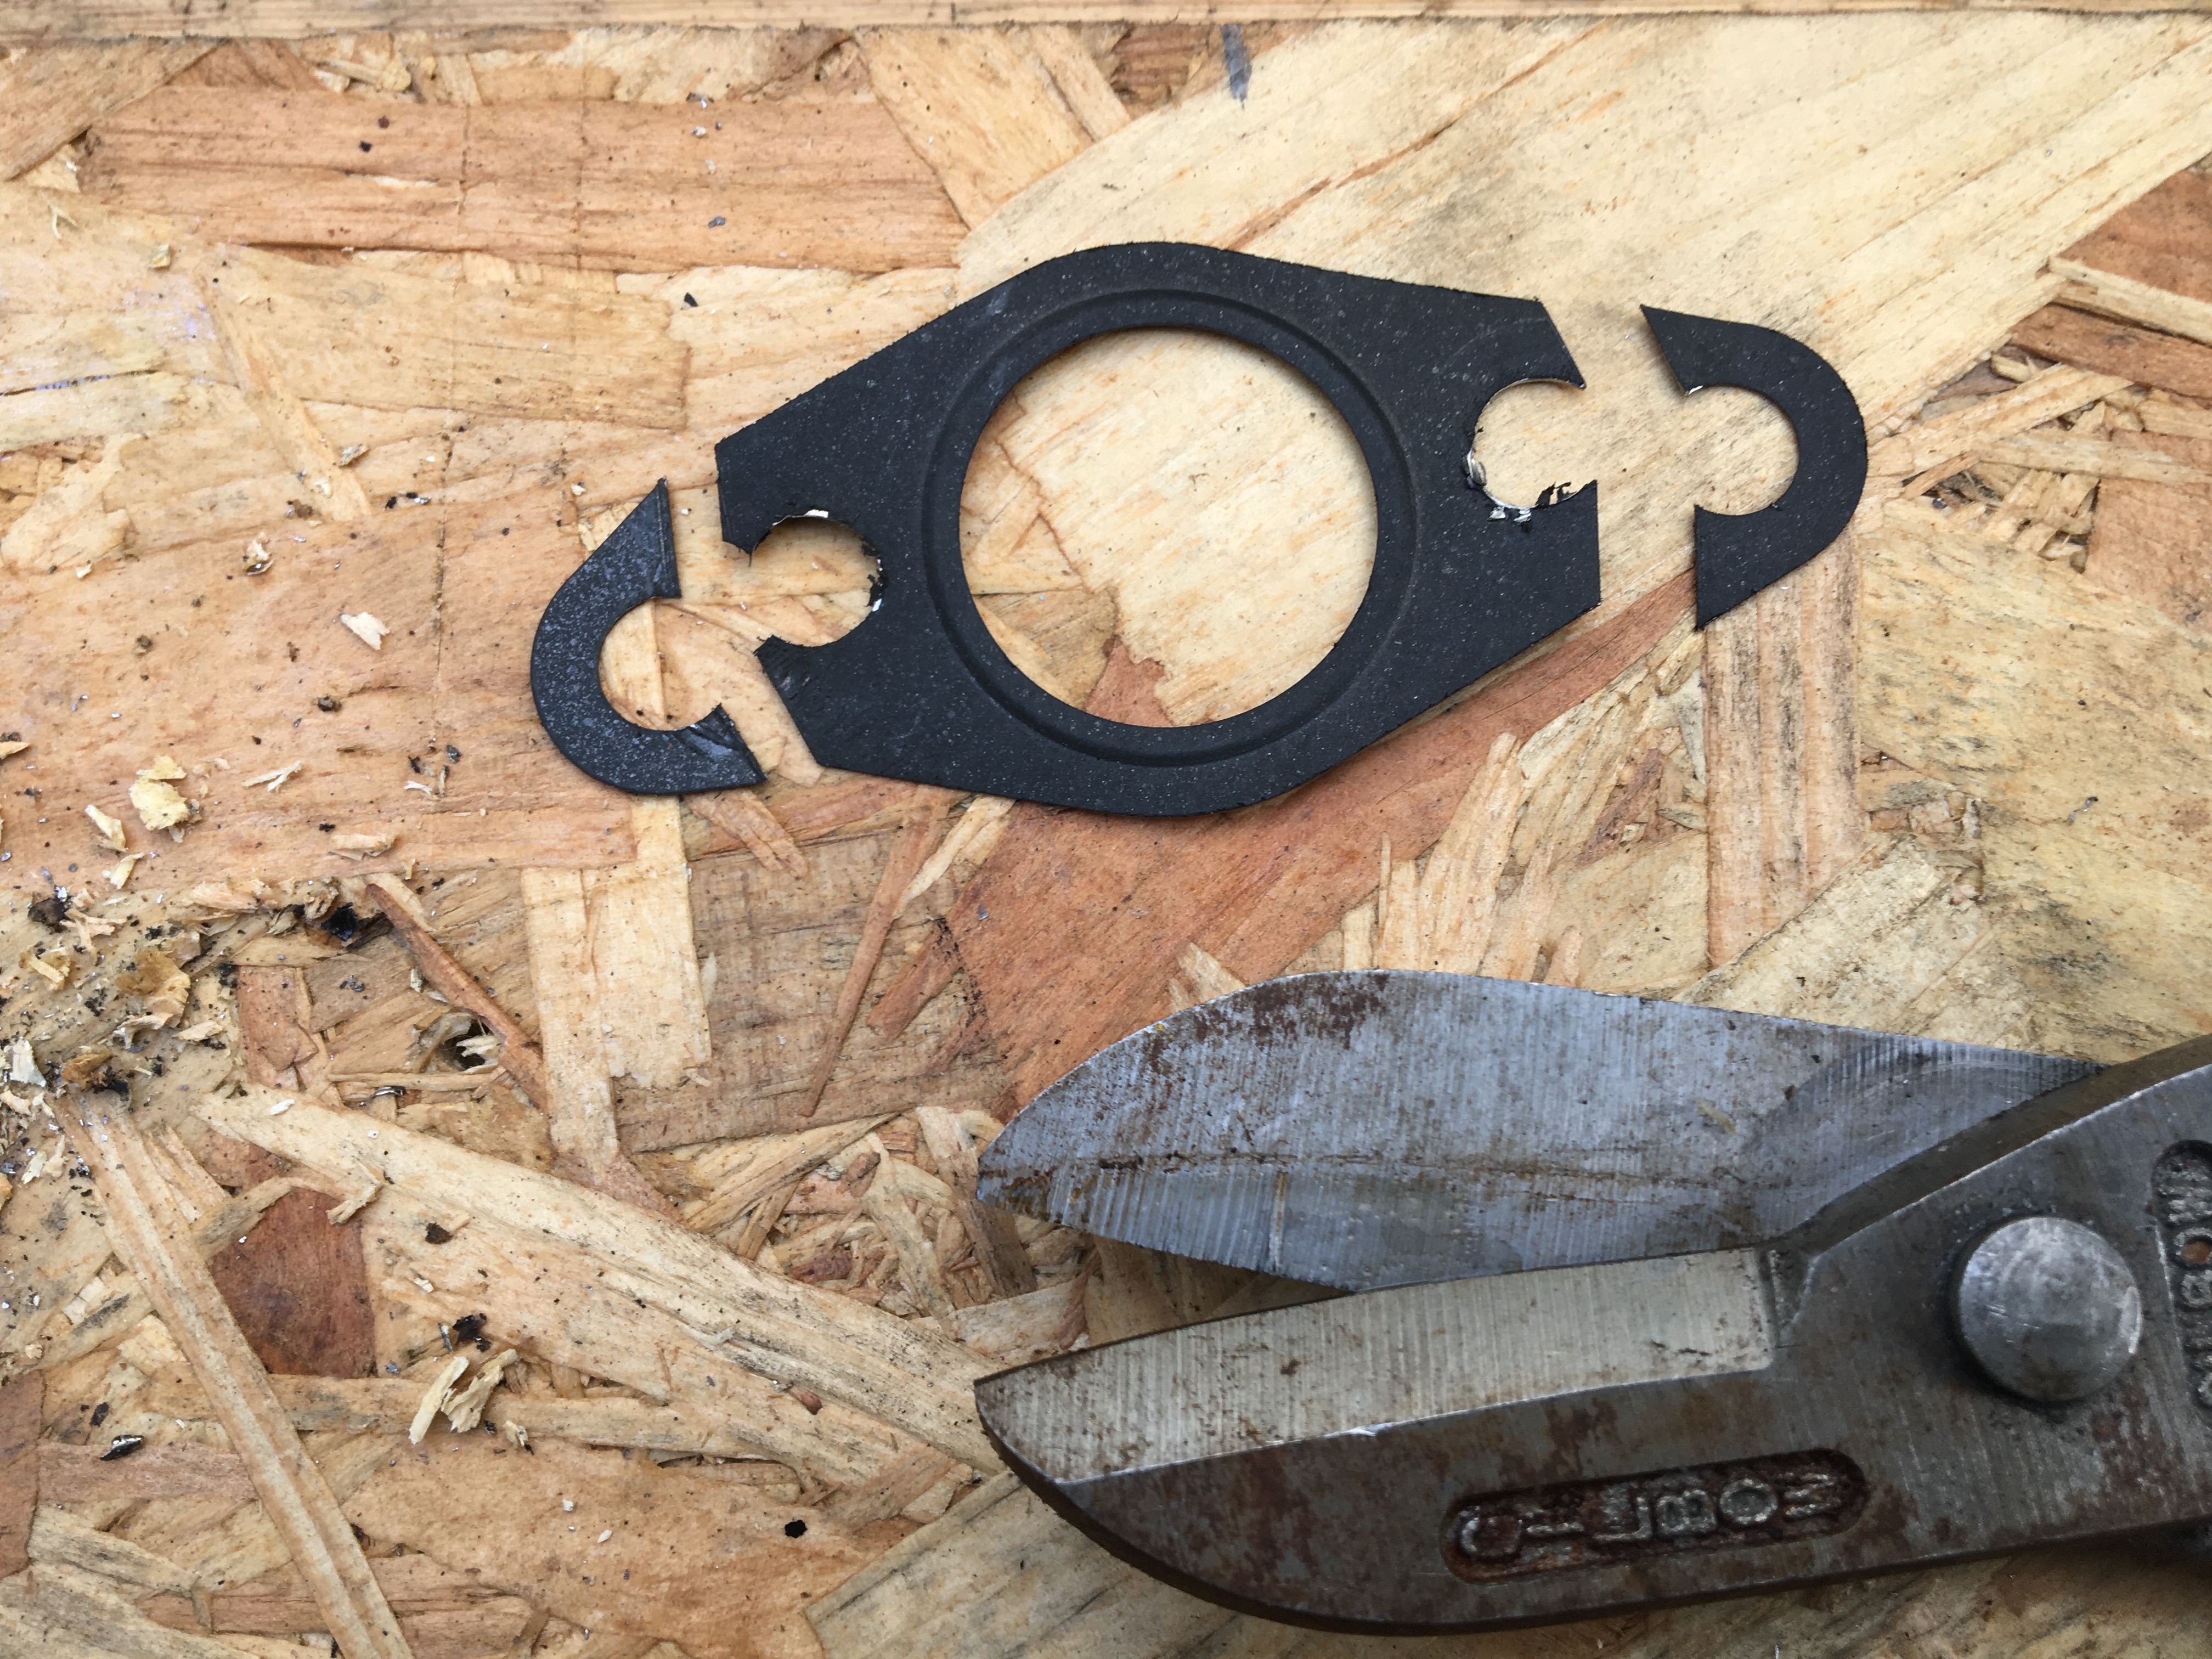
End of Part 7 – And end of this story for now. There are other tasks on my list that no doubt I will add to the ‘Zen and the Art of DIY Motorcycle Maintenance‘ blog posts. For me working on the bike and bringing it back to life and road worthiness has been a very rewarding and wonderful mindful distraction from the ever increasing current financial struggles, and I have to thank my brother for granting me custody of his classic motorcycle and not least for financing the many replacement parts required.
So I realised that as this little story reaches its successful conclusion, another story begins. And that story is my own personal re-association with motorcycles, re-discovering the joy of riding and as I saw somewhere on YouTube the mindful benefits of ‘Throttle Therapy’.
There may be more posts 😉
Thank you for reading.
Recap Part 2 Part 1 Part 3 Part 4 Part 5 Part 6
… And if you’ve just joined at Part 7, below is a little background to this story.
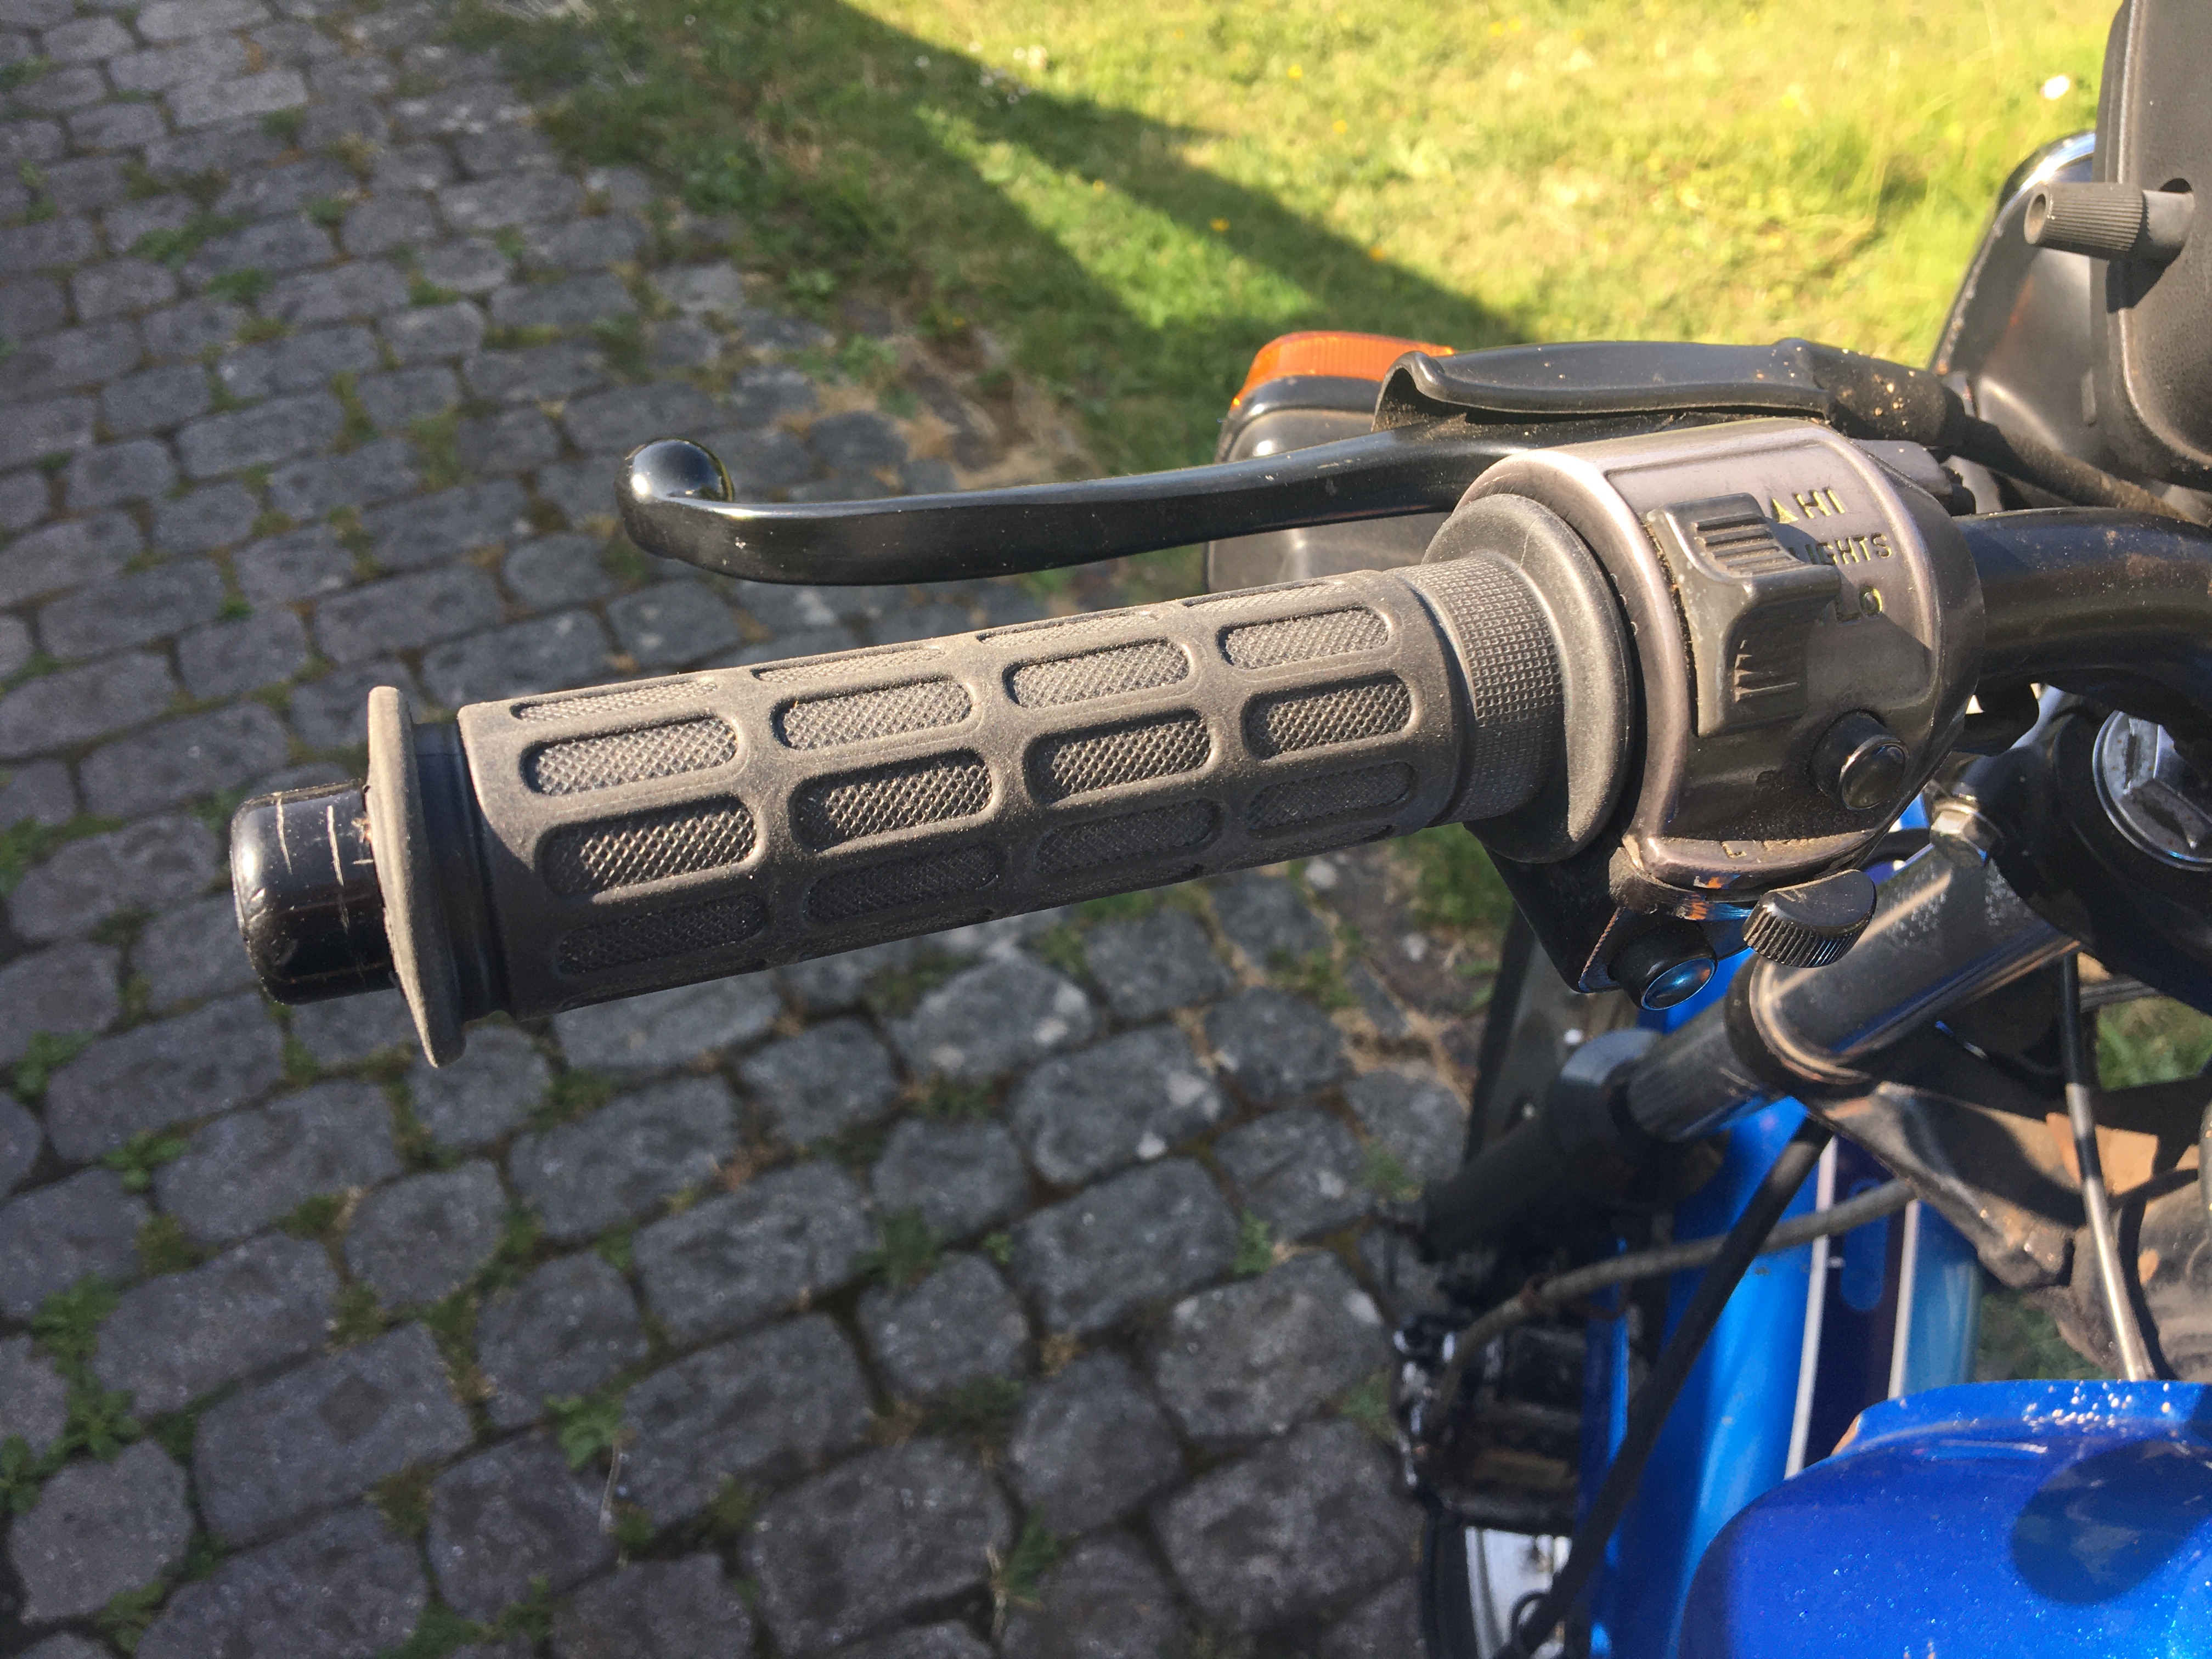
Motorcycling is in my blood [ RIP Dad – A Truly Great Father ] and because of motorcycles I’ve literally spilled many pints of blood [ Conscious Throughout ] My Dad passed the DNA and the bug to me in 1976 aged 15. My younger brother then aged 10 also caught the bug and eventually carried on the motorcycling tradition for far longer than myself. I rode on and off from age 15 to 40, all weathers, commuting on various ‘hack bikes’ while pampering and saving the main bike for dry (mainly) runs out for the sheer joy of riding. My brother recently bought a new 2023 Triumph 765 Street Triple R, a two wheeled sculpture if ever there was such a thing. The Street Triple was to join his stable of bikes alongside his classic Triumph Daytona 1200, and another classic, the Honda CB250 RSA you see below. The little Honda was his ‘hack bike’ back in the day, not used since 2010 and carefully stored, dry and covered in our Dad’s old garage. That garage is a shrine to our dear father, not really disturbed since his sad passing in 2016.
So the Street Triple needed room, the garage needs sorting but both my brother and I are dreading the day we have to disturb our Dad’s workshop and birthplace to so much of his woodwork creativity, and so many precious memories. The motorcycling bug never dies, although I myself have not ridden for over 20 years, the pull has always been there and watching the wonderful Allen Millyard‘s YouTube channel has fed my interest in the mean time, and when my brother suggested I take custody of his little classic Honda and get her back on the road I jumped at the chance!
… And Why ‘Zen’?
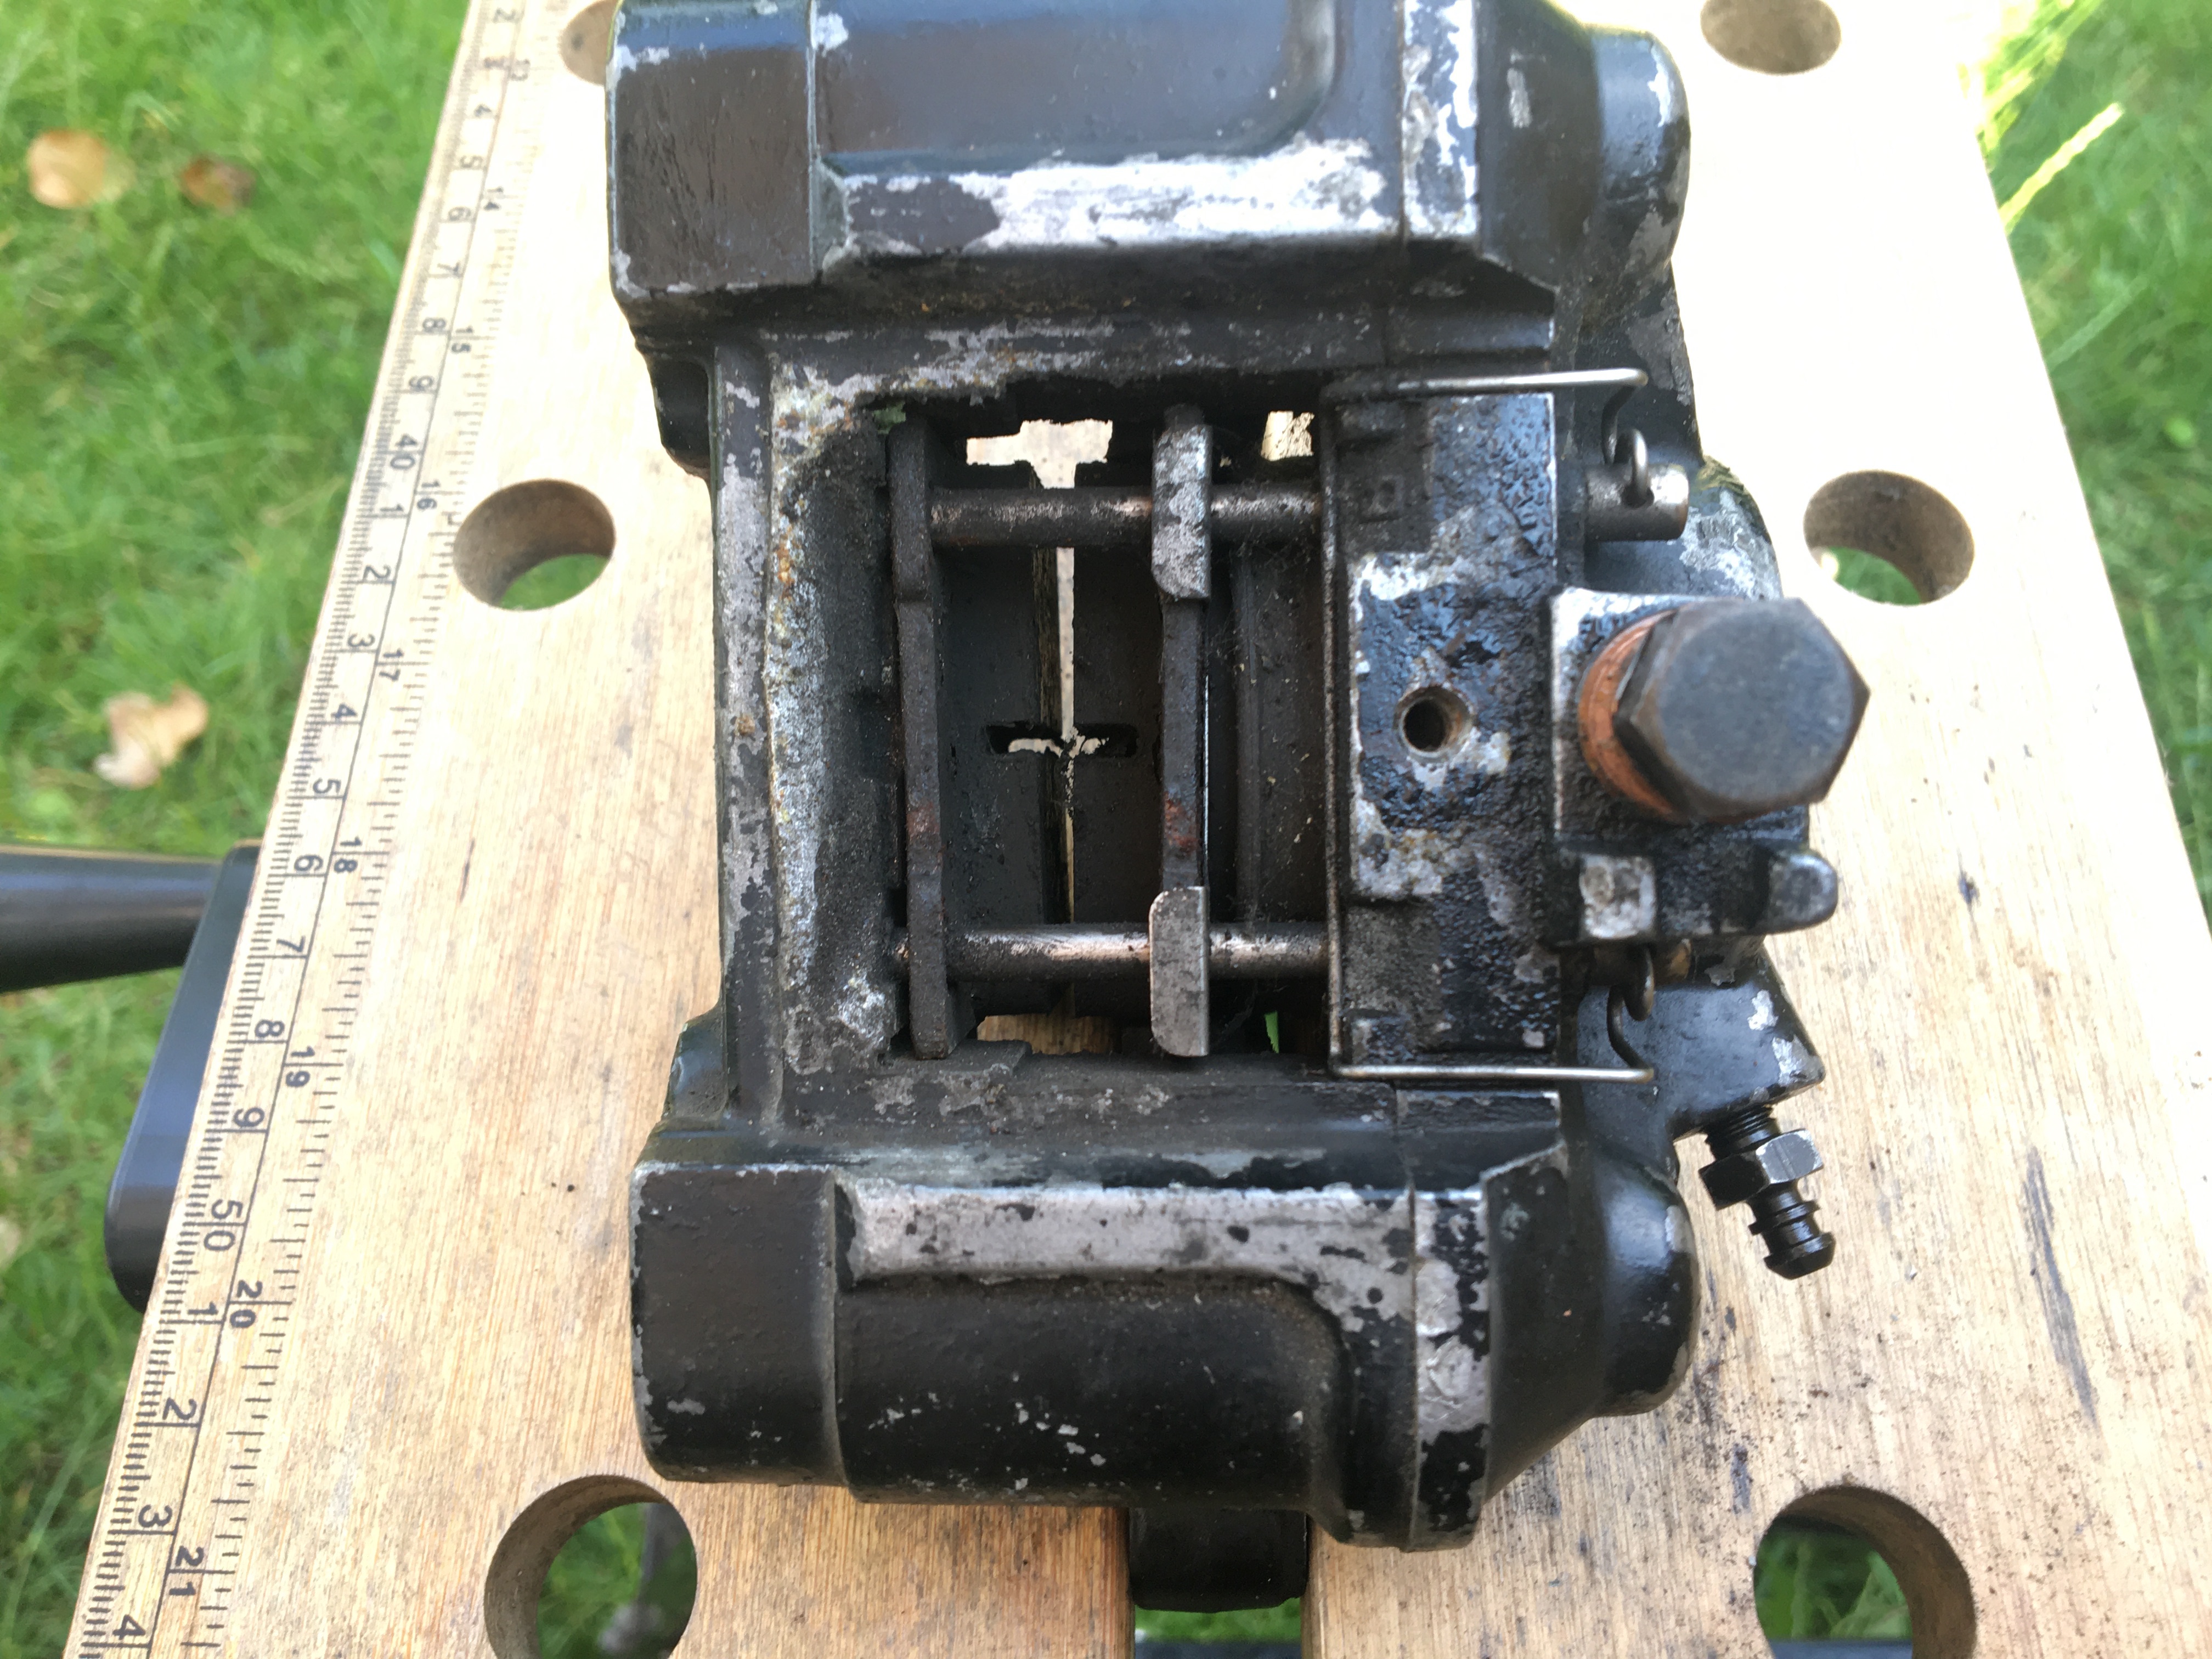
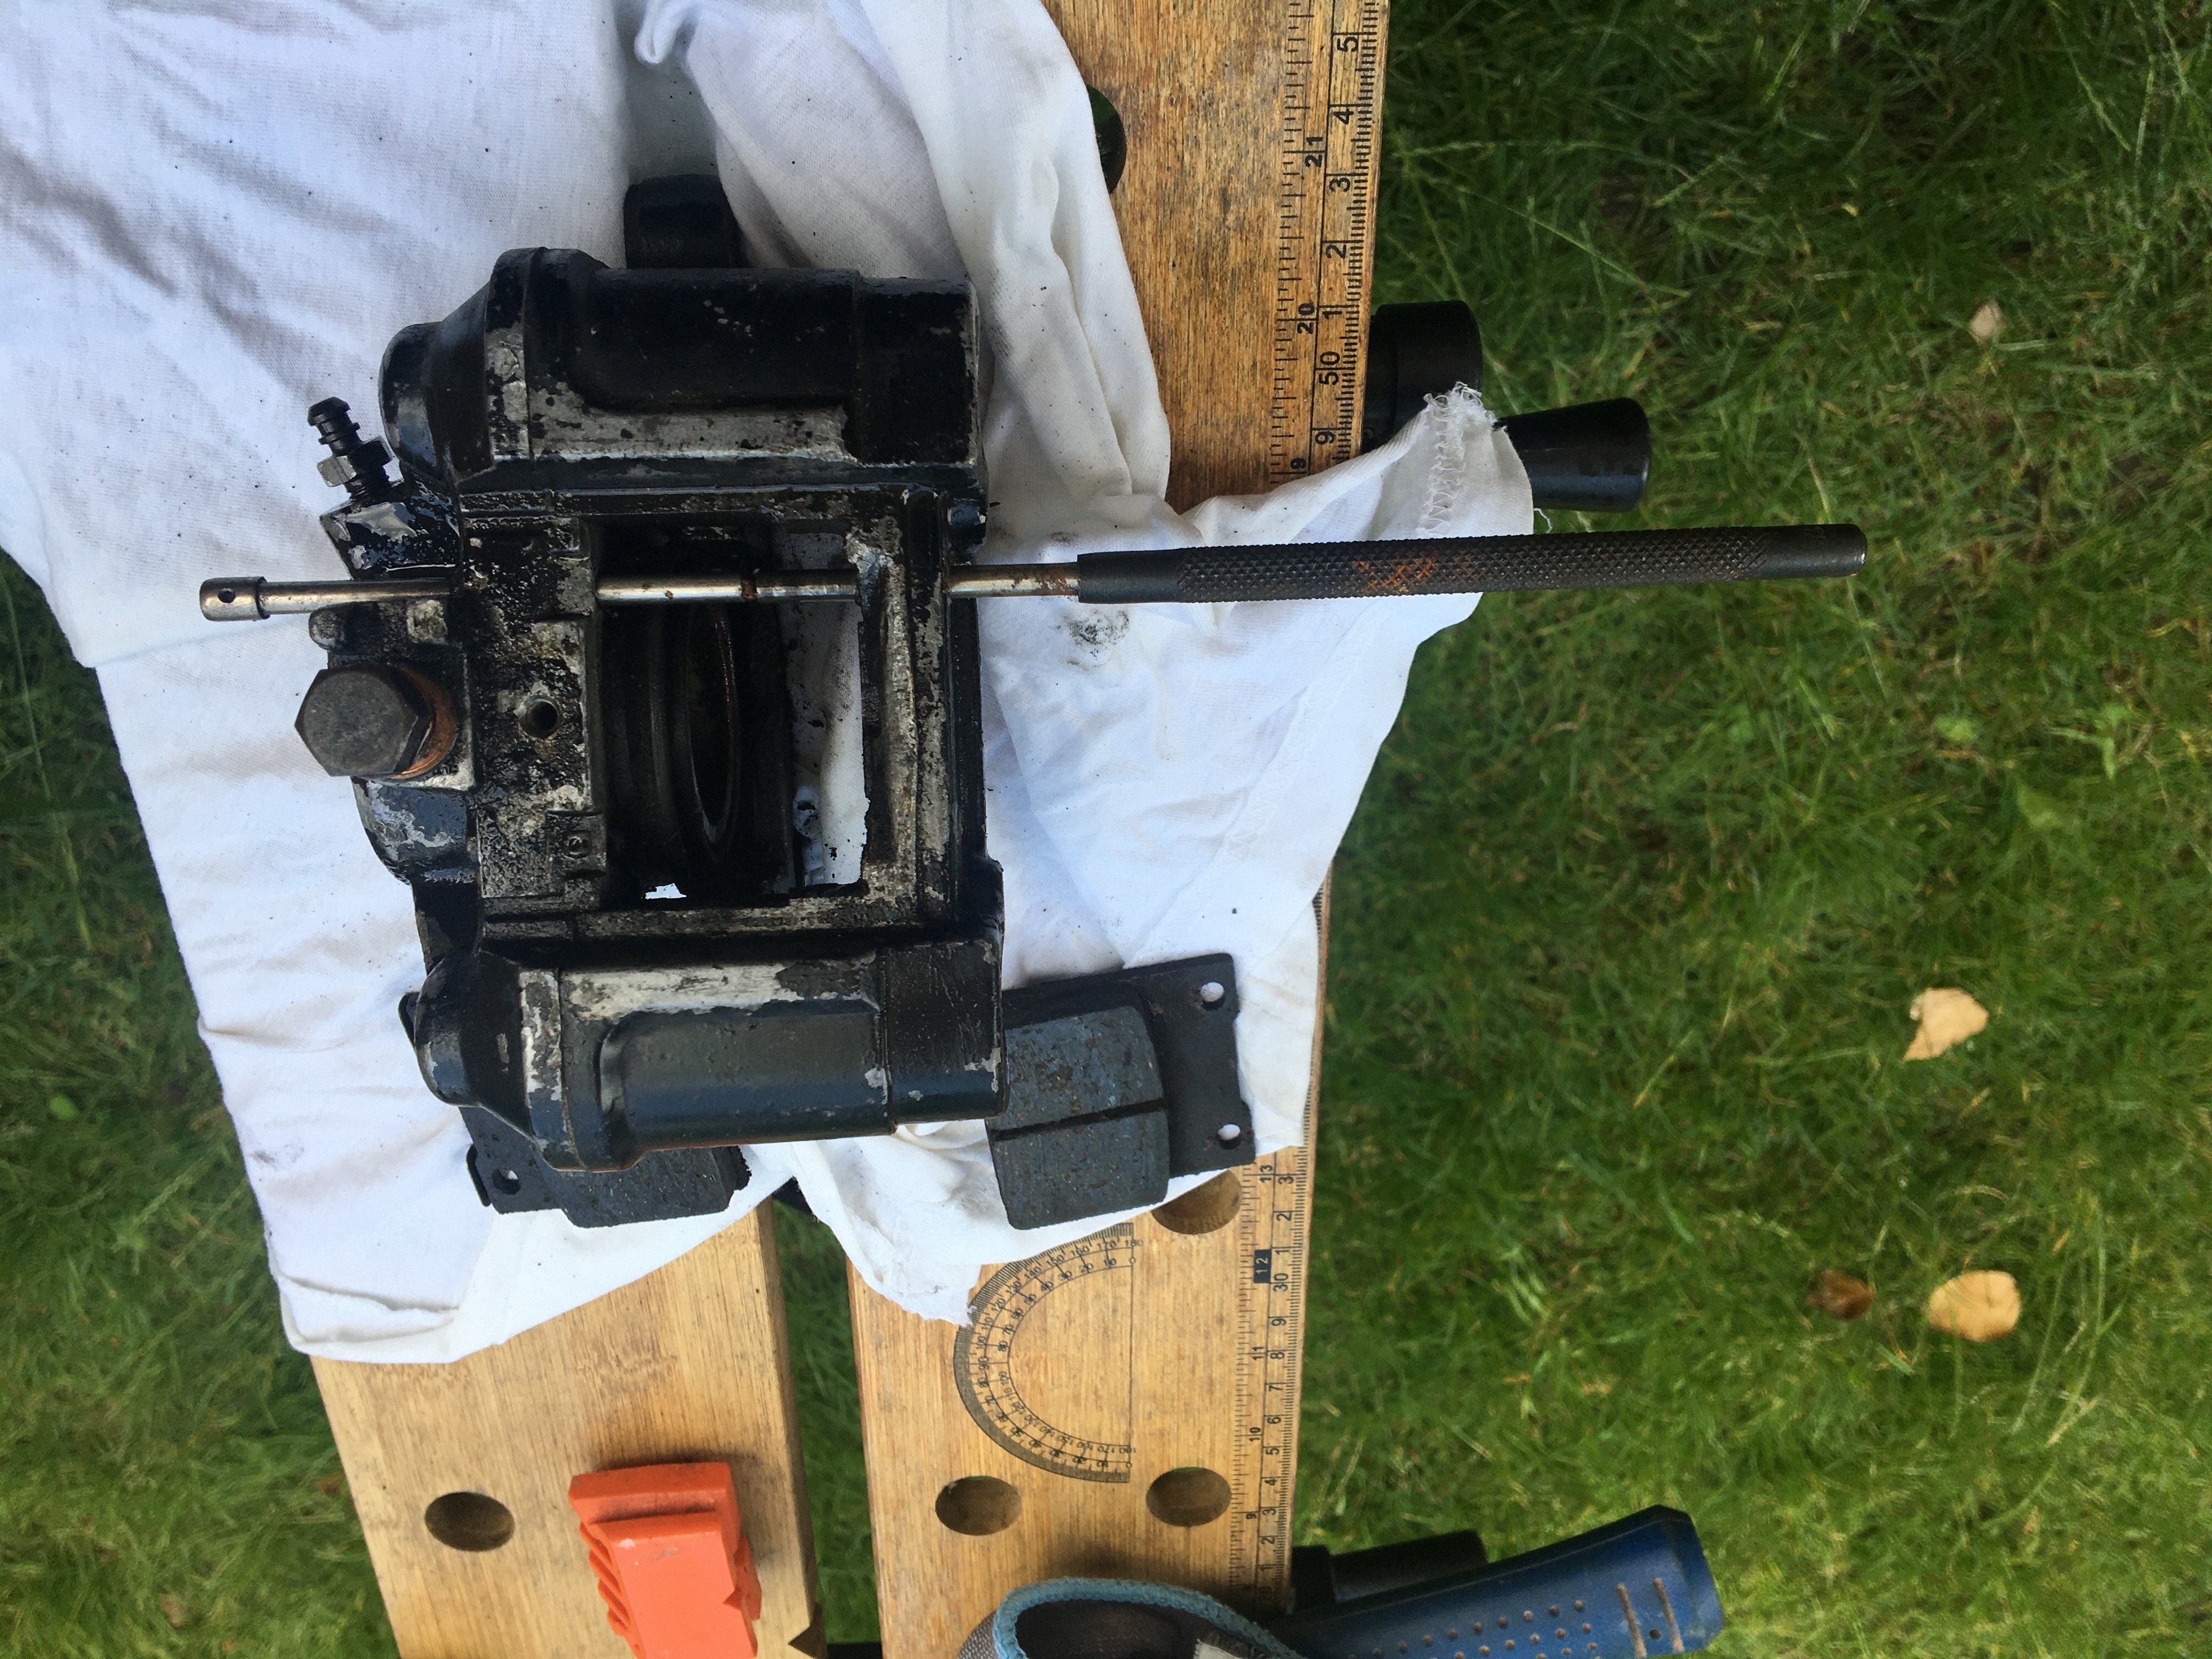
There’s a stand out section for me in the book Zen and the Art of Motorcycle Maintenance, and it is the part where the author describes making, or proposing to make makeshift ‘shims’ for his friends John and Sylvia Sutherland’s new and exclusively dealer serviced BMW motorcycle. Pirsig tries to explain how shims made from a discarded Coca-Cola can would be perfectly adequate and functionally identical to those fitted by the BMW Dealer’s mechanics at exorbitant costs. John Sutherland could not see this or be convinced, so programmed was he that only the main dealer has the expertise, equipment and materials to carry out such a task.
“In the book, the narrator describes the “romantic” approach to life of his friend, John Sutherland, who chooses not to learn how to maintain his expensive new motorcycle. John simply hopes for the best with his bike, and when problems do occur he often becomes frustrated and is forced to rely on professional mechanics to repair it. In contrast, the “classical” narrator has an older motorcycle which he is usually able to diagnose and repair himself through the use of rational problem-solving skills.”